So where to start? I'll start with the simplest tools first.
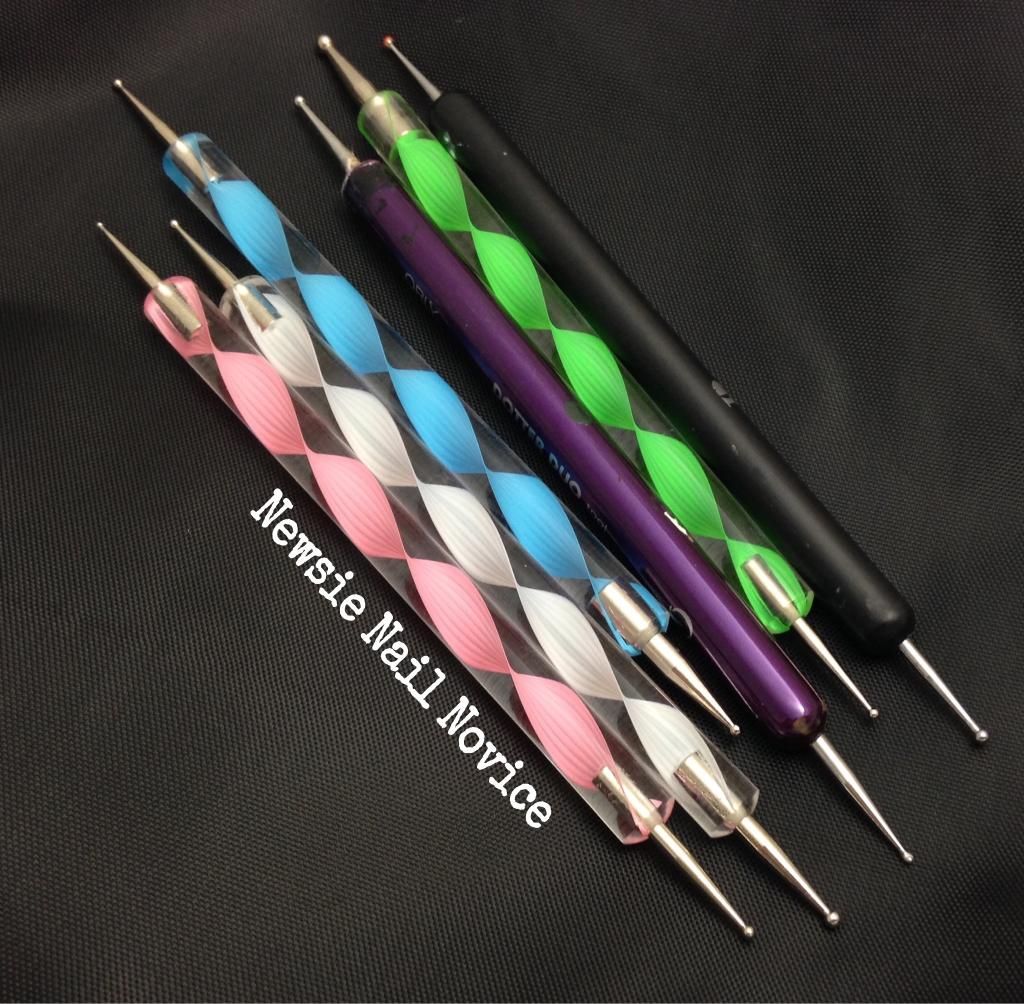
Many beauty supply stores sell these in sets. I got a lot of these from a set I got from the Born Pretty store! Don't forget to use the code TRAH10 for a ten percent discount!
Dotting tools are super easy to use and can really jazz up any old mani! You can do fun things with it like a straight line of dots, a dot gradient, or a dot funky french. The possibilities are endless.
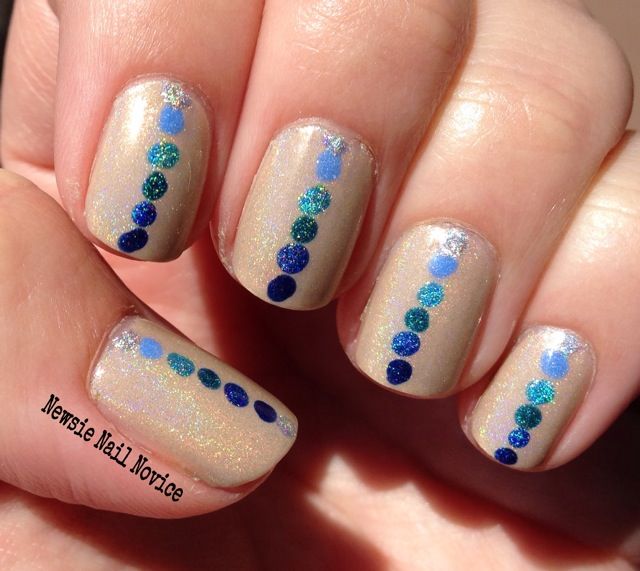
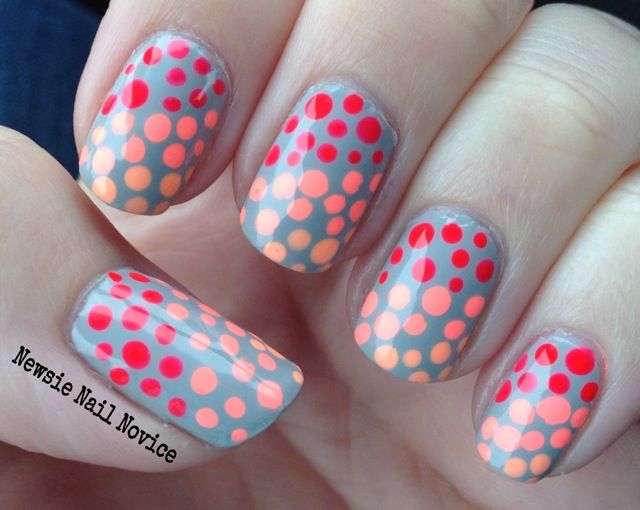
Next up, a new favorite of mine, are nail vinyls.
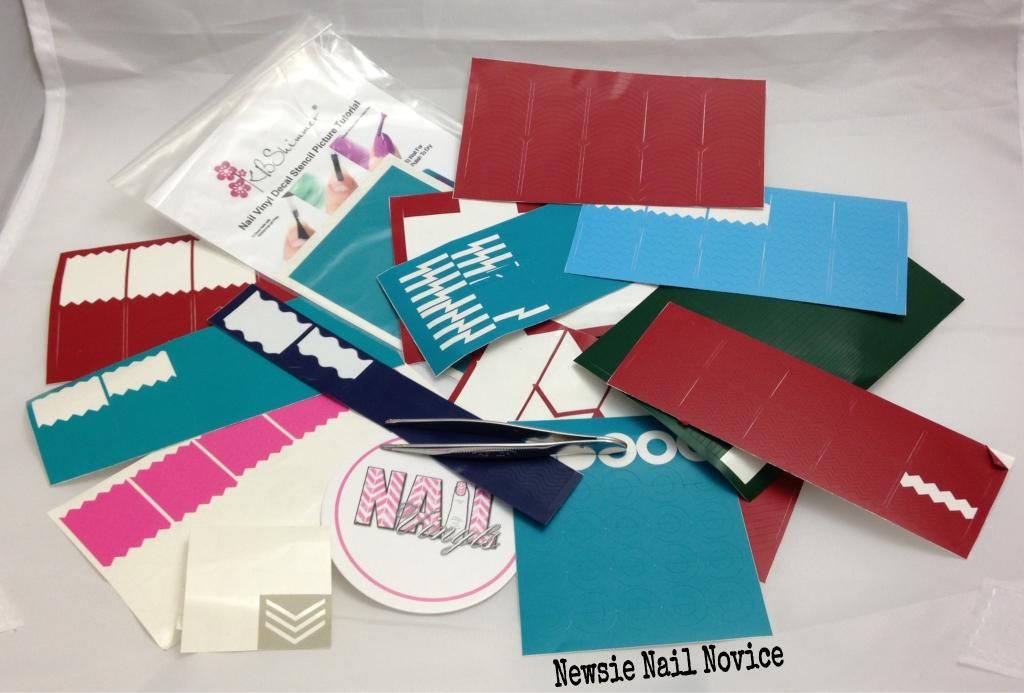
A number of indie makers have nail vinyls, but I can tell you my favorite go-tos are NailVinyls.com and KBShimmer! Each sheet ranges from $5-$7, and you can get a multi variety pack (which is a good way to start if you can't ever make a decision like me)! They have straights, chevrons in various sizes, scallops, lightening bolts, even holiday related ones!
Application is something you need to get used to, but once you do this can become nail art in a snap!
Tips: Before applying the nail vinyl to your nail, make sure your base coat of polish is extra dry. Remove extra stickum from the vinyls by applying to the back of your hand a few times, I find this makes removal easier. And removal is easiest with tweezers (forgot to take a photo with my tweezers, oops).
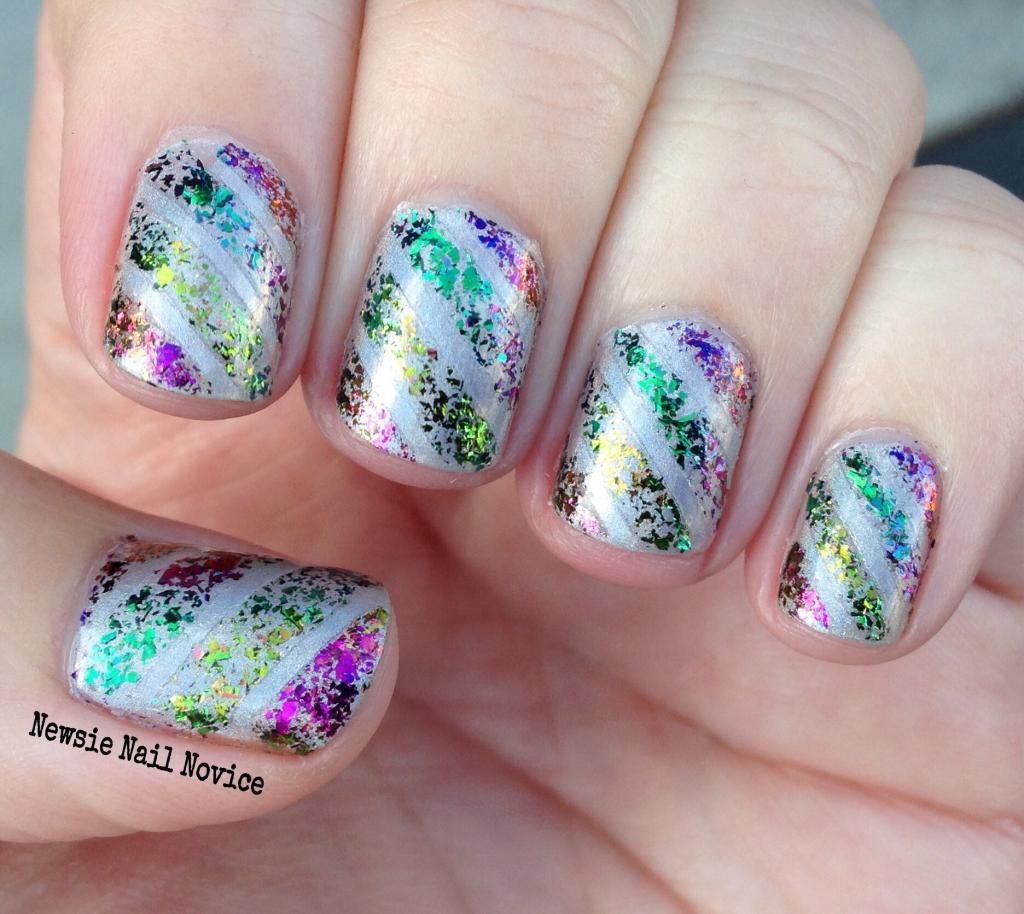
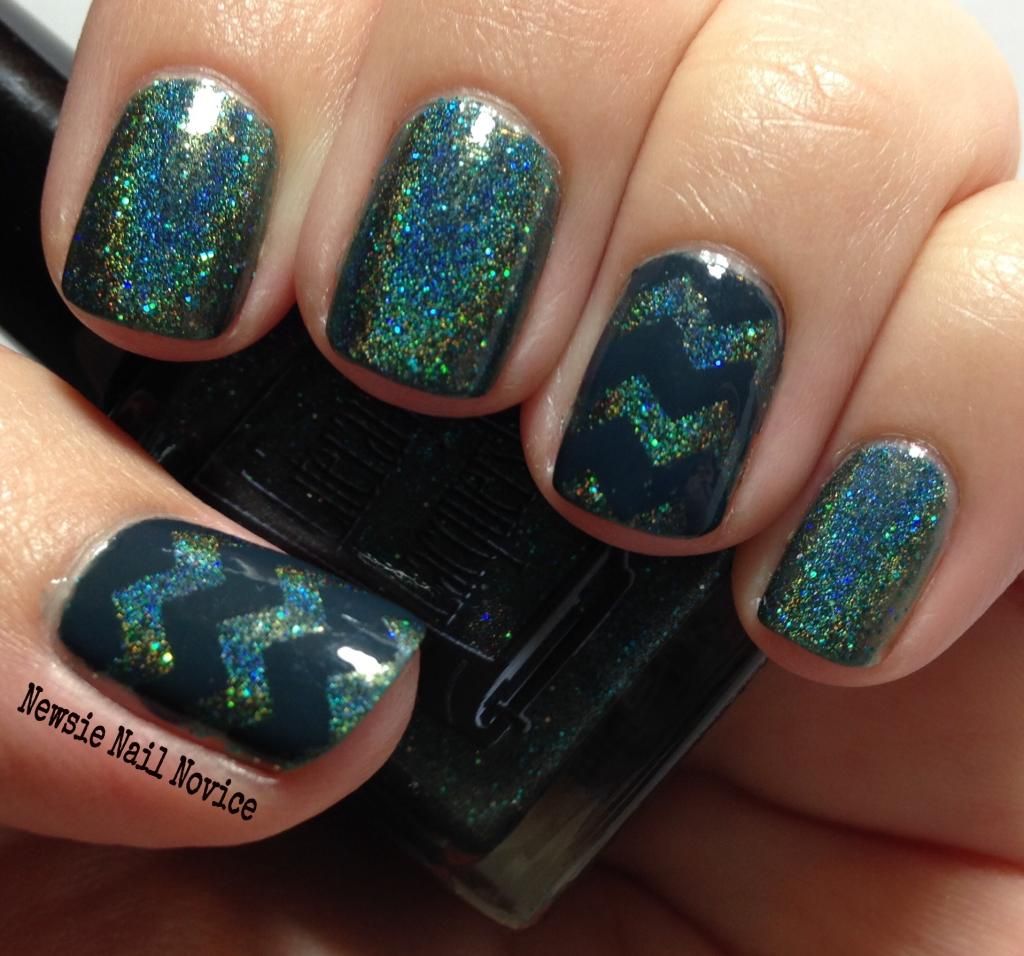
Here are some fun manicures I have completed with nail vinyls!
Moving on toward the more challenging – stamping is up next!!!
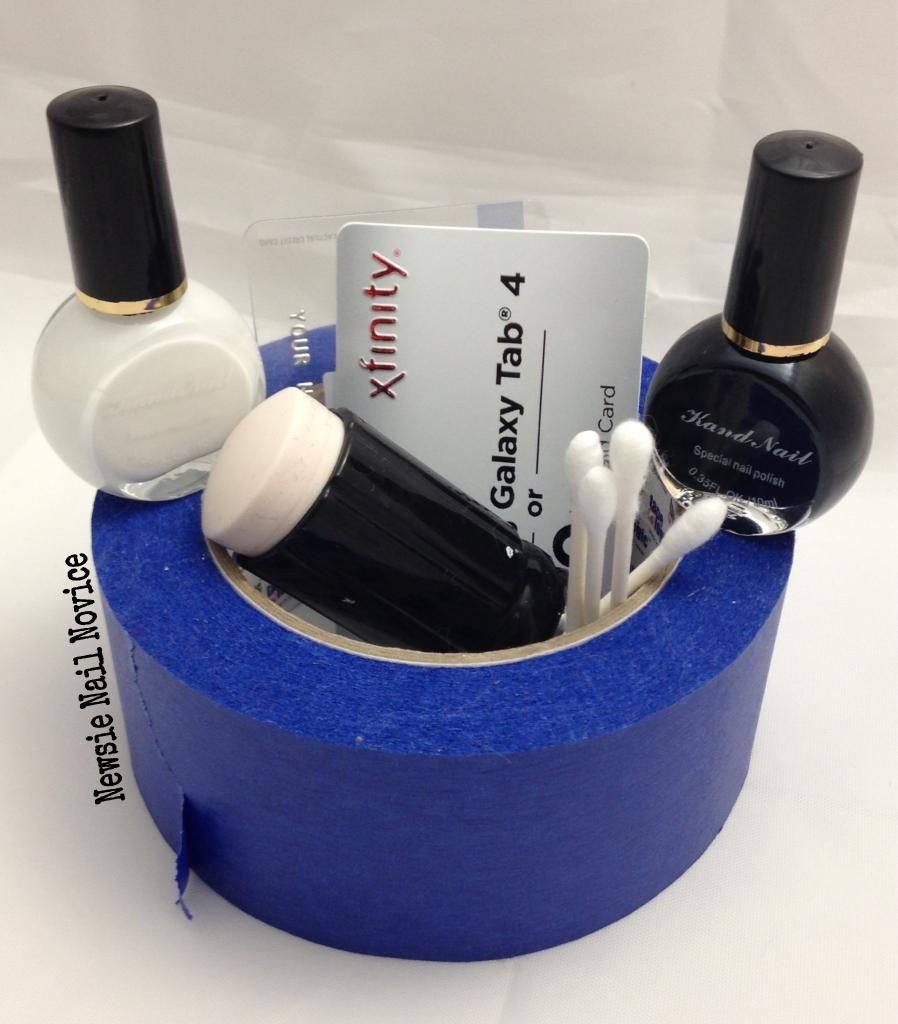
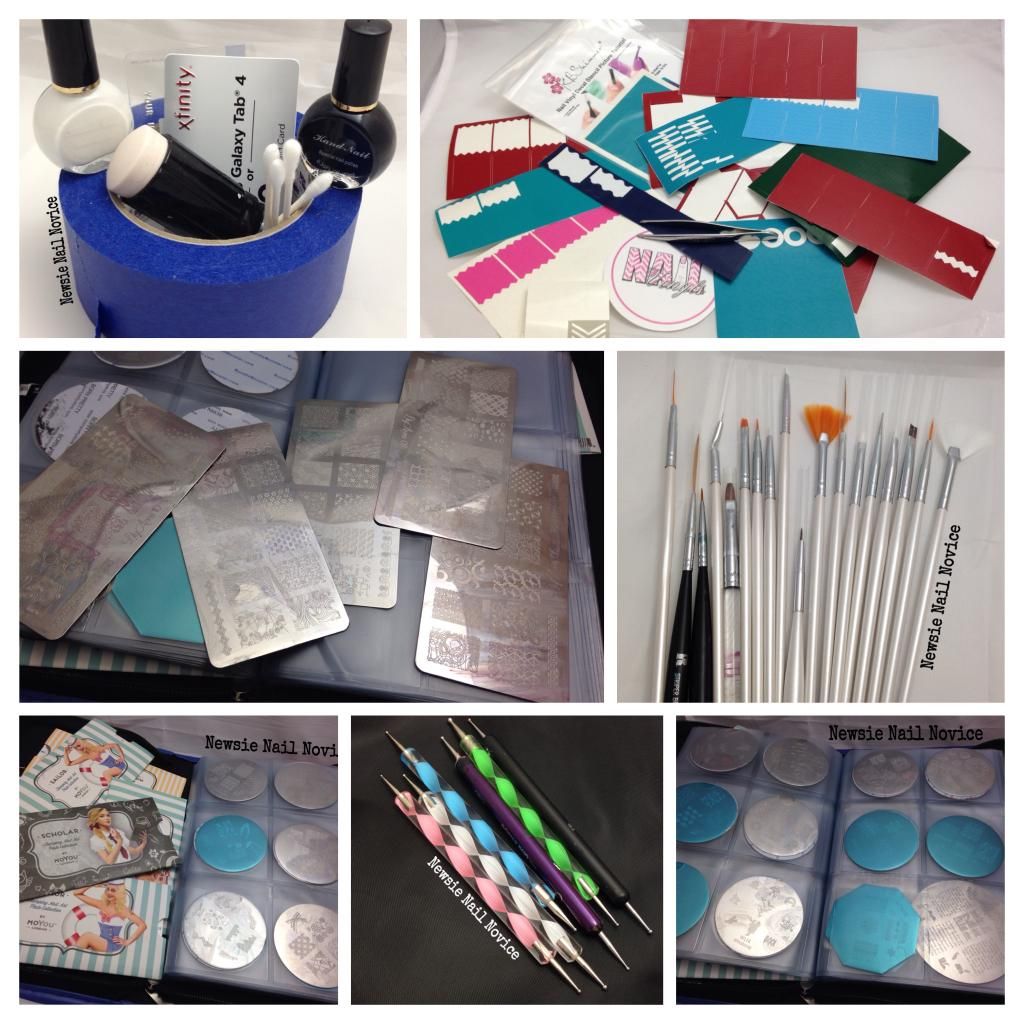
Before we even get to plates, here are my nail stamping tool essentials.
• A good stamper. I use this one from the Winstonia store and it hasn't let me down yet! Not too soft, not too hard and not too sticky. When you get it you'll need to prime it, but that is pretty easy, there are a bunch of YouTube tutorials on it!
• A reliable scraper. For the scraper, I never use the ones provided with stamping kits. I go straight to the throw away credit cards they send in the mail. They have straight edges which are ideal for scraping the paint away in the metal plates.
• Q-tips! These are a great tool to use to clean up the polish in the plates after application. I dip a little in acetone, use that end to clean up the excess polish and the other end to dry off the design.
• Blue Painters Tape! Why? Well this little handy tool is the perfect way to clean off your stamper with any excess design that didn't transfer to your nail.
• Good stamping polish. This can be hit or miss for awhile. Once again, the Born Pretty Store is a good place to start. I really like how crisp their stamping polish is. It dries really quickly so I find that you have to work a little quicker, but the results are fabulous. I also find that Zoya cremes and Essie cremes stamp pretty well as well. Drug store quick dry polishes, like the Sally Hansen ones also work pretty well. Good rule of thumb is if it is a one coat polish, it probably works well for stamping.
Now on to the plates!
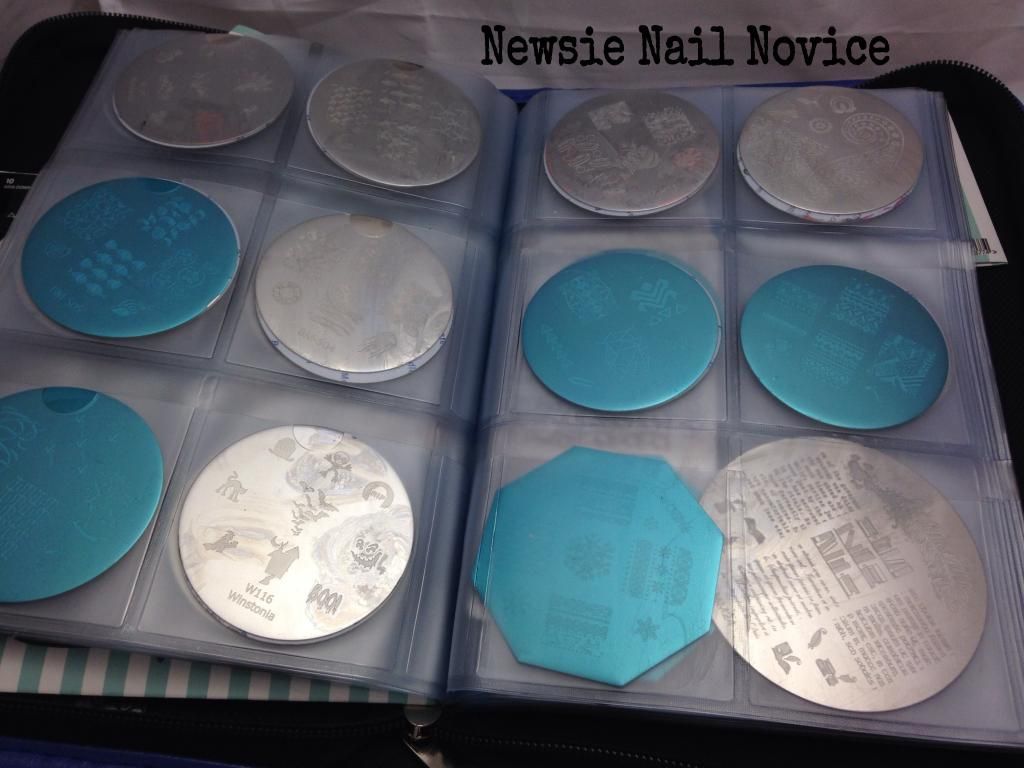
There are many many places you can get plates but I'll tell you what I've tried and what I find works best. I started out with the Winstonia plates and they are pretty reliable from what I've experienced. They have some nice sets, which you can get at their website or even on Amazon. They are also where I purchased this handy dandy plate holder from. A must when the plates start piling up!
I've also tried Bundle Monster, but their plates can vary in quality. I had some issues with some of the original plates I purchased from them, but their more recent collections have been pretty good in quality I must say. A plus when it come to ordering from them, you can get individual plates for a steal of a price.
I've just started getting Born Pretty Store stamping plates, but have been very surprised at their quality. They are super inexpensive too and you can buy them individually as well. Shipping takes longer since they are international, but it also free!
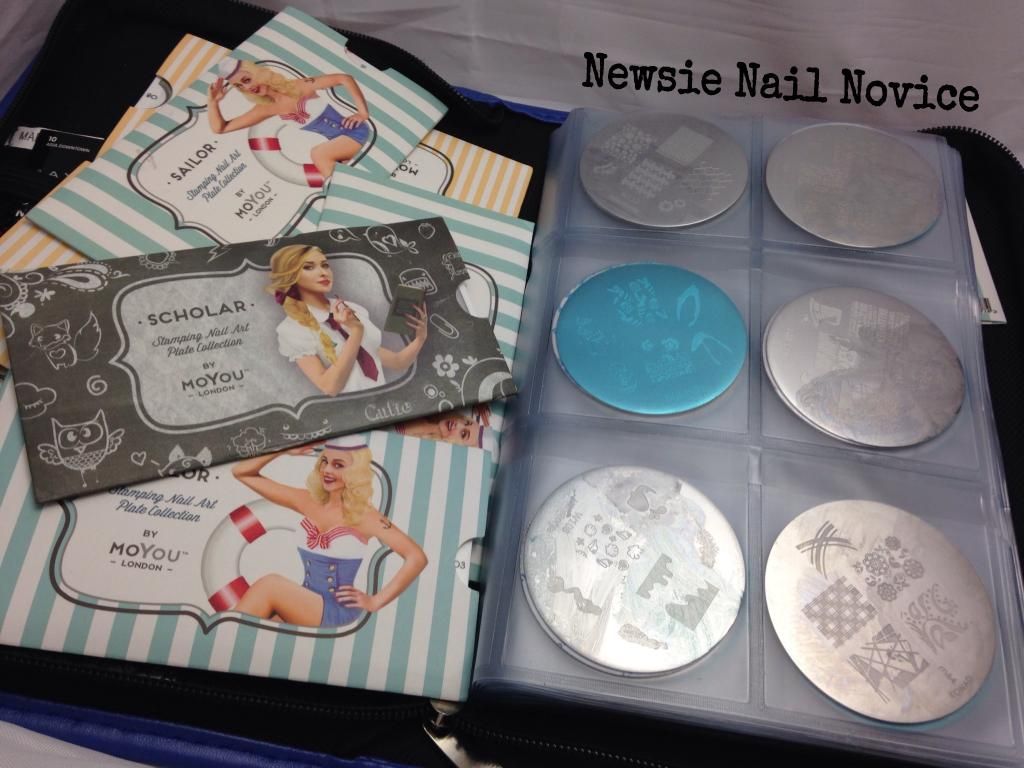
Next up is the MoYou London plates, which are the best in quality I own. These retail for a little higher of a price, about $7.50 a plate. But the images are great. And their smaller images work well on my nails, so I can get a lot of images on one plate.
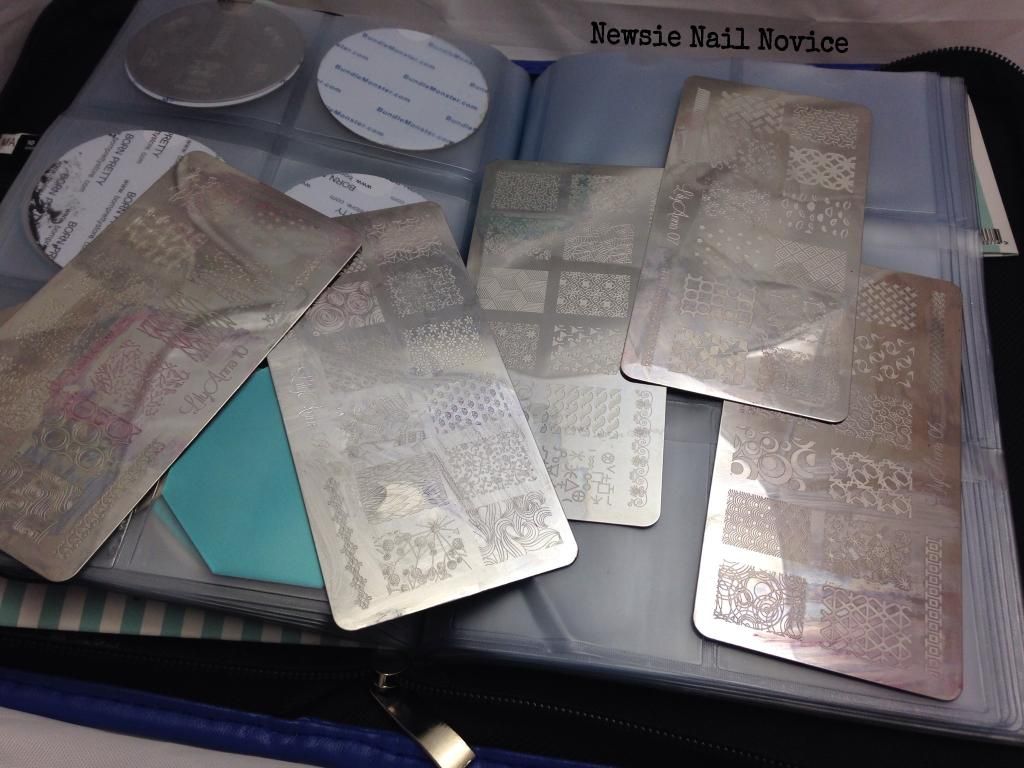
And my most favorite plates of the moment are the Lily Anna plates from Messy Mansion. Messy Mansion is out of Australia and shipping is around $6 for plates only. I just love the designs on these plates, they are so unique and I pull them out for so many different looks!
And now the fun part, I'll share a few stamped manis for your viewing pleasure!
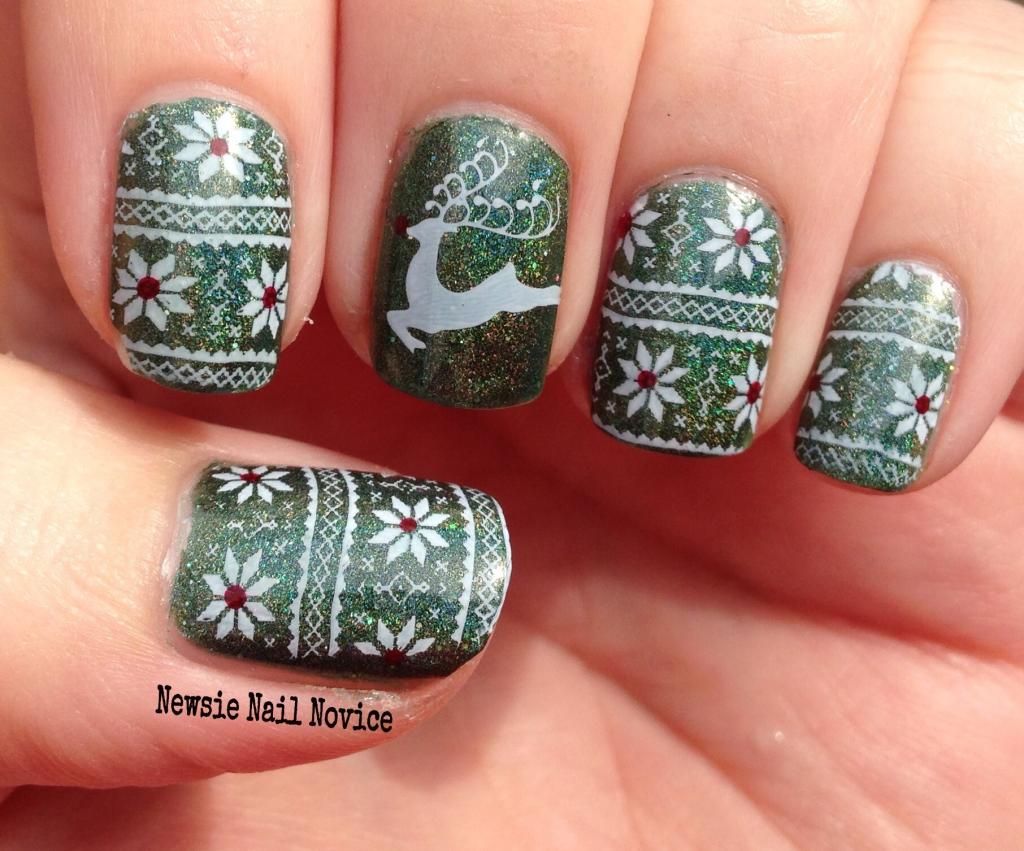
Bundle Monster and Winstonia stamping using Born Pretty White Stamping Polish
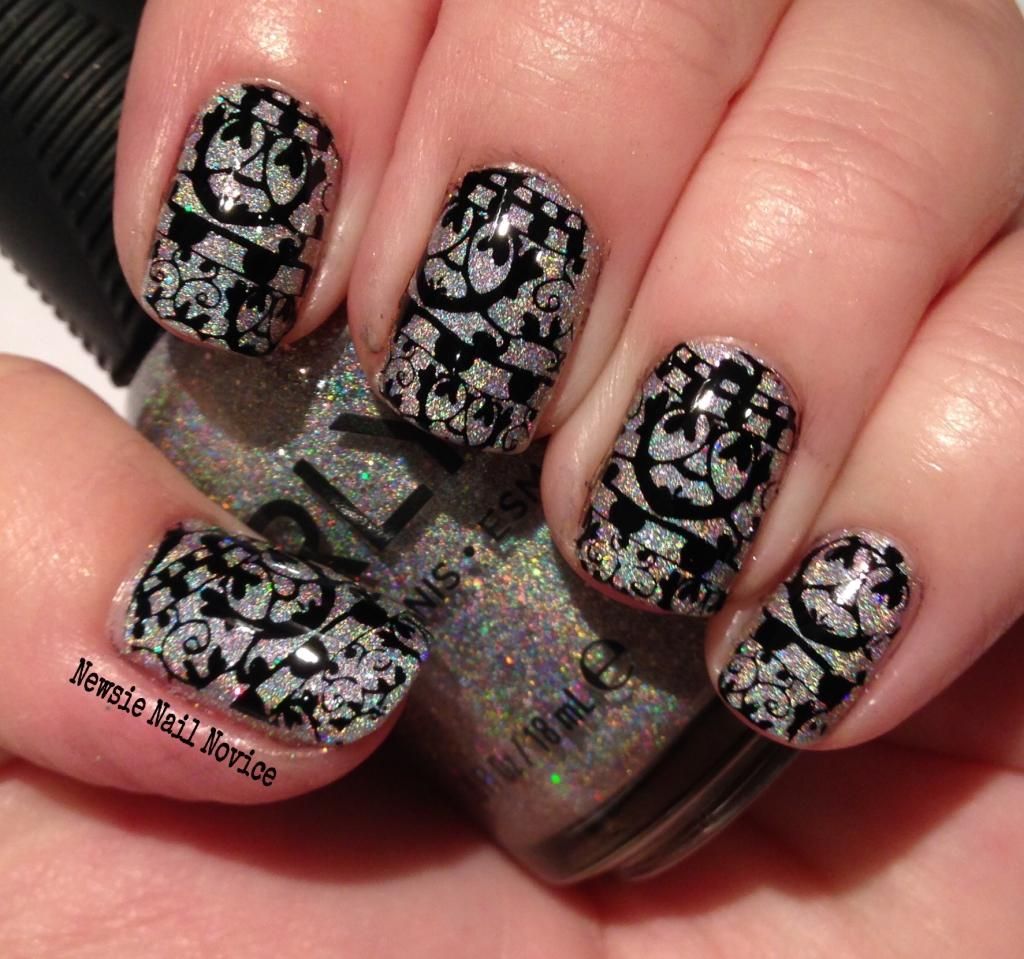
Born Pretty Store Black Stamping polish and a Born Pretty Store plate
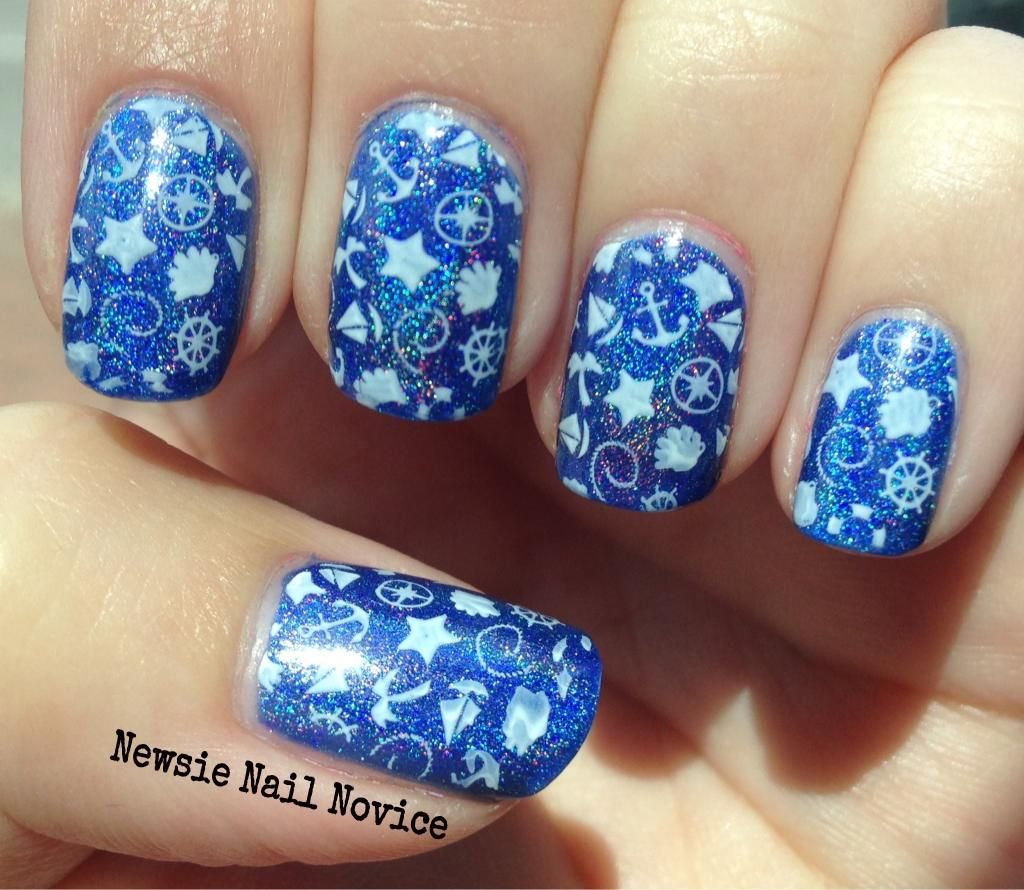
MoYou plate stamping with a drug store white (I can't recall what polish this is exactly)
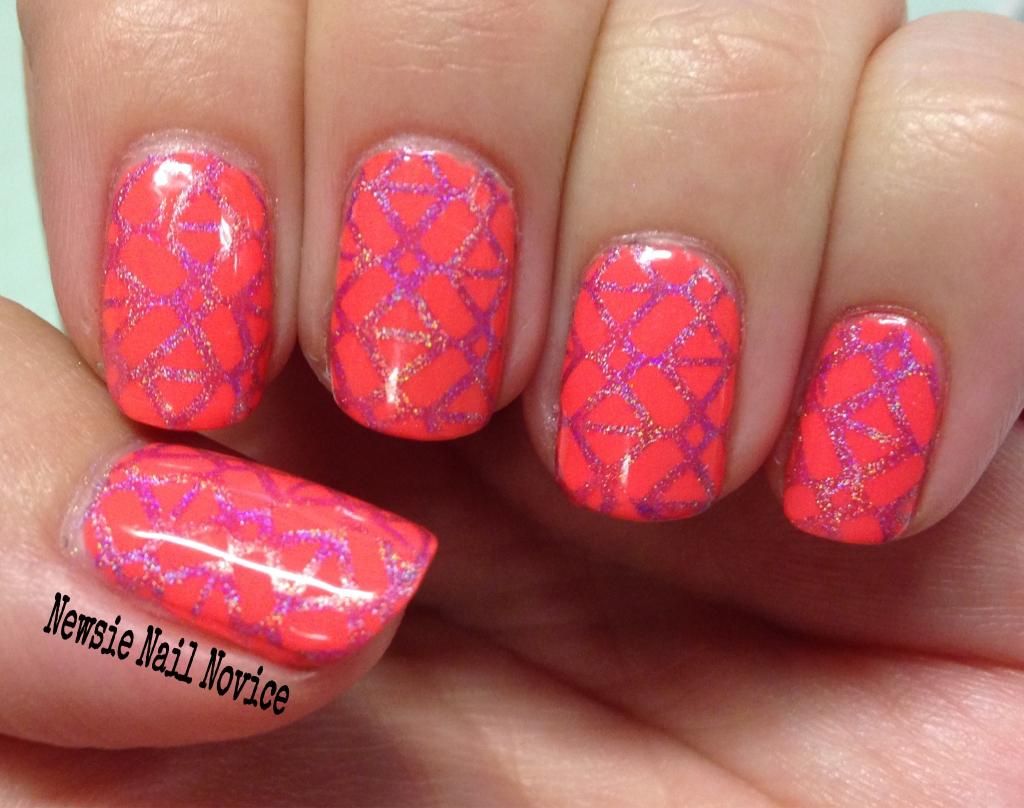
Lily Anna stamping plate with a Color Club Holo polish to stamp with.
Now for the most advanced, for which I haven't even mastered yet, the nail art brushes.
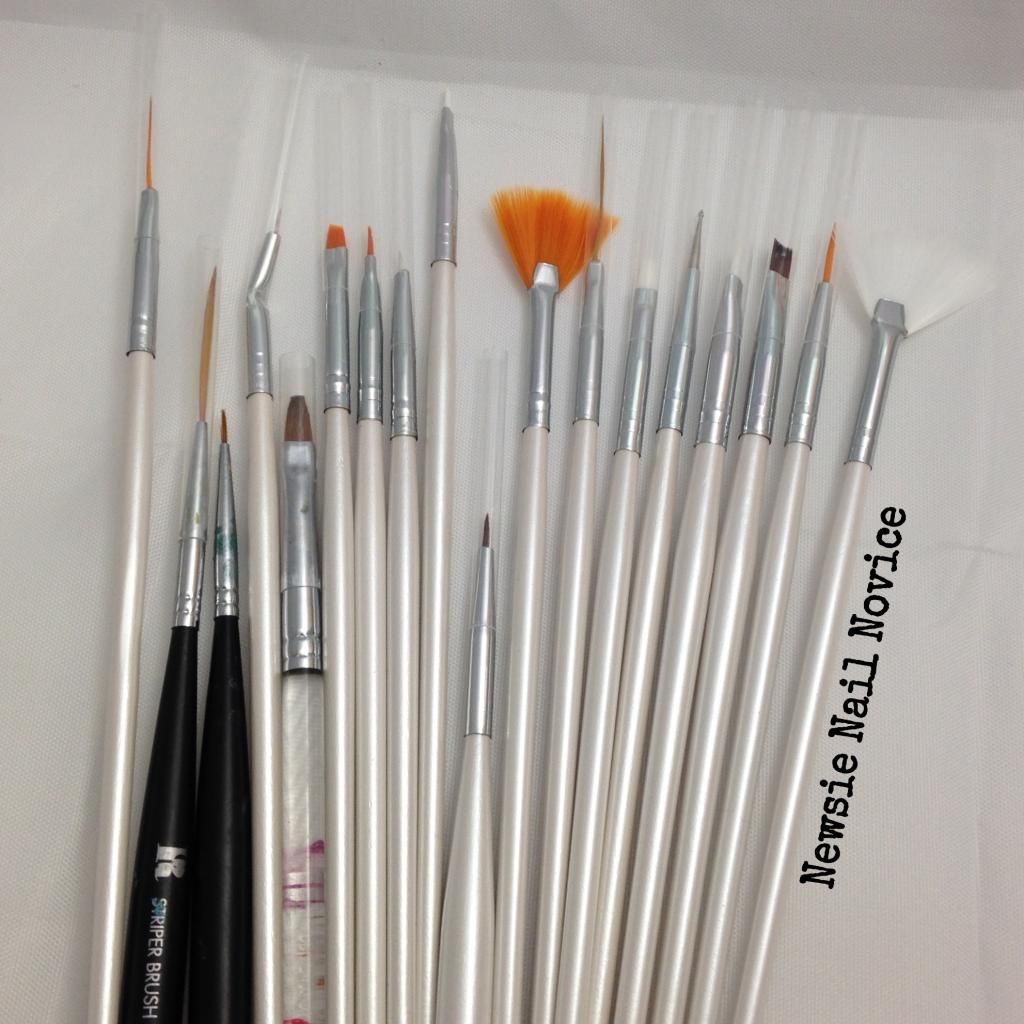
I got most of these in a set from the Born Pretty Store, because it was a decent price, but I heard you can get the acrylic brushes from a craft store and they work pretty well too.
I haven't put a lot of these to work yet, and I heard you can do a lot of nail art with acrylic paint over a polish base, but like I said, I haven't been that adventurous yet. I'll share with you my most recent mani I used the brushes for: My Piglet Nails.
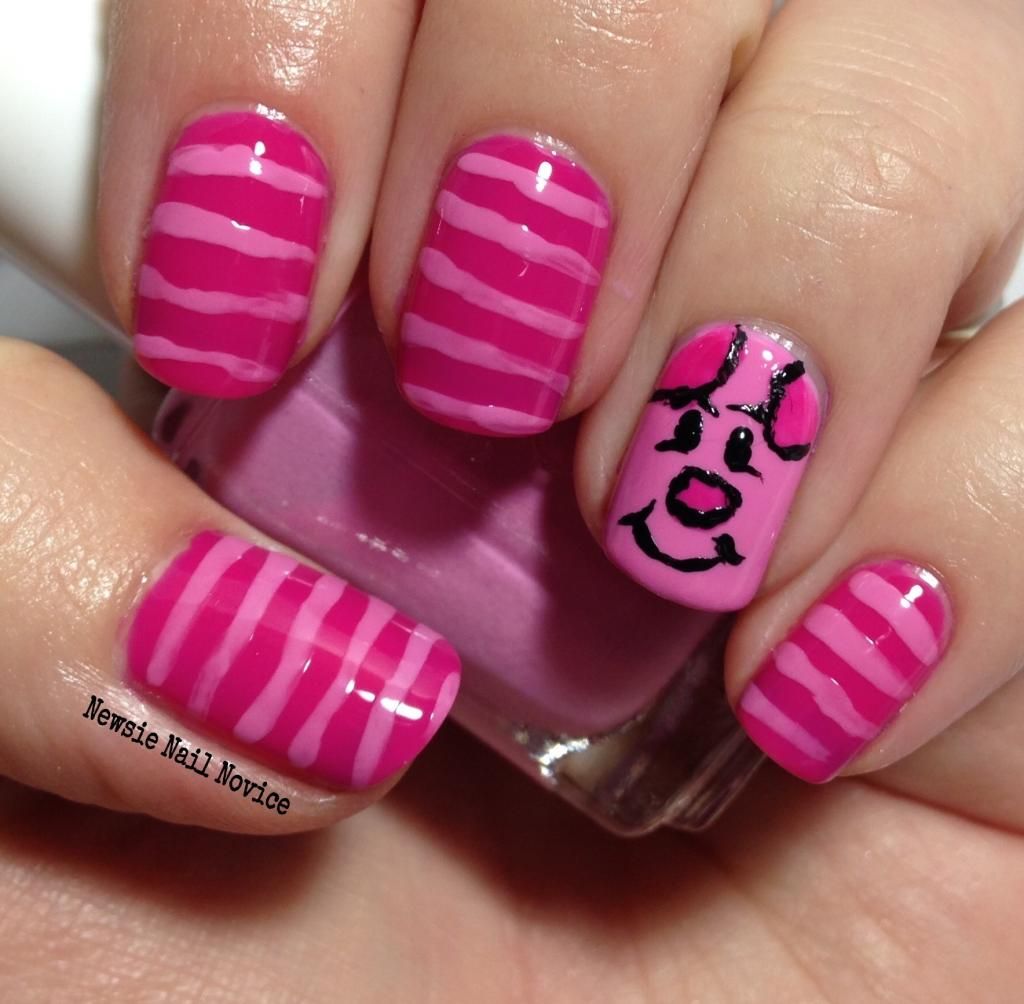
I used the striping brush for the stripes and a finer brush for the face.
As you can see, my freehand leave a lot to be desired. But practice makes perfect, and I just got acrylic black and white so I can start playing a little more with different looks.
There are of course a slew of other things you can use for nail art – 3D Nail Gems, makeup sponges for gradients, liquid latex for quick clean up – these are just what I use most often to take that regular manicure to the next level.
I hope you enjoyed this post. I had so much fun writing it and I hope that you learned a tip or two along the way! What are your favorite nail art tools? I'd love to hear about them, maybe I can try a few new things out!

No comments:
Post a Comment