Showing posts with label glitter bomb. Show all posts

Monday, June 1, 2015

Champagne and Checkers Nails

Last week was dreary and cloudy and not spring like at all in the Bay Area so I decided to wear some sparkles to bring me a little extra happy since the weather was clearly not delivering!

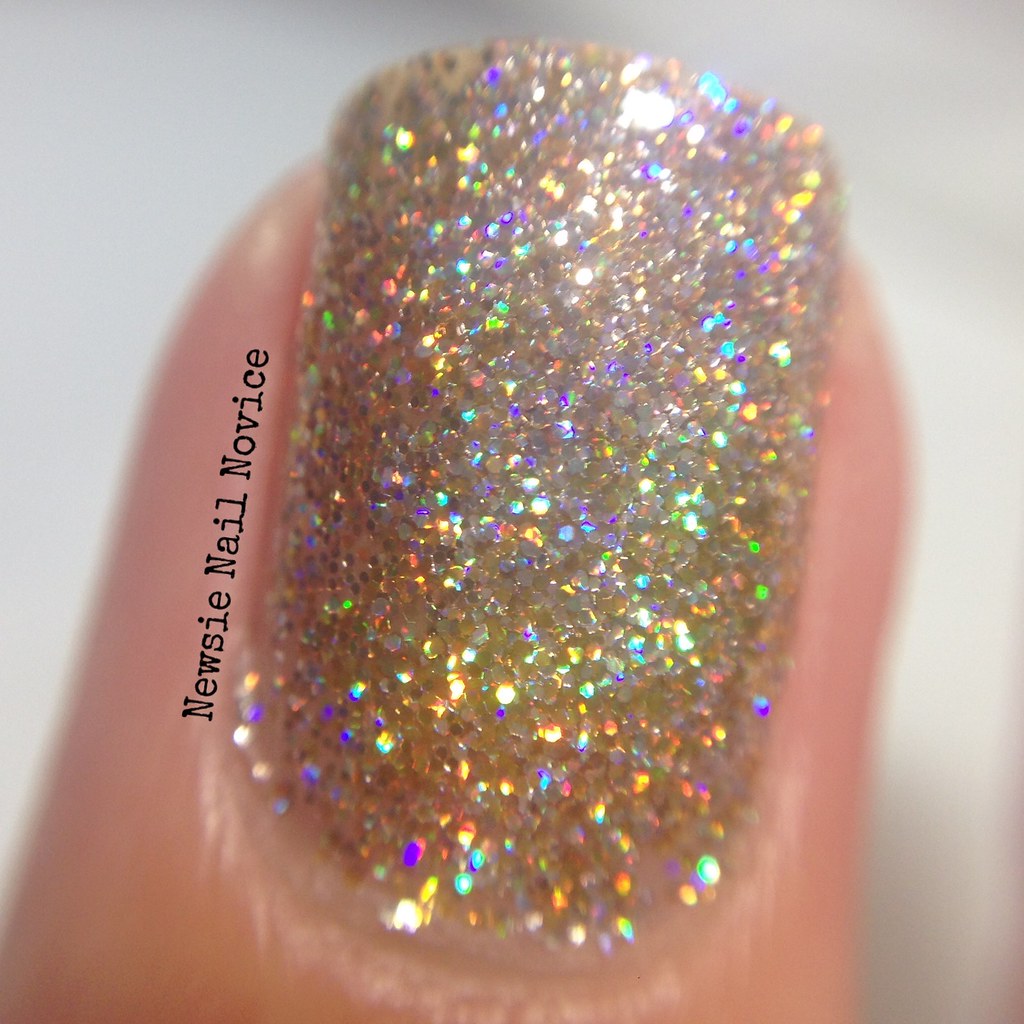
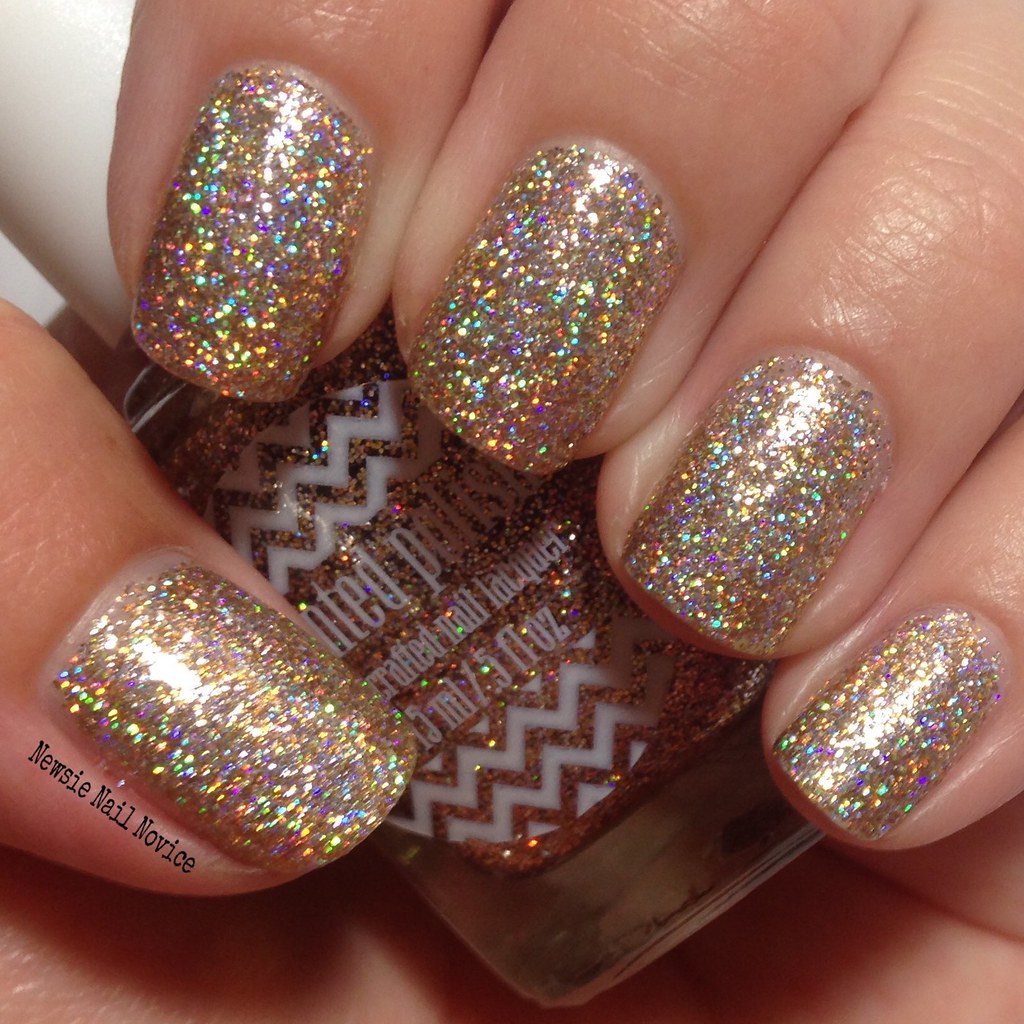
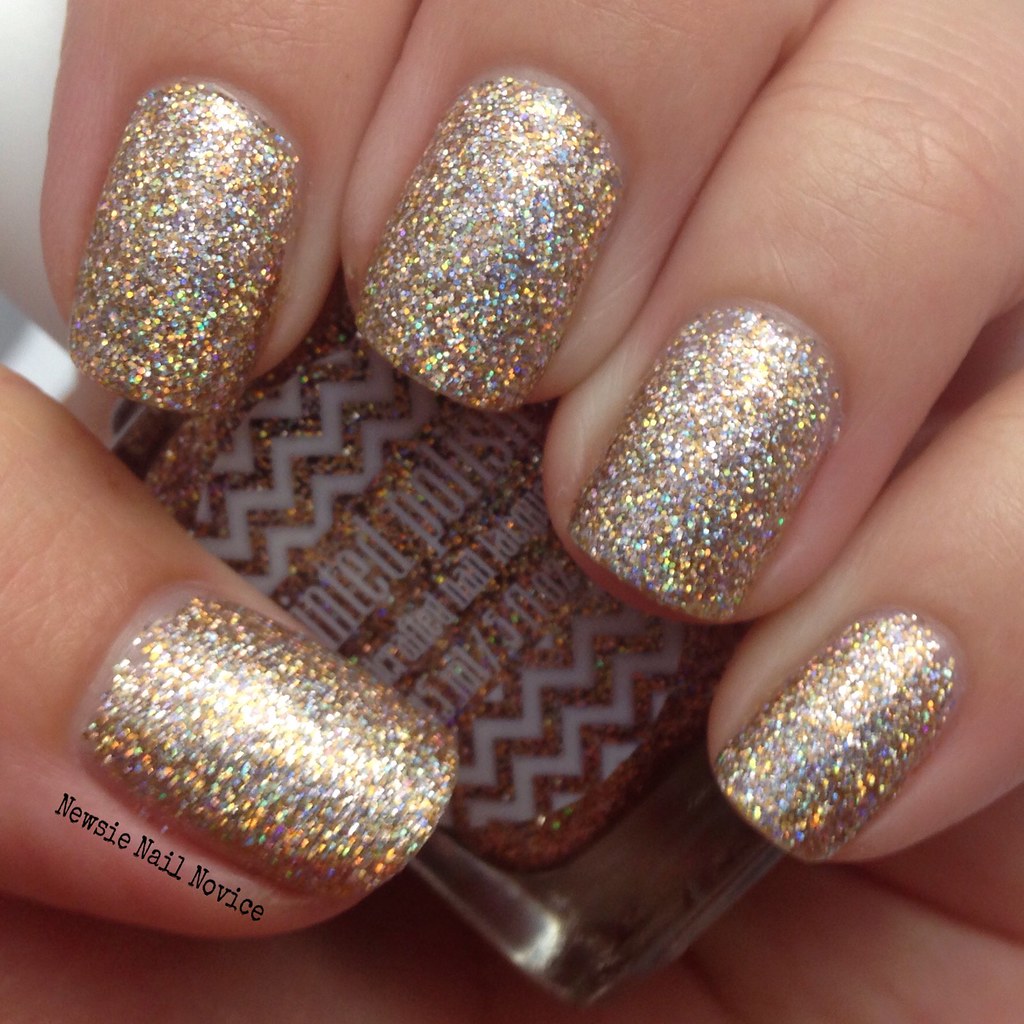
So I broke out my sparkles! This baby is Painted Polish Blinded By Bubbly and man it is totally blingy and amazing!
Untitled

Untitled

Untitled

Blinded By Bubbly is your typical microglitter. Takes about 3-4 coats for to be fully opaque. For this application I did the sponge effect, where you take a make up sponge and you apply a coat of the glitter to the makeup sponge and then apply it to the nail. It ends up being a more dense glitter effect on the nail, but then the glitter is EXTRA top coat hungry.

And can I just take a minute to talk about liquid latex? I've used my bottle of Ellagee Lickity Split several times now and I think I might be doing something wrong. When I remove it, it leaves a layer of the polish (albeit very thin/small) behind. The layer isn't stuck to the skin, but it is still connected to the mani and does still require clean up (and being that this was a glitter mani, that was a lot of clean up because extra glitter is rough to remove!). Which makes me wonder why I use it in the first place?! Am I doing something wrong? Do I need to apply more liquid latex? I remove from one side of the tip of my nail to the other, should I be removing from the cuticle instead? Send me your tips, I'd love to hear them!
Untitled

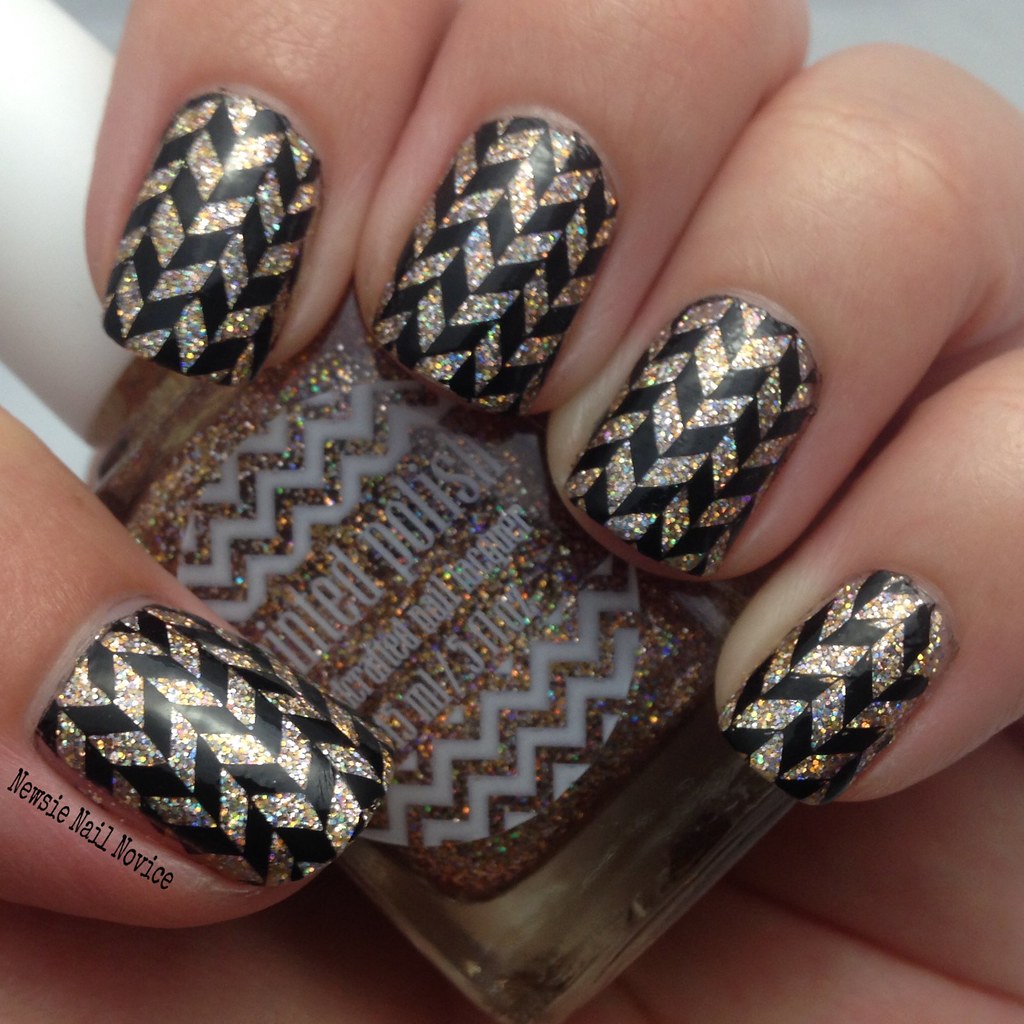
And because I can't leave a mani alone for too long, I broke out my UberChic plate U-01 and stamped this checkered look using my Rica Blackout polish (the best black stamping polish in my opinion!).
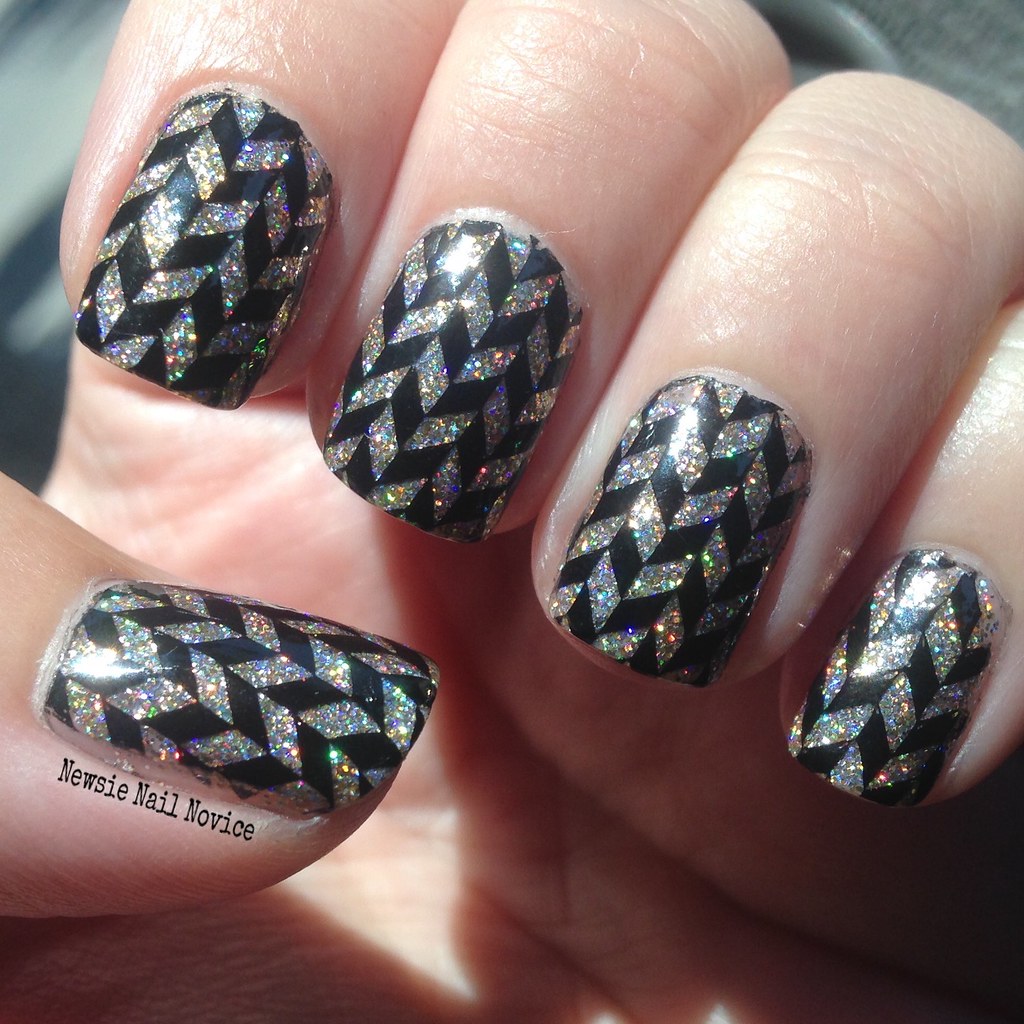
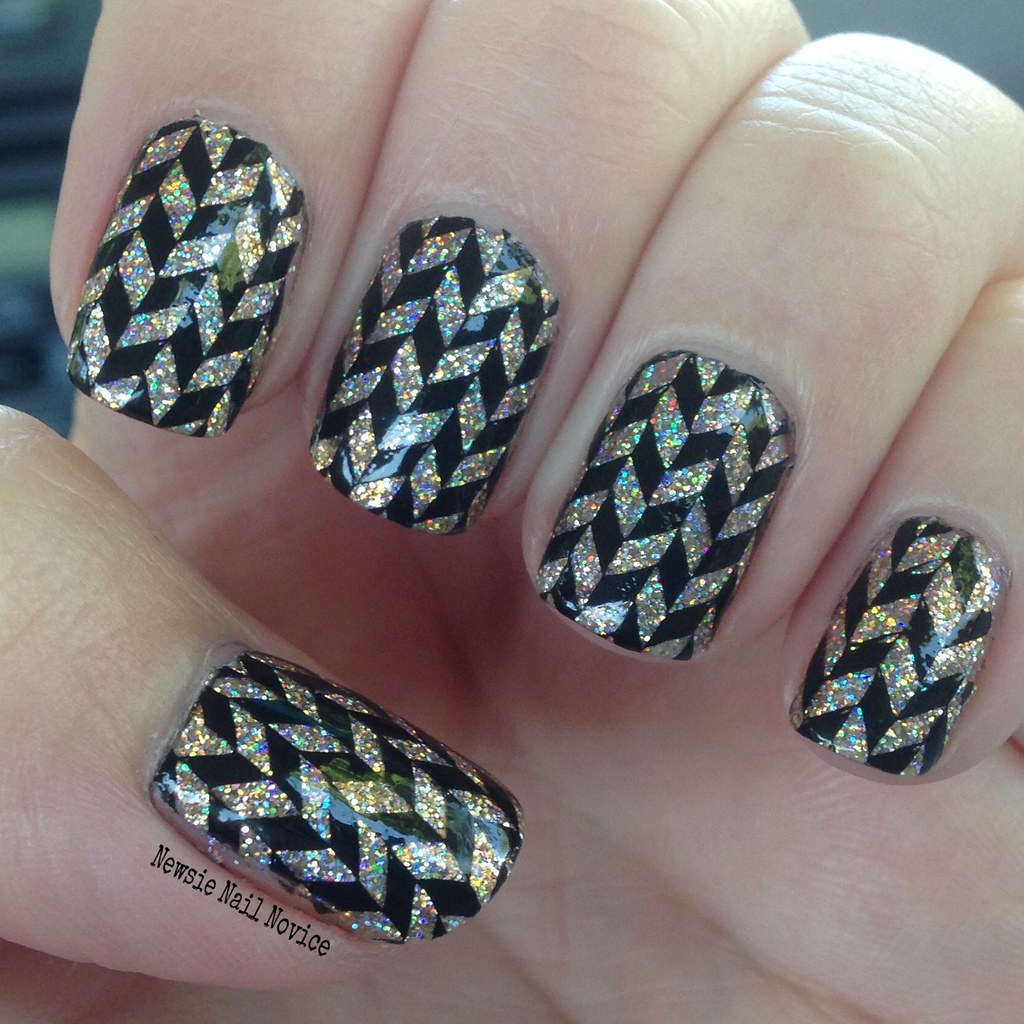
Untitled

Untitled

So what do you think of this look? It's simple but sparkly and did bring me a bit of happiness. Do you have any advice for me and my liquid latex? I'm rather sad I can't get it to work very well for me!

Wednesday, December 17, 2014

Christmas Sparkle Bomb

Today's challenge for the 12 Days of Christmas Nail Art Challenge was sparkle. This one was a tough one for me because I have a lot of gorgeous sparkle nail polish, it was hard to pick.

 photo C8B3301B-6867-471B-B781-0A35D5D86B55_zpslyhrj3op.jpg

The final product is a good mix of gold, red and green, with tiny white glitter throughout.

 photo C9F05E26-F7C4-457C-8146-4BB0181EF94A_zpss5ewqxlp.jpg

I started the manicure with three thin coats of Painted Polish High Off Holo. It is a gold holographic microglitter. On it's own it was quite beautiful.

 photo D7AEED3E-805F-4C13-BB0A-4E42888DF678_zpsajnwfjps.jpg

Then to give it that special Christmas glitter mix to it, I added 1 coat of Model City Polish Christmas With A Chance of Snow. I have never tried Model City Polish before and I have to say I was quite impressed with this polish. I received it in Santa's Secret Sack Indie Polish Box I purchased in early November but just got in the mail this week!

Christmas with a Chance of Snow is a glitter topper (or it's beautiful on it's own as well) that includes green and red medium holographic glitter pieces with mini white microglitters scattered throughout. The polish is so pretty and perfect for the season. The polish was extremely easy to work with, no glitter dragging and it was densely packed in the bottle, so there was no fishing or dabbing needed for application. It retails for $8.50. I was definitely impressed with my first Model City Polish.

Anyway, can't wait to see what everyone else chose for this challenge. Check out the other ladies, at the Inlinkz below!


Monday, July 21, 2014

KBShimmer Belle of the Mall

Happy Monday everyone! I think I can only say that because I am typing this up not on a Monday. What is with Mondays? They really can be the worst sometimes huh?

Anyway today I have a sparkle bomb of brightness to share with you. I first fell in love with KBShimmer after seeing their outrageous jelly sparkle polishes that truly pack a punch. Belle of the Mall is from KBshimmer's their Spring Collection and it's a beautiful pink leaning coral jelly glitter bomb!

 photo 7DB2B856-9DD8-49CC-97B0-8403441E1E85_zpstwlzmw8k.jpg

Not only did this polish sparkle in the sun, it was almost neon in the shade! Such a beautiful bright pink color!

 photo FAD1FBF9-2129-4AC1-BC08-EB6BD8B1D019_zpslupe8pzj.jpg

This polish consists of holo hex pieces of various shapes suspended in a pink leaning coral glitter that glows in and out of the sunlight!

 photo C18FC405-AABF-4E98-B6D5-4E9AB97031EE_zps7gqqiehk.jpg

Now, I seriously love glitters, but I seriously hate removing glitters. So I naturally I got a base coat that makes removal easier – here I used Nail Pattern Boldness Glitter A Peel. I have a love hate relationship with this base coat – I love how easy it makes my glitter to remove, but I hate that my manicure lasts less than 24 hours before it starts the easy removal process. I just want to wear a glitter for a longer amount of time (than 24 hours) and have an easy time removing it. But unfortunately that is just too much to ask.

And so I painted my nails the evening before and by 2 p.m. the next afternoon, this happened:

 photo 9E663BBC-634E-4794-BBB9-A7E84C792F79_zps3dlxgmbf.jpg

Application: KBShimmer makes THE best glitter bombs that require no fishing for the various sizes of glitter and went on easy in three coats!

Where to purchase: You can purchase Belle of the Mall from KBShimmer's website for $8.75. Seriously these are some of the most affordable and best quality indie polishes on the market, if you haven't already browse their site – they have something for everyone including cremes, holos, multichromes and yes glitter bombs!

P.S. My MoYou London Stamping Plate Giveaway is still going on, check out this post to enter the Rafflecopter and good luck! 

Wednesday, June 11, 2014

Emily De Molly Monet's Garden

This sparkle polish is amazing! Created and named for Monet's Garden in France, this polish is such a beautiful homage to Monet's beautiful garden!

 photo A6C6C366-6CC9-4B16-805D-89536AC09C30_zpsmlriznv9.jpg

The polish consists of green, lime, neon green, purple and blue glitter suspended in a green jelly base. I could not keep my eyes off this glitter! It was so beautiful. I'll show it in a variety of lighting so you can get a feel for it indoors and out.

 photo 0D61AB4B-44C1-44A0-A4C1-52102D32EE1E_zpsy4ghegiw.jpg

 photo 8F60AC08-4142-44F3-8963-49D26B000C42_zps91sbqgbh.jpg

Since I was so drawn to the neon lime pieces, I thought I'd add some chevron accents to highlight the neon green glitter in the polish.

 photo E39677F1-ABE4-436C-82F8-1786F43750D7_zpsgonh9wft.jpg

The polish I used for the chevrons is Essie's The More the Merrier. I used nail vinyls to create the chevron look.

 photo B0AB1C9F-0557-4C07-9BB8-9F321722A5D9_zpshdgrhjl9.jpg

 photo 4EF3966C-5F6E-4AF5-91C0-6032AE85BB69_zpsiagzm2wx.jpg

Application: I was so impressed with the application of this glitter. It went on in two coats and was not difficult to apply. No dabbing needed and the application did not drag the glitter. It was the best experience I've ever had with glitter application. Unfortunately, I really loved this polish and wore it for several days – took 30 minutes to remove! Curse you beautiful glitter!!!

Where to Purchase: Emily De Molly is an Austrailian nail polish brand, so I turn to her USA stockists to purchase. I purchased this polish on Llarowe for $13. So word on the street is the creator is currently taking a maternity hiatus from creating the polish, but should be back. So keep an eye out for this amazing polish!

Tuesday, May 27, 2014

Ellagee Nai'a review and swatches

Hey everyone, today I have a really fun glitter polish to share with you! I recently learned of a new indie polish maker, Ellagee and her wonderful line dolphin glitter polishes. Yeah you heard that, holographic dolphin glitter!!!!

 photo 5DF22B83-E4FB-488C-B3CD-CDD7FF386CB3_zpscgxtv7az.jpg

Ellagee Nai'a is a clear glitter containing holographic dolphin pieces scattered among various teal, violet and red-orange glitter pieces.

 photo D3F82B69-3E7B-404C-A5B1-4F32A4CFB4EF_zpsyesl6eik.jpg

Note: Since this polish is in a clear base, I used about two coats of the glitter over a black polish. 

 photo CFC760DA-FE80-46C5-AED3-8AEC4CCD6C4F_zpsrtlhm1cq.png

 photo 1B6412CC-3B5E-4729-978E-437039B3F258_zpstuappquy.jpg

Application:  The glitter goes on great, but I did have to fish a little for the dolphin pieces. For optimal application I would do a coat or two of the glitter polish, and when a dolphin comes out use an orange stick to place it how you would like on the nail. The glitter and dolphin pieces do leave a slight texture to the nail, so adding an extra layer of top coat or two would solve the problem. Overall application was not difficult and the payoff was amazing. We are talking HOLO GLITTER DOLPHINS people!!!

Where to purchase: You can purchase Ellagee polishes at her online store, with regular size polishes retailing for around $9.75. She has many different types of polishes, including many more dolphin polishes to check out. I ordered a mini-sized sampler set for $16, which is a great way to try out a new indie polish brand. Seriously, you should check out her polishes, there is something for everyone!