Showing posts with label rica polish. Show all posts

Monday, June 1, 2015

Champagne and Checkers Nails

Last week was dreary and cloudy and not spring like at all in the Bay Area so I decided to wear some sparkles to bring me a little extra happy since the weather was clearly not delivering!

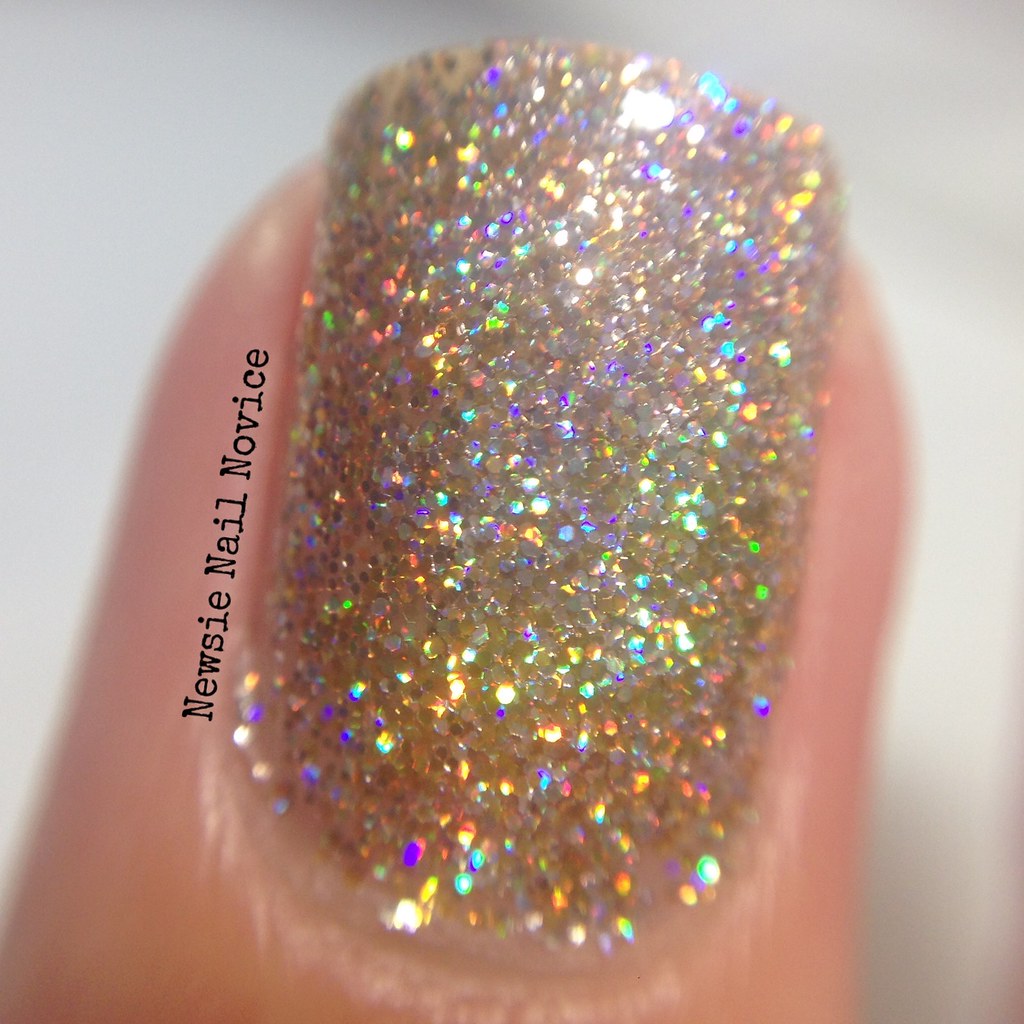
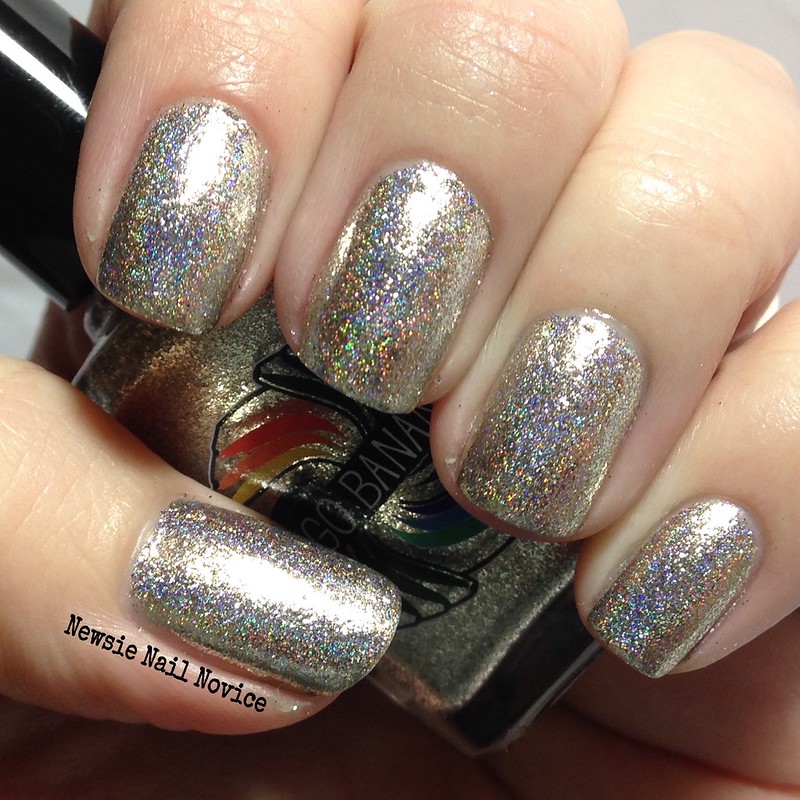
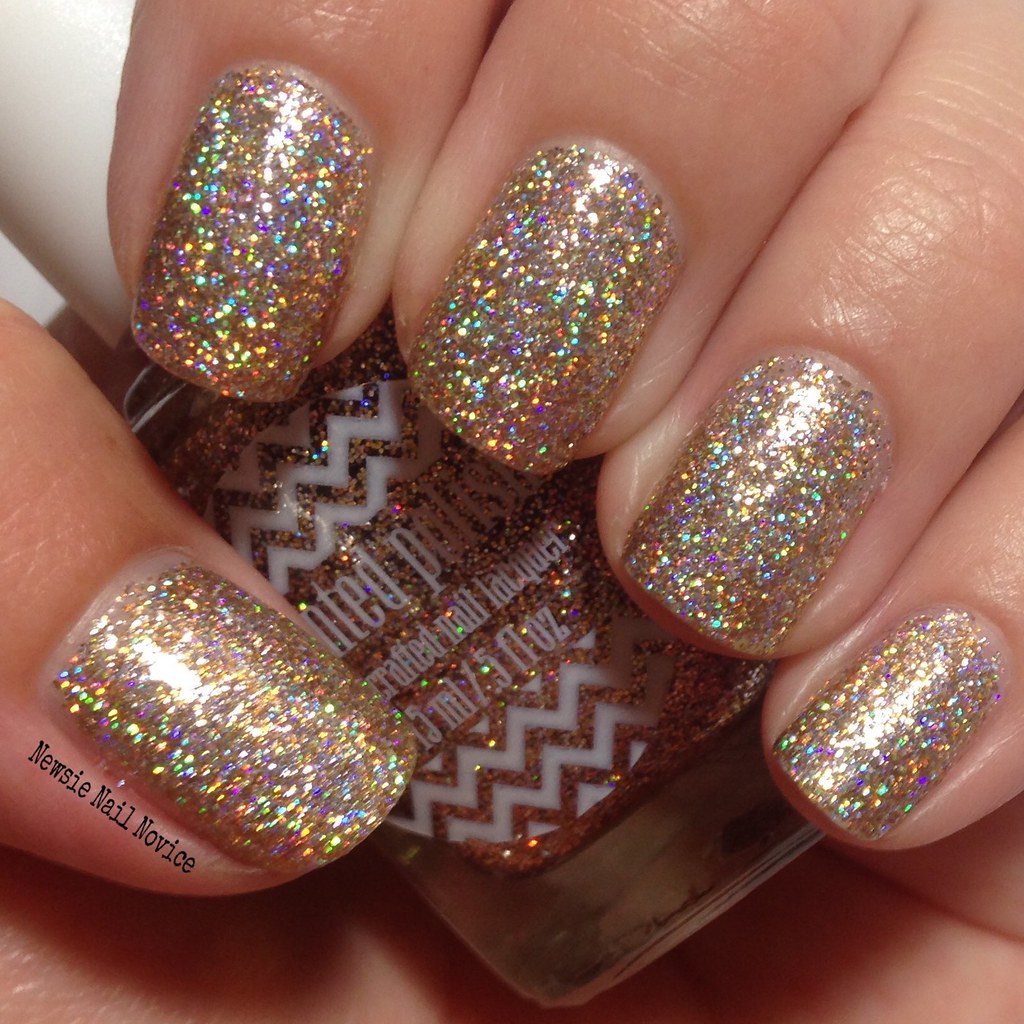
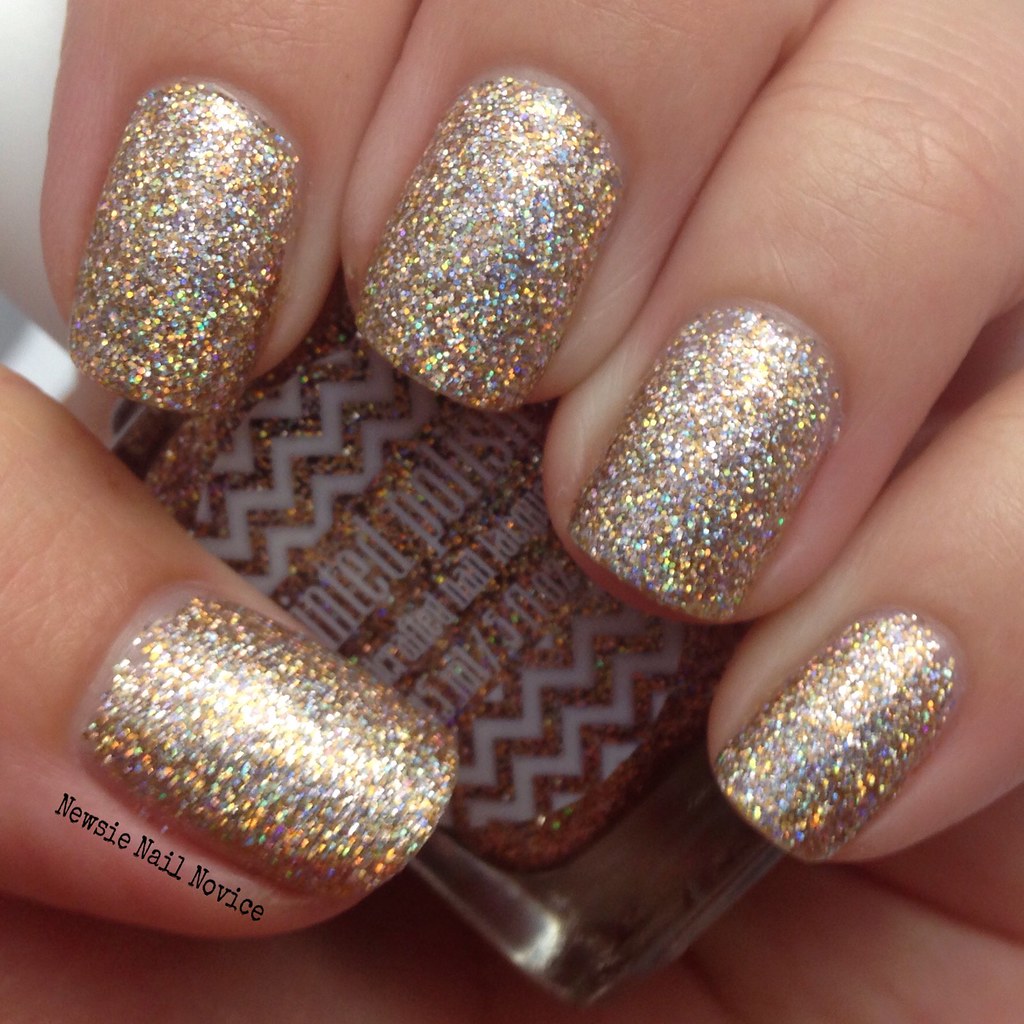
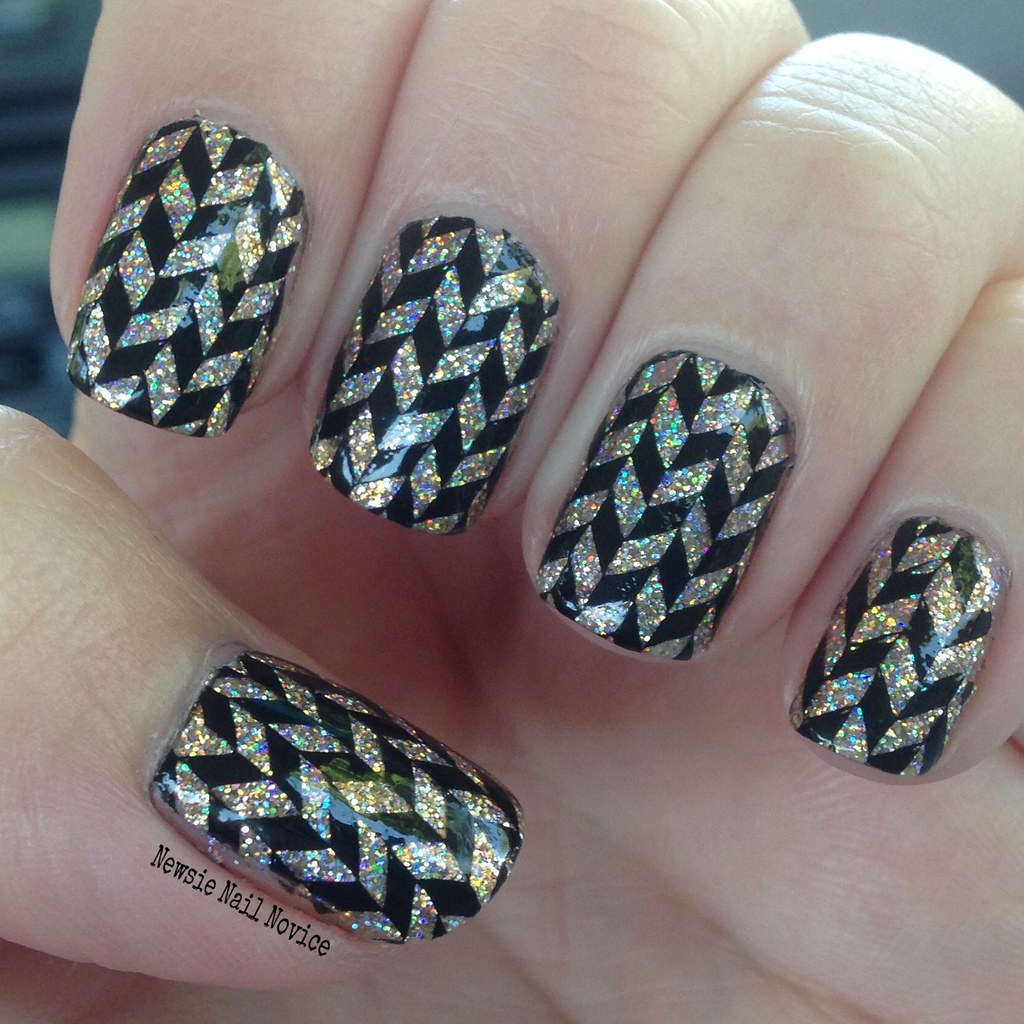
So I broke out my sparkles! This baby is Painted Polish Blinded By Bubbly and man it is totally blingy and amazing!
Untitled

Untitled

Untitled

Blinded By Bubbly is your typical microglitter. Takes about 3-4 coats for to be fully opaque. For this application I did the sponge effect, where you take a make up sponge and you apply a coat of the glitter to the makeup sponge and then apply it to the nail. It ends up being a more dense glitter effect on the nail, but then the glitter is EXTRA top coat hungry.

And can I just take a minute to talk about liquid latex? I've used my bottle of Ellagee Lickity Split several times now and I think I might be doing something wrong. When I remove it, it leaves a layer of the polish (albeit very thin/small) behind. The layer isn't stuck to the skin, but it is still connected to the mani and does still require clean up (and being that this was a glitter mani, that was a lot of clean up because extra glitter is rough to remove!). Which makes me wonder why I use it in the first place?! Am I doing something wrong? Do I need to apply more liquid latex? I remove from one side of the tip of my nail to the other, should I be removing from the cuticle instead? Send me your tips, I'd love to hear them!
Untitled

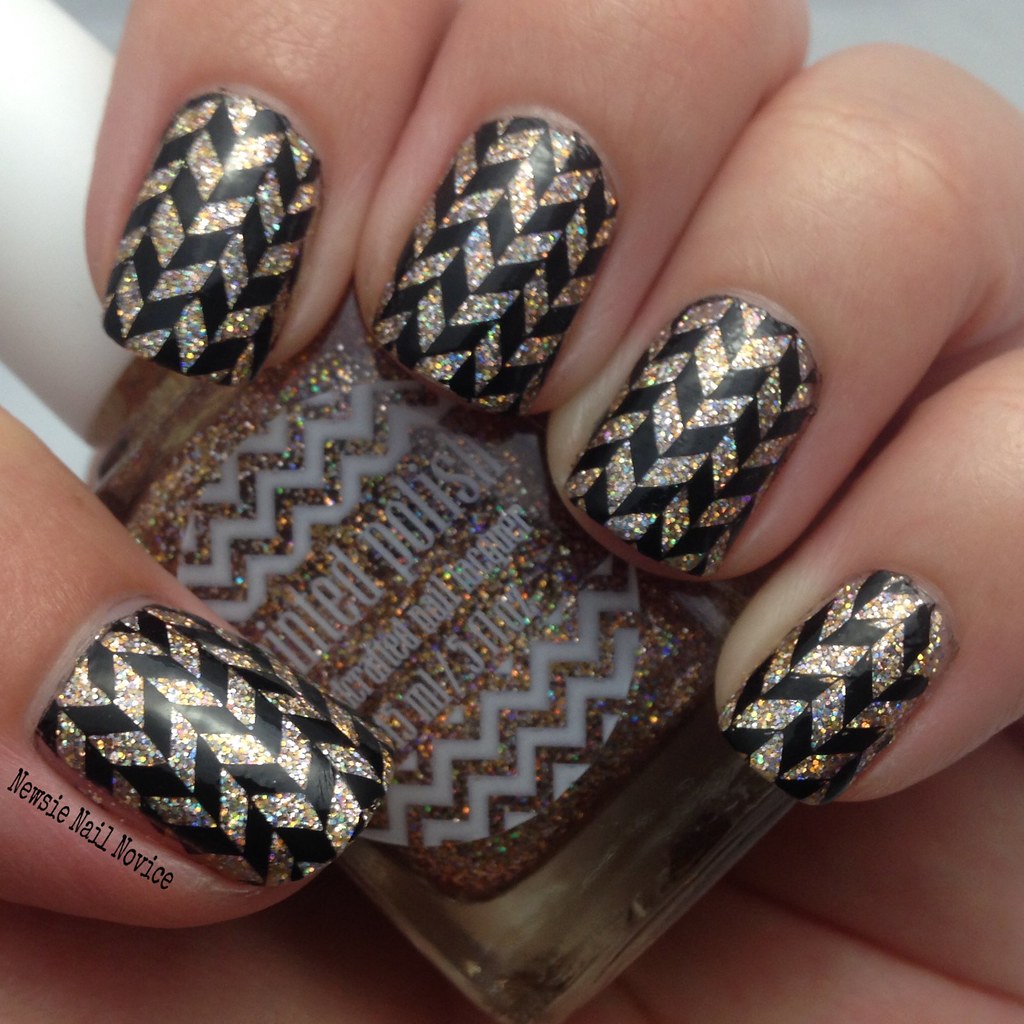
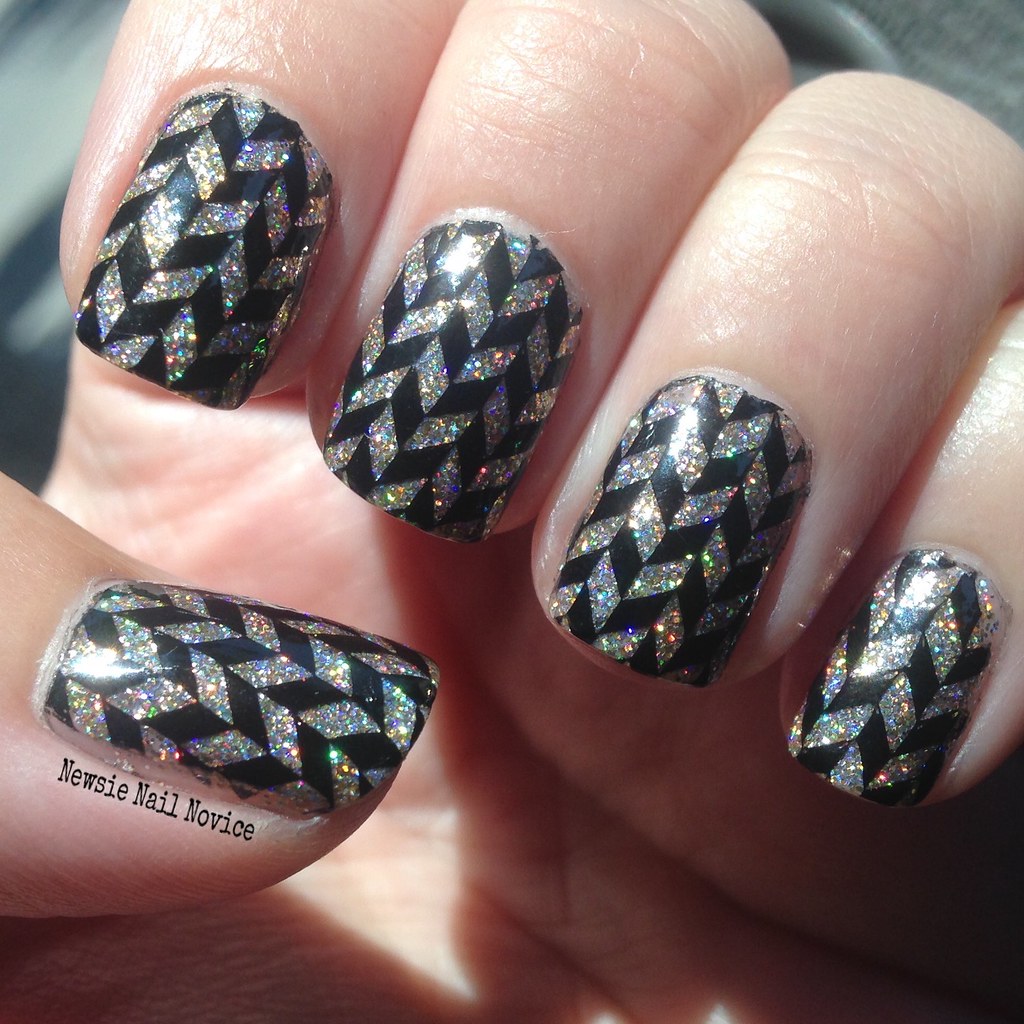
And because I can't leave a mani alone for too long, I broke out my UberChic plate U-01 and stamped this checkered look using my Rica Blackout polish (the best black stamping polish in my opinion!).
Untitled

Untitled

So what do you think of this look? It's simple but sparkly and did bring me a bit of happiness. Do you have any advice for me and my liquid latex? I'm rather sad I can't get it to work very well for me!

Friday, May 22, 2015

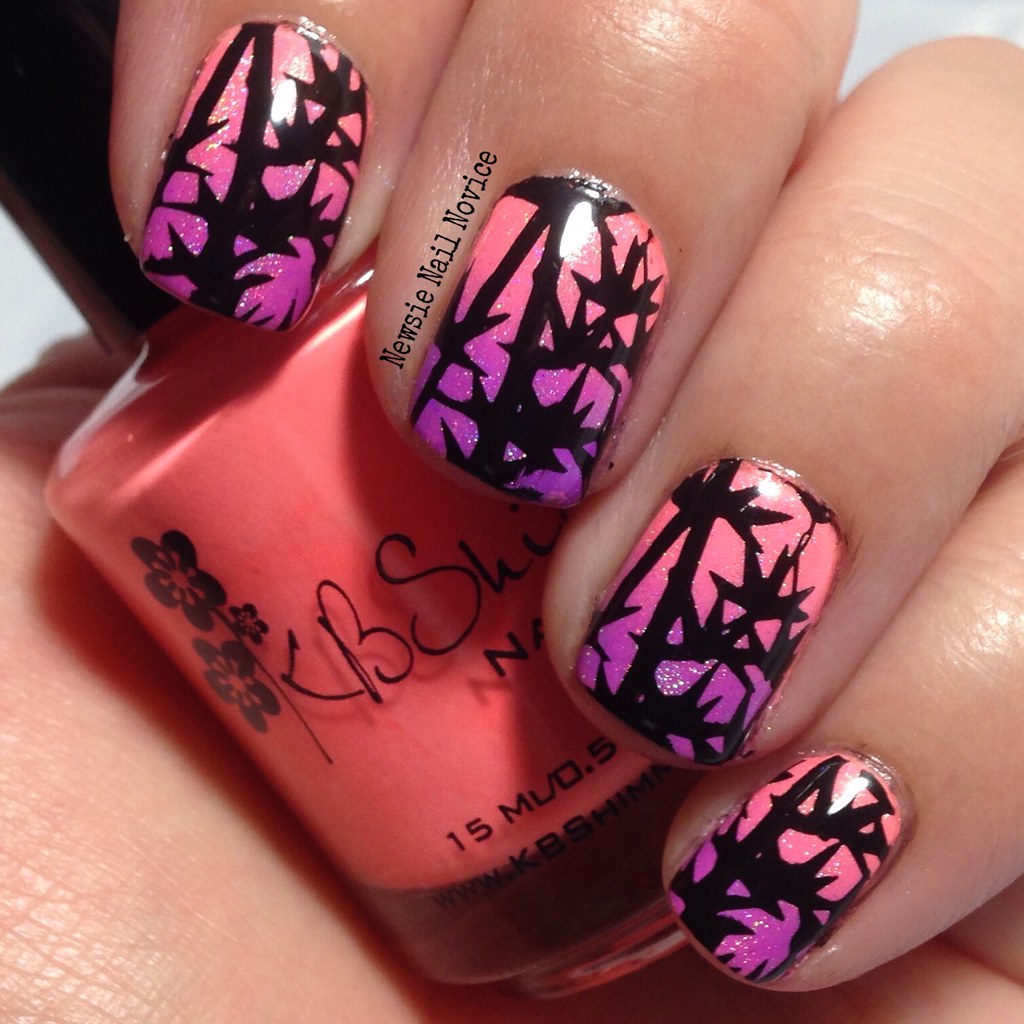
Hawaiian Sunset Gradient with BPS Stamping

Happy Friday everyone! I'm so ready for this three day weekend after suffering through a terrible migraine for a good portion of the week, I'm ready to kick back and relax finally.

I got my new KBShimmer polishes in the mail Wednesday, but was too ill to play with them until last night! First off, so excited with what I got, after receiving a birthday gift certificate and holding on to it I used it all on the summer bleached neons! I got Bahama Drama, Leggo My Mango, For Sail By Owner, In Yacht Water, Sarong Place, Sarong Time and What Are Your Wading For? I also got three of their new mani shots, which I intend to use very soon!

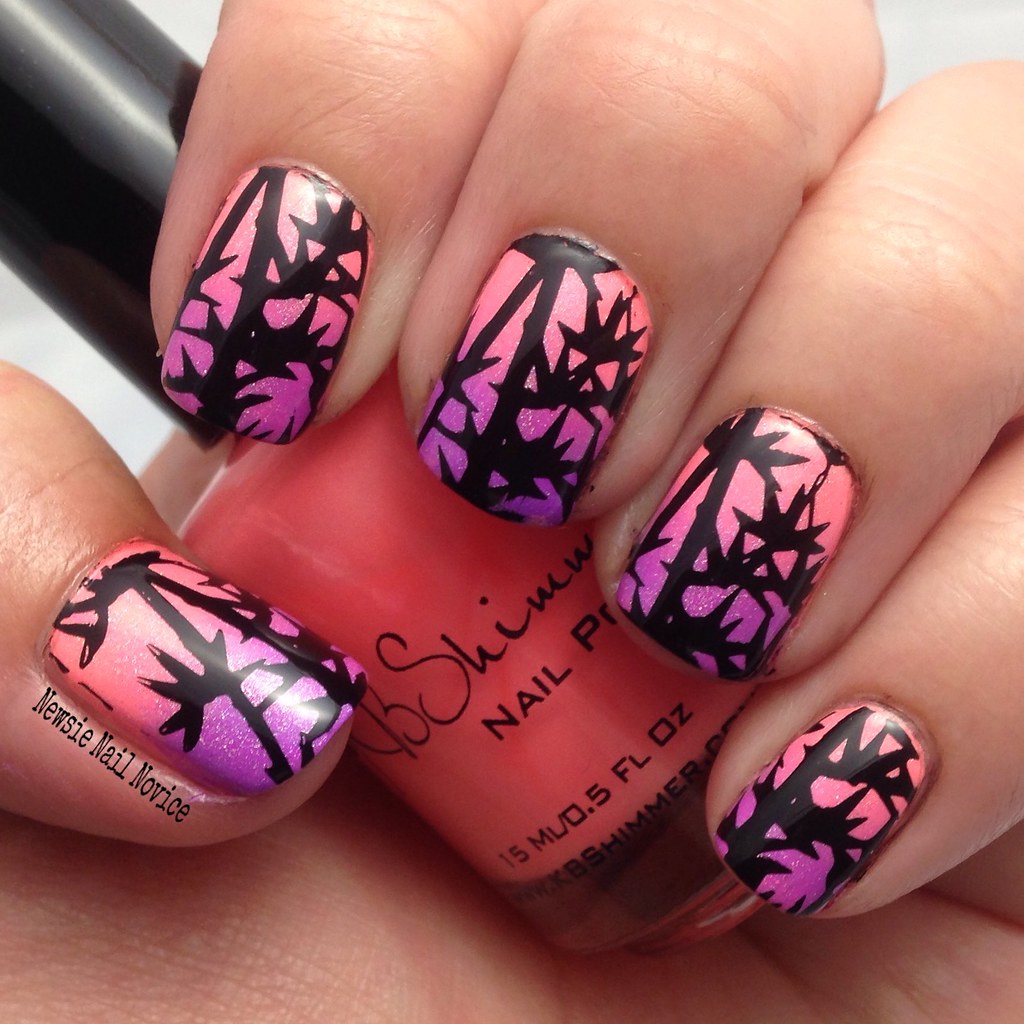
Anyway, let's get to the first creation using these shall we? I showed these too my husband when I finished and he promptly said, "It looks like a calendar of Hawaii, let's go to Hawaii!" He's too funny!

Untitled

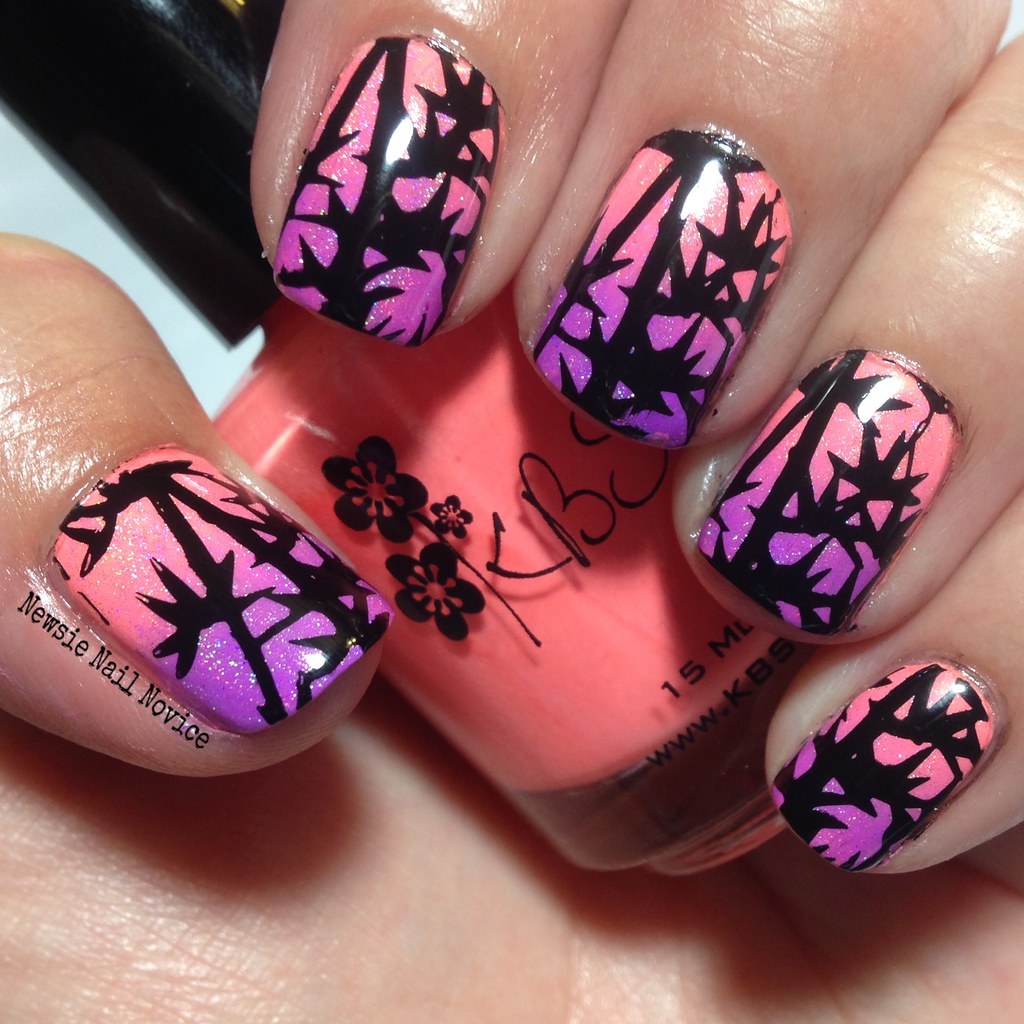
I started with a base of Bahama Drama, the very first KBShimmer neon I knew I needed. It is a gorgeous creamy coral neon that is so bright! Formula wise, I found it to be on the thick side. It was a little streaky by the first coat, but the second coat covered it all up for the most part. Since I knew I was going to gradient the nails, I decided not to do a third coat, but normally I probably would have. The polish dried pretty quickly though, and was a satin almost rubber like finish without top coat!

Untitled

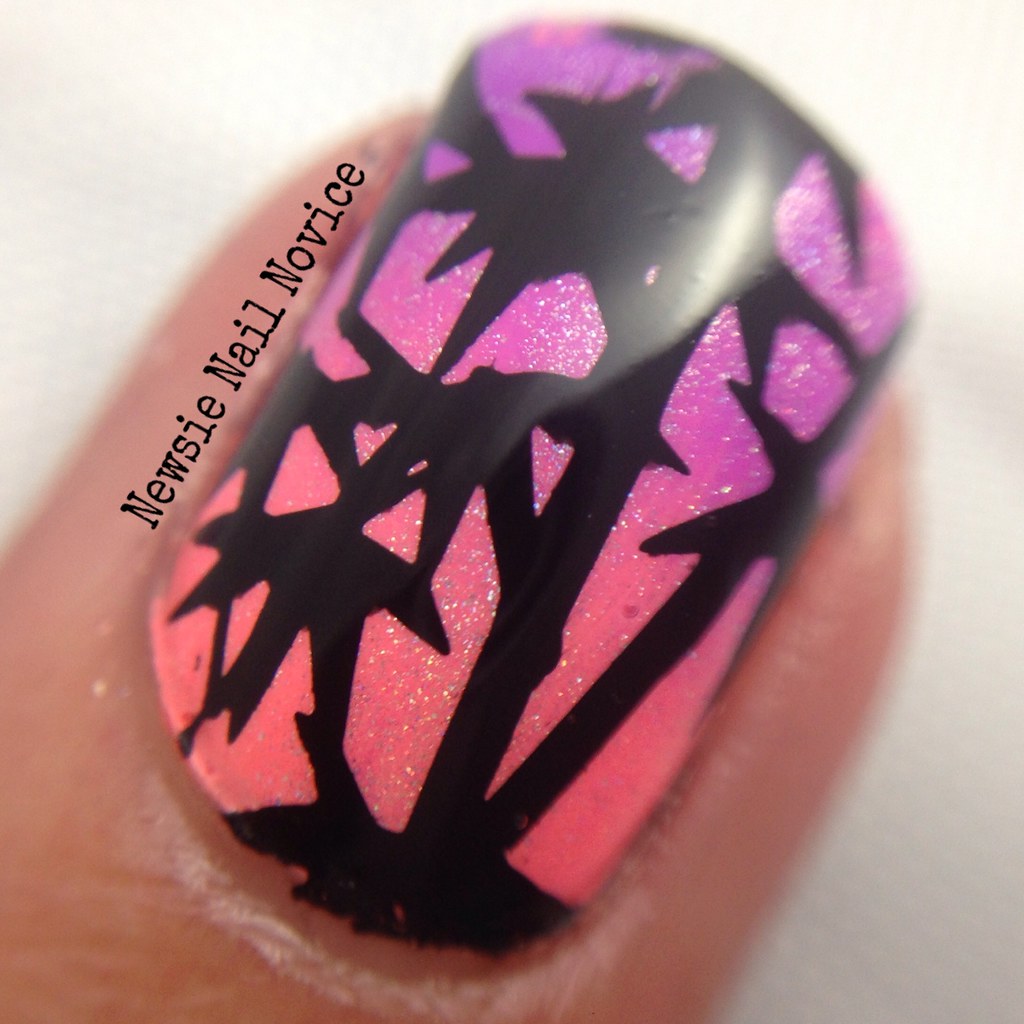
So after my two coats of Bahama Drama dried, I took out Sarong Place, Sarong Time which is a beautiful magenta-leaning purple neon polish and applied it and Bahama Drama to a make up sponge and applied the gradient. I topped off the gradient with my new favorite gradient topper: Spectraflair 35 Top Coat by Spectraflair4U and then set off to add some bold stamping to the look!

Untitled
*Press Sample*

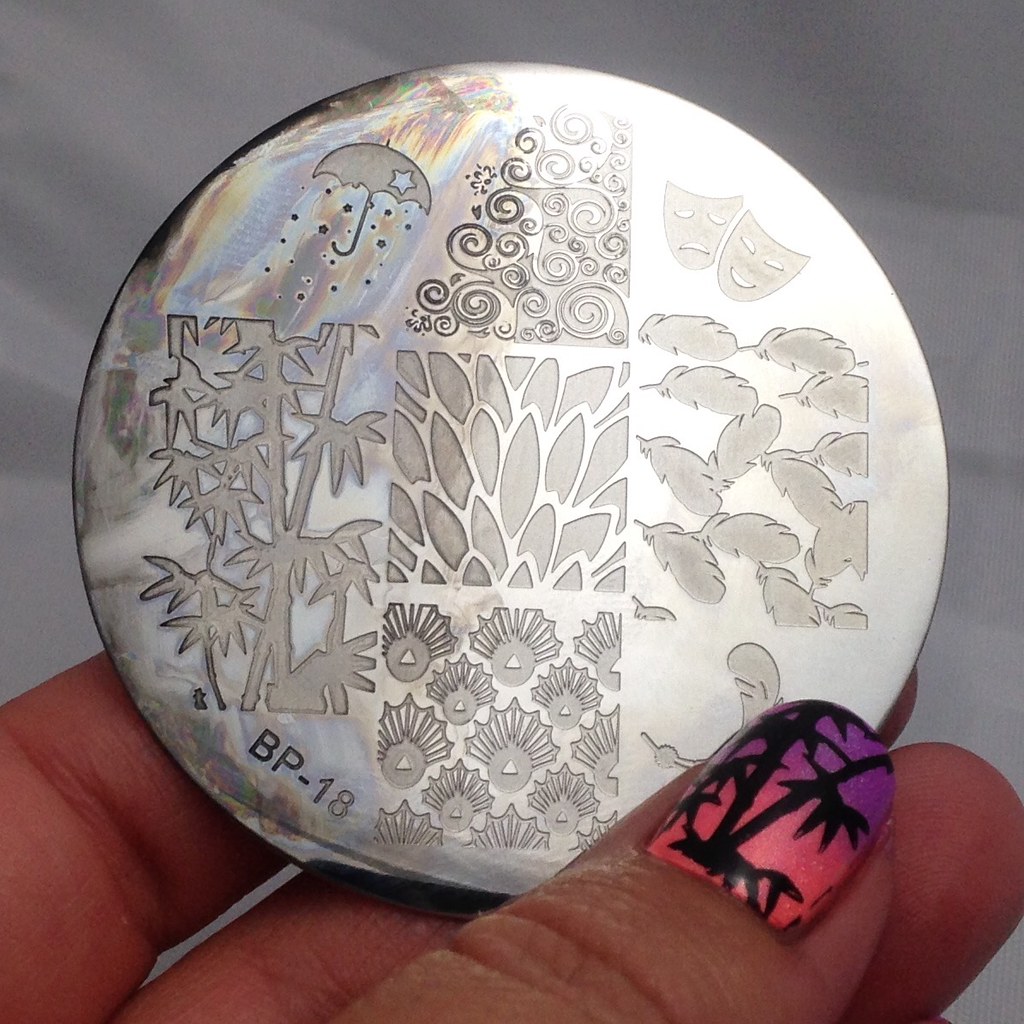
I had gotten behind on some of my Born Pretty Store reviews, admittedly, so I broke out one of my nail stamping plates provided for review and decided to go to town with it! I chose this plate specifically for that bamboo looking image I used on my nails with a sunset-esque look just like this in mind.

Untitled

This plate is the Born Pretty Store Plate BP-18 and I had zero issues with it! Now that I look at it again, those feathers look like they would be an awesome stamping design as well, looking forward to trying that in the future too! This plate retails for $2.99, but you can use my Born Pretty Store discount code of TRAH10 to save 10 percent off your purchase (on items not already discounted). I've been pretty pleased with the nail stamping plates I've tried from them, and they keep releasing new images all the time.

To stamp with I broke out Rica Blackout, my most favorite black stamping polish. It is opaque, not gooey and easy to work with! And as you can tell the results are stunning!

Untitled

So what do you think of this look? It definitely makes me want to go back on vacation that is for sure! I think it is super happy and a great way to break in the KBShimmer Neons I just purchased! Hope you all have a fantastic three day weekend ahead of you!

Wednesday, February 18, 2015

Geometric and Blue/Green/Yellow Leadlight Nails

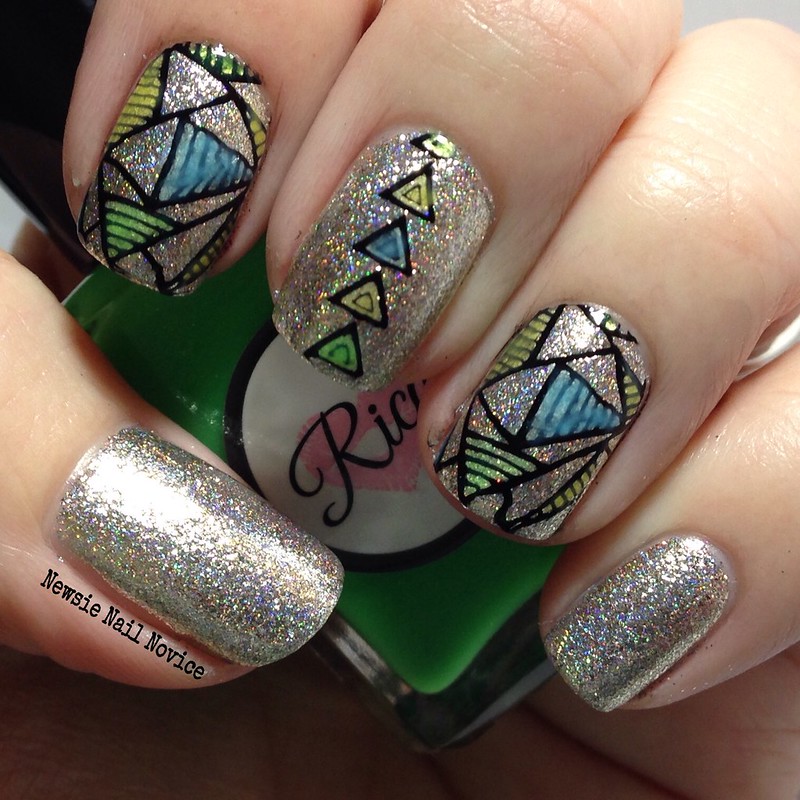
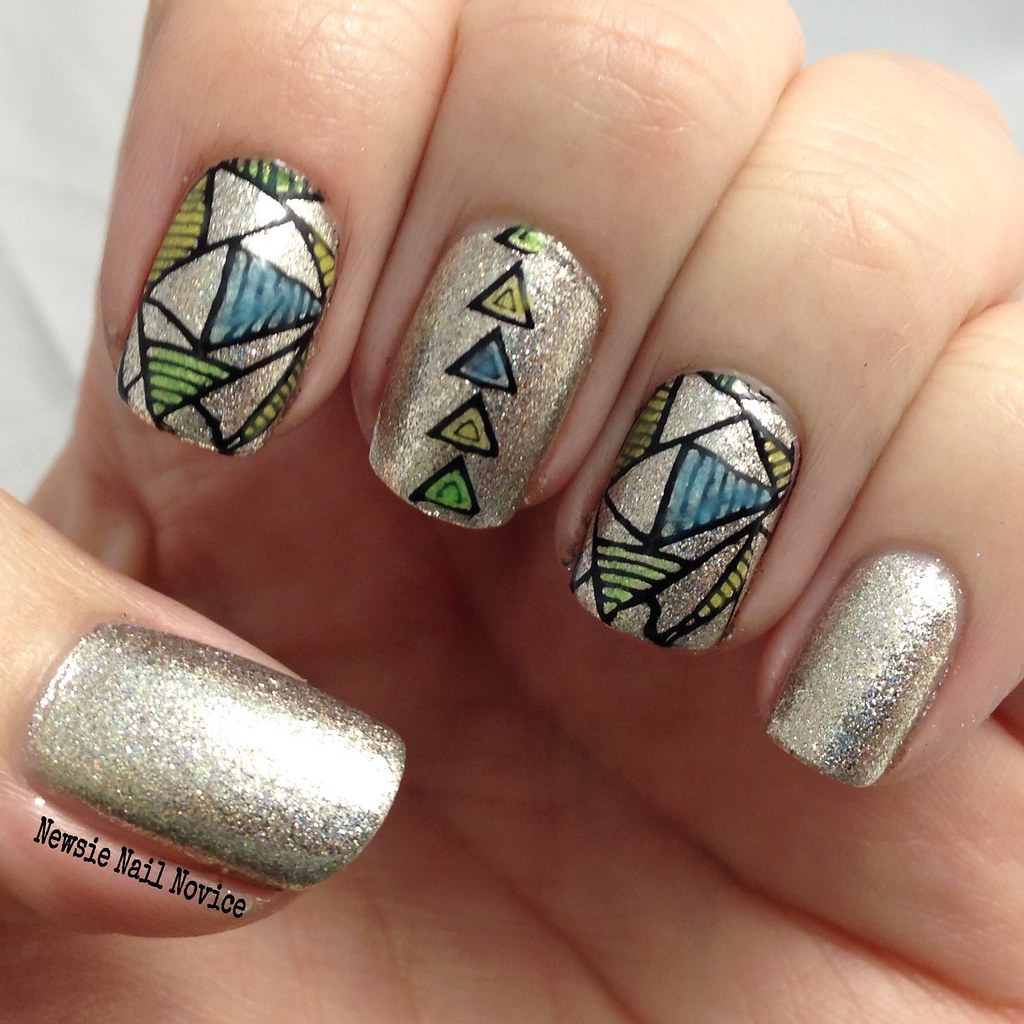
This week's Pick N Mix Challenge was Geometric and Blue/Green/Yellow. Also in the Stamp One, Stamp All Ten group, the prompt was leadlighting. I combined all three to create this look I'm sharing today!

February 2015

To begin, I pulled out Indigo Bananas Bridal Veil, which is a silver flakie polish that glows indoors and has a great holo finish when outside or under direct light!

February 2015

For the next step, I stamped my nail with geometric images from Bundle Monster Plate BM-605.

February 2015

Then to complete the look, adding in the leadlight technique and the Blue/Green/Yellow combination, I broke out my Rica Squish the Rainbow jelly polishes and filled in various geometric shapes!

I really liked the overall look, it reminded me a lot of the 1980s, with it's almost neon various shapes!

That's it for today, my internet at home has been terribly spotty lately (and I haven't had the time to duke it out with the cable company), so I won't write much more. I got some awesome nail mail this week (if you're following me on Instagram, you most likely got a preview), and I hope to play with some of those as soon as I get some time!

As always, don't forget to check out the others taking part in this challenge, listed below!


Thursday, February 5, 2015

Floral nail stamping over Indigo Bananas Taffeta, Darling?

Today's nail art was brought you by the Stamp One, Stamp All Ten nail art prompt of the week: Florals! And for the occasion, I thought I thought I would try the leadlight technique for the very first time (it's also a challenge later in the month, so practice makes perfect).

To start out this look, I broke out one of my newest polishes Indigo Bananas Taffeta, Darling? Which I won from a giveaway on The Mercurial Magpie!


 photo 0a66d0de-a106-4a32-9d2b-7b491a1e13bc_zps949273a6.jpg

I wore this polish for the weekend I was visiting my in laws. The weekend consisted of a mix of outdoor time and inside time, so I wanted a polish that would shine inside and out. Taffeta, Darling? was it! This is a purple glass fleck holo, which in the sun shines bright with holo and in the shade has a lovely silver shine to it. This polish is truly a gem and individual in my collection.

 photo 29D8515F-0DDF-40EF-B5FB-35679826D58E_zpsacnk7u90.jpg

When I got back from my in laws, I knew that this was the perfect base for the floral stamping. And since I knew I needed to practice the leadlight technique, I thought that this might be a good base to practice on.

 photo 5B2B1145-4818-49FE-AD64-43ABB1B3F1A5_zpspplkyjh8.jpg
Since I don't have a lot of experience in this technique, and I was short on time, I thought I'd just stamp an accent to start with. Using Rica Squish the Rainbow jelly polishes, which I got specifically to try leadlighting, I colored in this flower I stamped using my MoYou London Pro 06 XL Plate. I used Essie No More Film to stamp the image (a very opaque darkend purple creme polish).

 photo 8F0E9986-18D5-4B4F-BCAA-9A233A04E02C_zpsl7i9fdno.jpg

I really think this is a fun technique and I look forward to trying it again with a different look! It's not at hard as I thought it would be. I just broke out a fine nail art brush and with a gentle hand, colored in various parts of the flower!

 photo FC065133-1281-4165-9425-BE57098BE86B_zpsrsbutdwq.jpg

Clearly you'll be seeing this technique again in the future! Have you ever tried the leadlight technique? Do you have tips for me, or plate suggestions? I'd love to hear them, because I expect I'll be trying this out again and again in the future!

And don't forget to check out the other ladies who are partaking in the challenge this week!