Showing posts with label Ocean nails. Show all posts

Wednesday, May 17, 2017

Under the Sea Nail Art

Hey everyone, I told you I'm trying to post more!!! While I might not be blogging as regularly as I used to, I am still rocking the nail art and loving it!


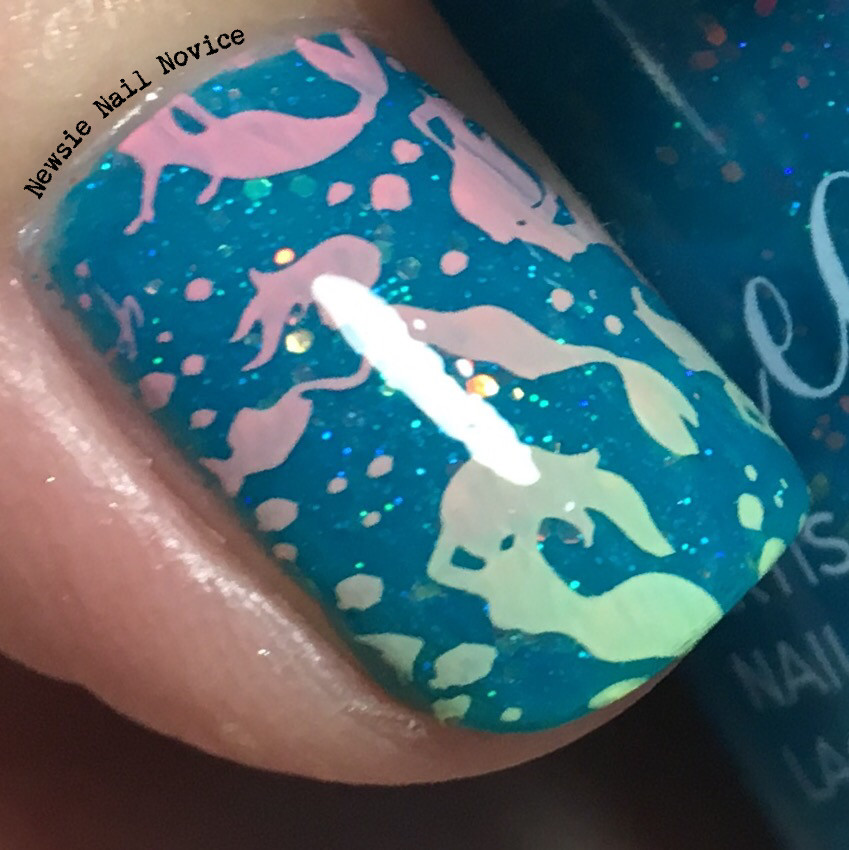
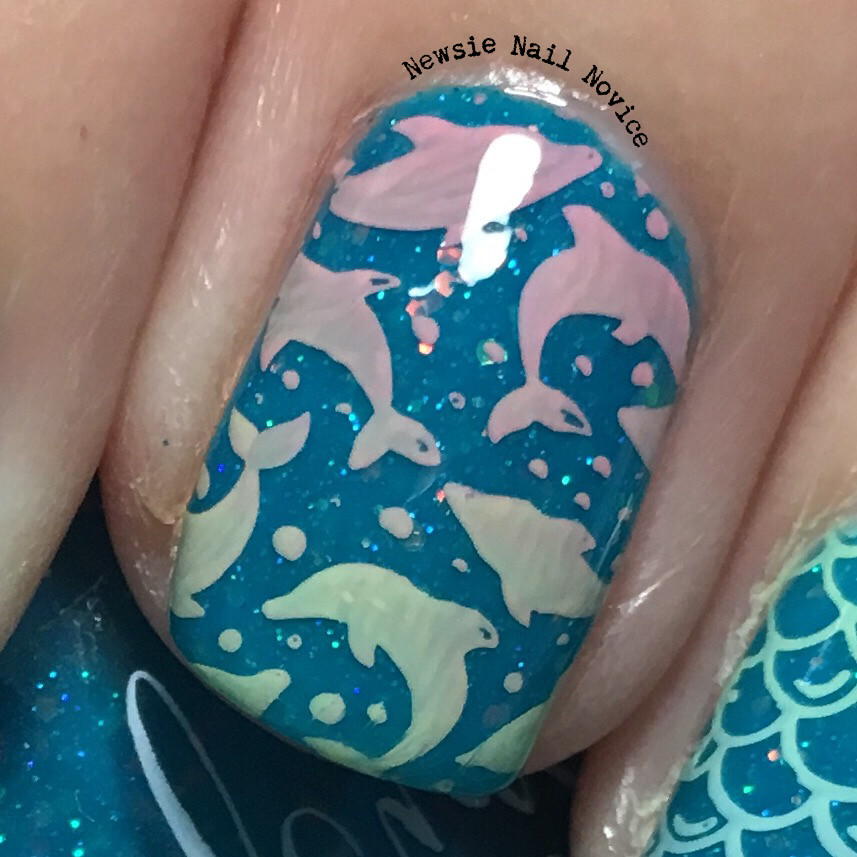
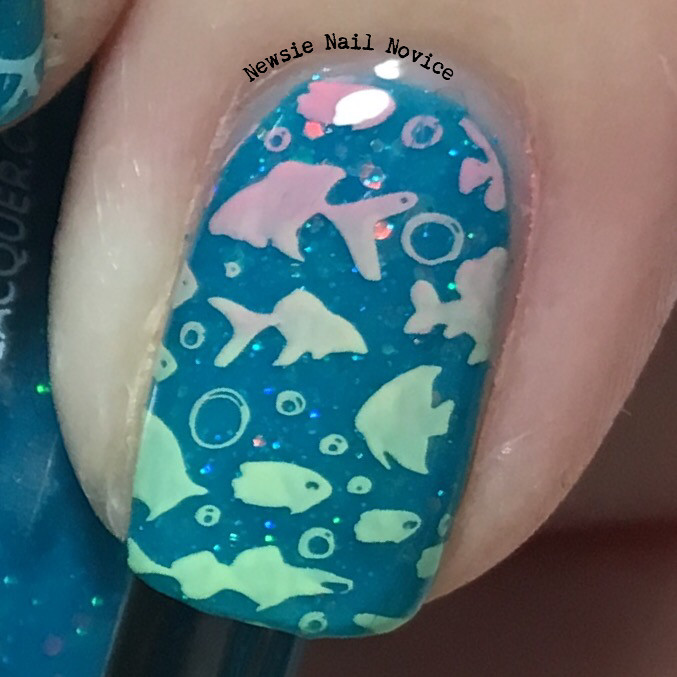
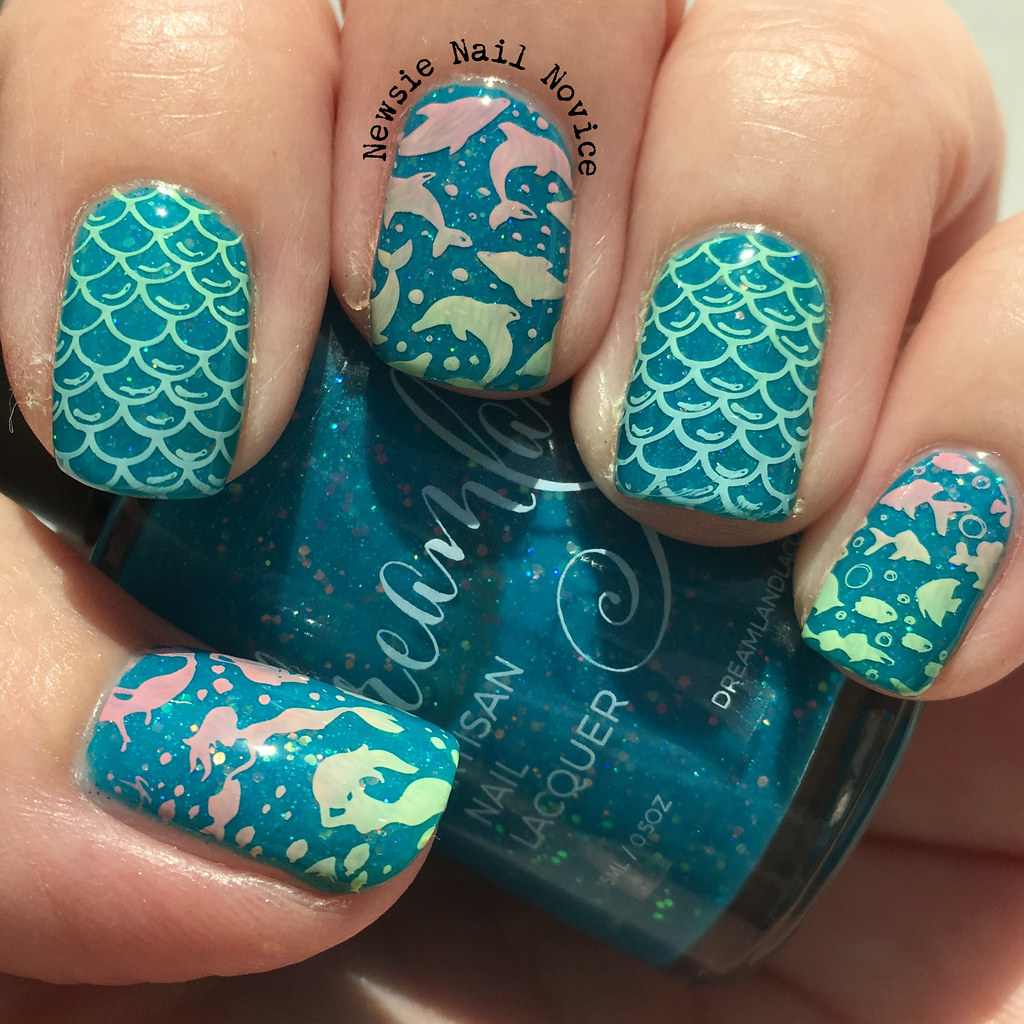
Today's look features Dreamland Lacquer Village Crazy Lady, the perfect base for an aquatic under the ocean look. And just a note, right now, Dreamland Lacquer is having a 25 percent sale (through Saturday May 20), so if you don't have this shade, you NEED it. Full disclosure, I did swatch this color originally, but this is definitely something I would have purchased. Look at those iridescent glitter pieces shining through the aqua jelly base? It's like sunlight underwater!

Untitled

Untitled

Untitled

Let's get to the stamping details shall we? For this look I broke out the gotnail Bundle Monster stamping plate for the mermaid, dolphin and scale stamping images and then I broke out the twi_star Bundle Monster stamping plate for the fish and bubble image on the pinky!

For the stamping polishes I used Rave Babe and Jungle Mirage from the Bundle Monster Electric Pastel stamping polish set and used the stamping scraper to create the gradient.

Untitled

I rocked these nails easily for a week and they just brought such a smile to my face every time I looked at them. I just love sea-inspired nails!

Anyway, I'm waiting on some extremely awesome nail mail today, so hopefully I'll get to sharing those new shades with you soon (a new-to-me-brand I've been dying to try for over a year!).

Don't forget about the Dreamland Lacquer sale! So many awesome shades to choose from and this brand does not go on sale often! If you've been waiting to try, you don't want to anymore!!!

Monday, August 3, 2015

Literary Lacquers Ocean Nail Art

Happy Monday guys! Mondays are a drag aren't they?! Well we are in the doldroms of summer, some of us are longing for fall, some of us are longing for vacation, others are just longing for some fun!

Anyway, since it's Monday and a portion of us are back-at-it as we say (I'm currently at the office on deadline, wrote this last night), I thought I'd share some nails that make me think of anything but work!

Untitled

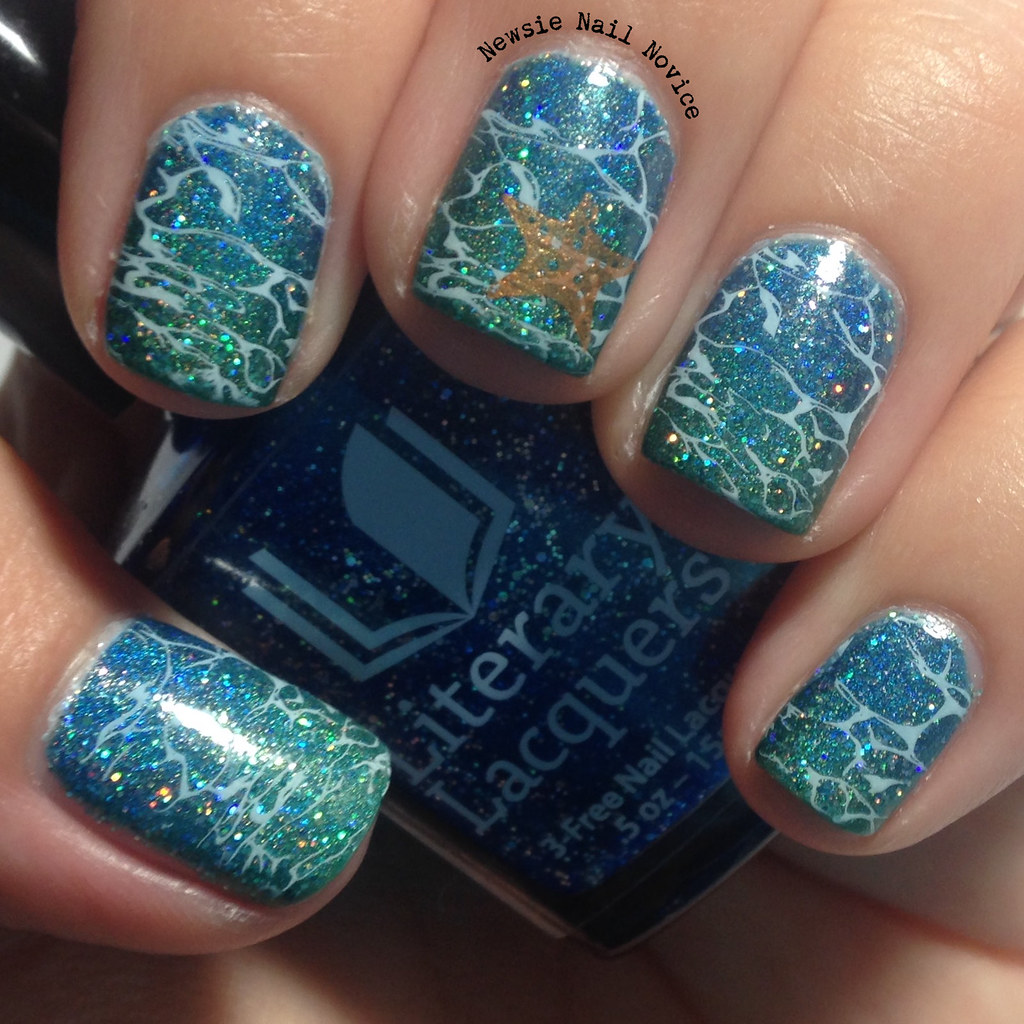
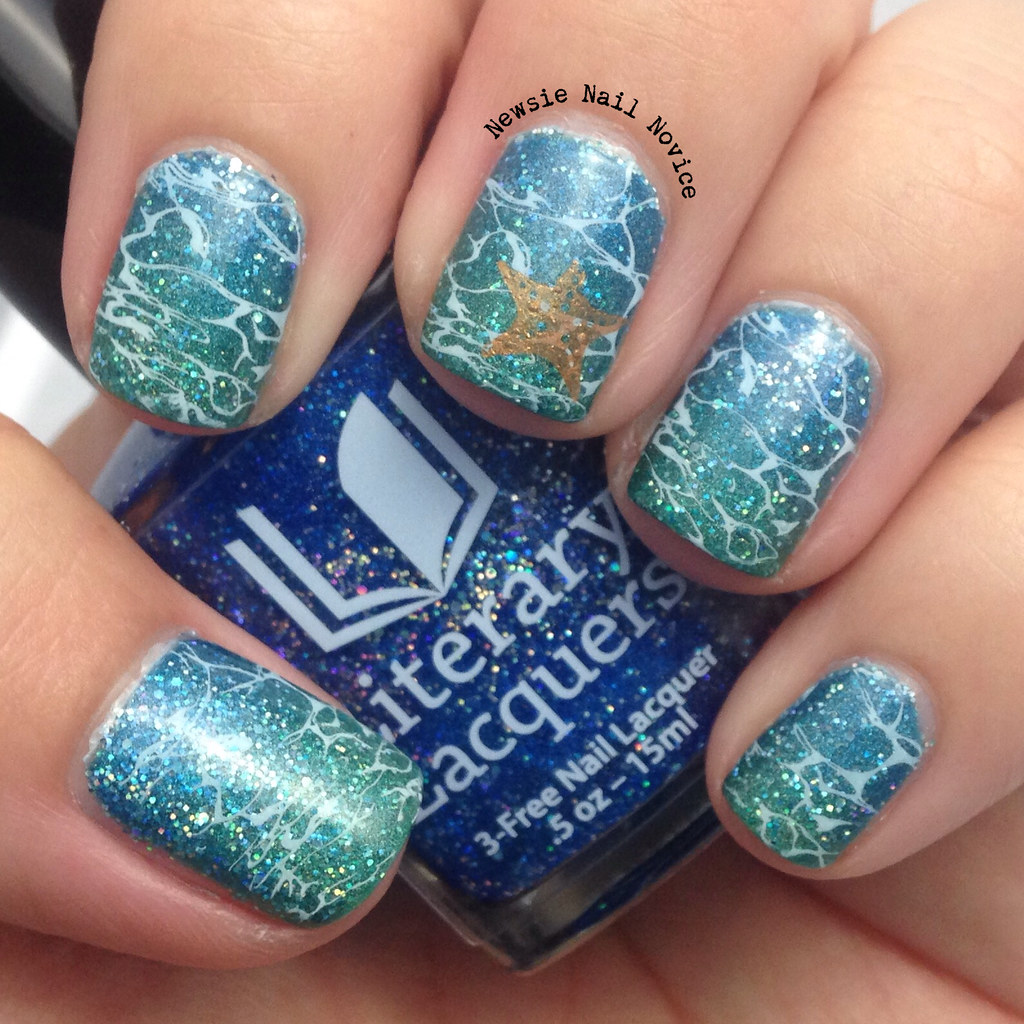
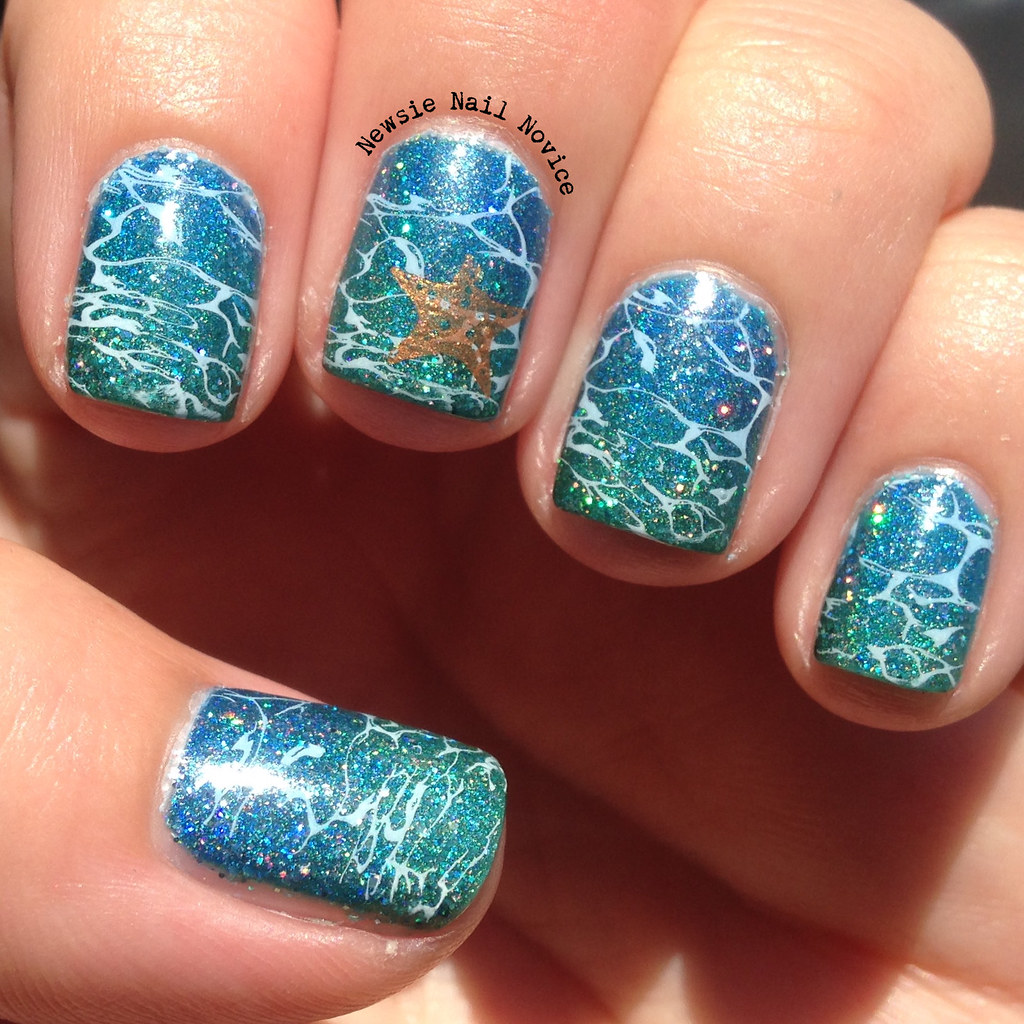
To start this look off I painted one coat of Literary Lacquers Thermofish* on my nails. Thermofish is a green leaning linear holo with scattered matching microflakies. Literary Lacquers does this finish so well so I paired with it with another polish from her latest collection Literary Lacquers Blue Lullaby* in a fun gradient look.

Untitled

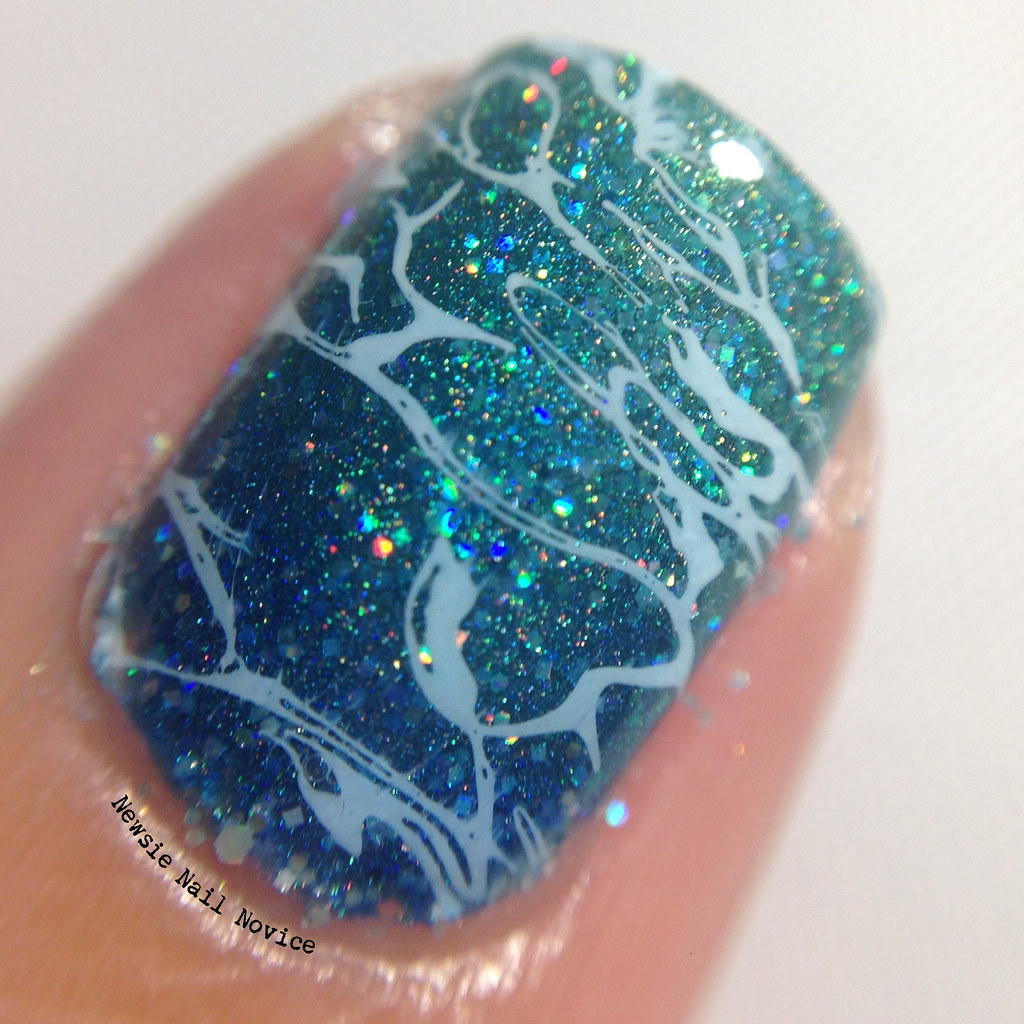
Then I got to stamping. For the image I pulled out my Bundle Monster BM-509 plate and used my KBShimmer Eyes White Open.

Untitled

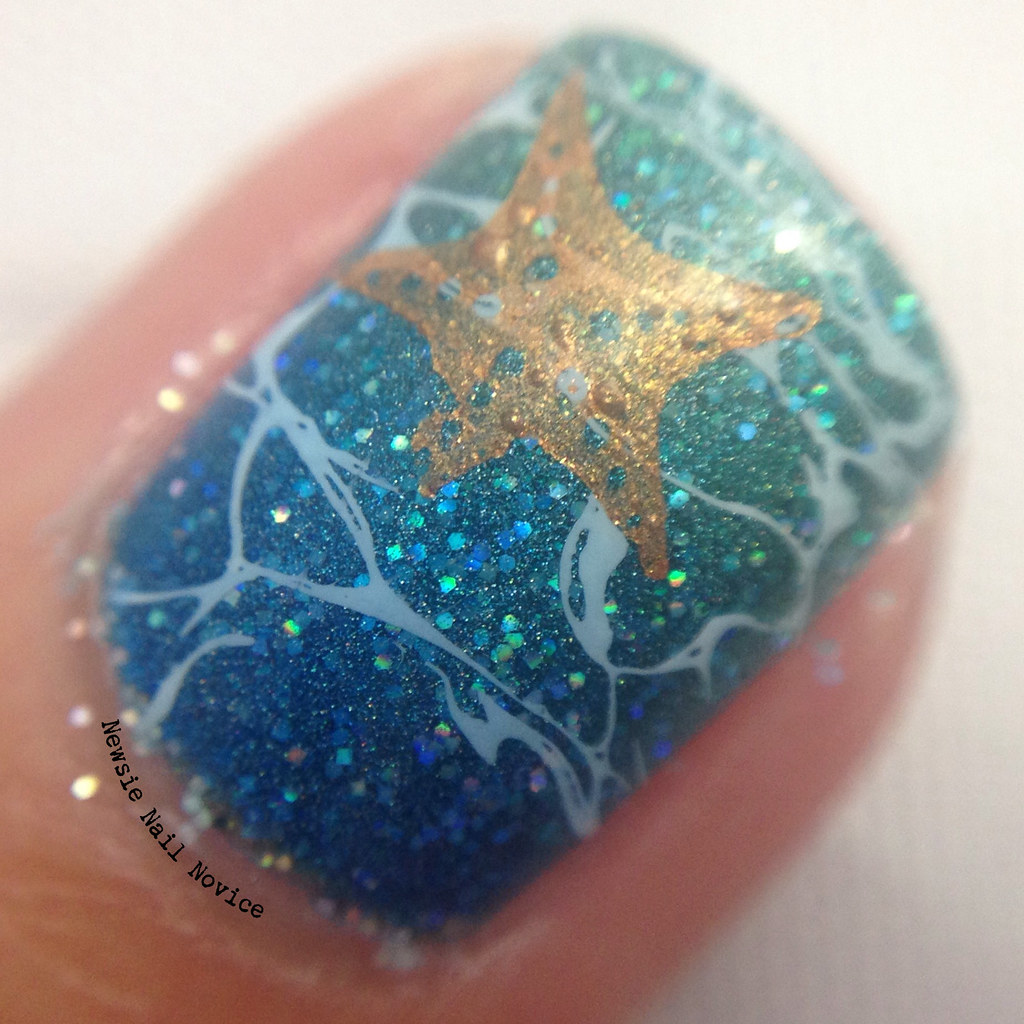
Then I wasn't quite sure if the look was super obviously ocean nails so I found a sea star image and placed in on my middle finger. The orange stamping polish I used was Jolie Polish Orange Dahlia.

Untitled

To top the whole look off I did two layers of top coat, these polishes aren't top coat hungry, I just like to make everything super smooth and shiny! And they most certainly did shine and sparkle, check out these in the sun!!!

Untitled

Anyway, I hope these bring a smile to your face. They certainly made my week brighter when I wore them!  Tell me of all the fun adventures you've been having! I've been having a chill week, but the future holds many fun adventures ahead.

Friday, May 8, 2015

Under the Sea Nails and a Giveaway

Hey everyone, I'm currently prepping to go on vacation. I'll be gone a week, so I won't be posting next week and for that I'm truly sorry. My original intention was to post while I was away, but I won't have my laptop with me and I think I'd have a hard time with social media and stuff while I'm away, so rather than half-ass my posts and quickly put them together, I'm going to take a week hiatus! This is my last post, and to make it up to you I have some AWESOME nails to show you today and a GIVEAWAY at the end of this post, so stay tuned!!!
Untitled

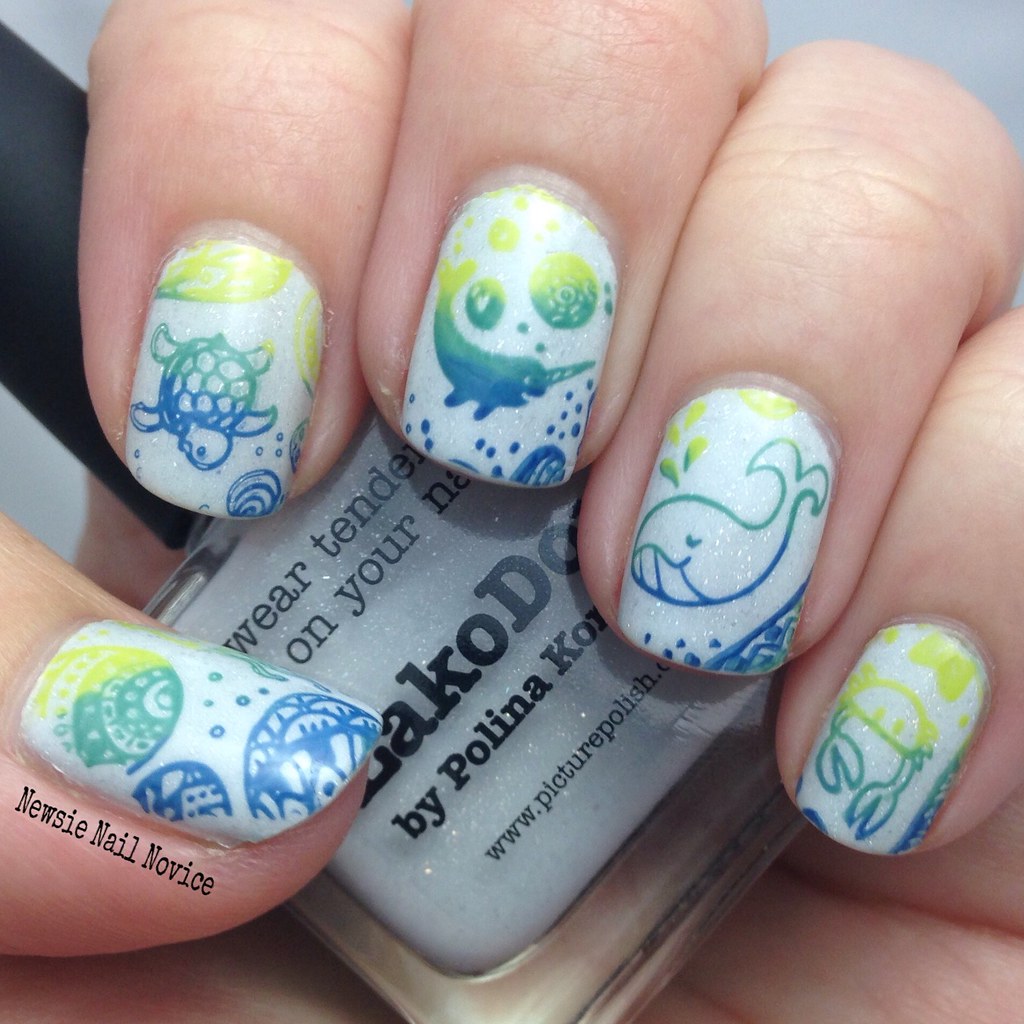
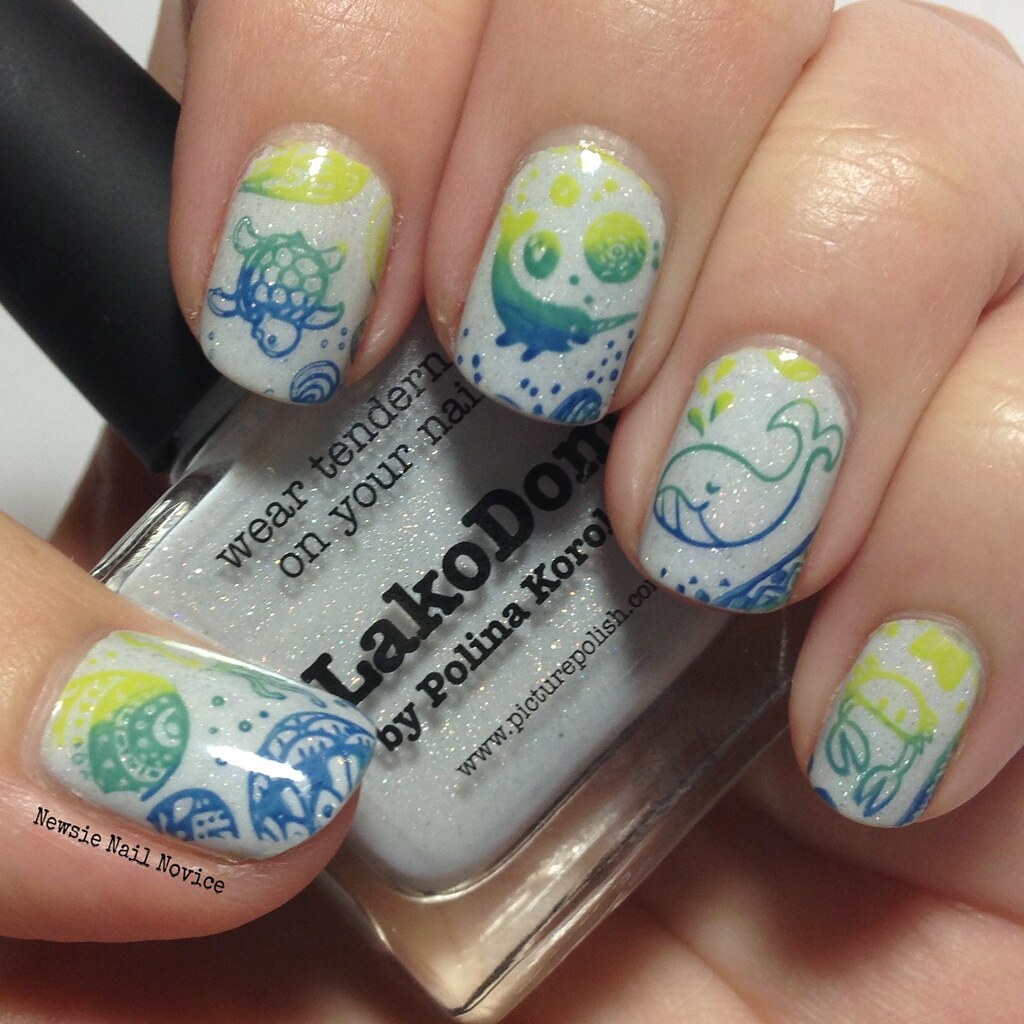
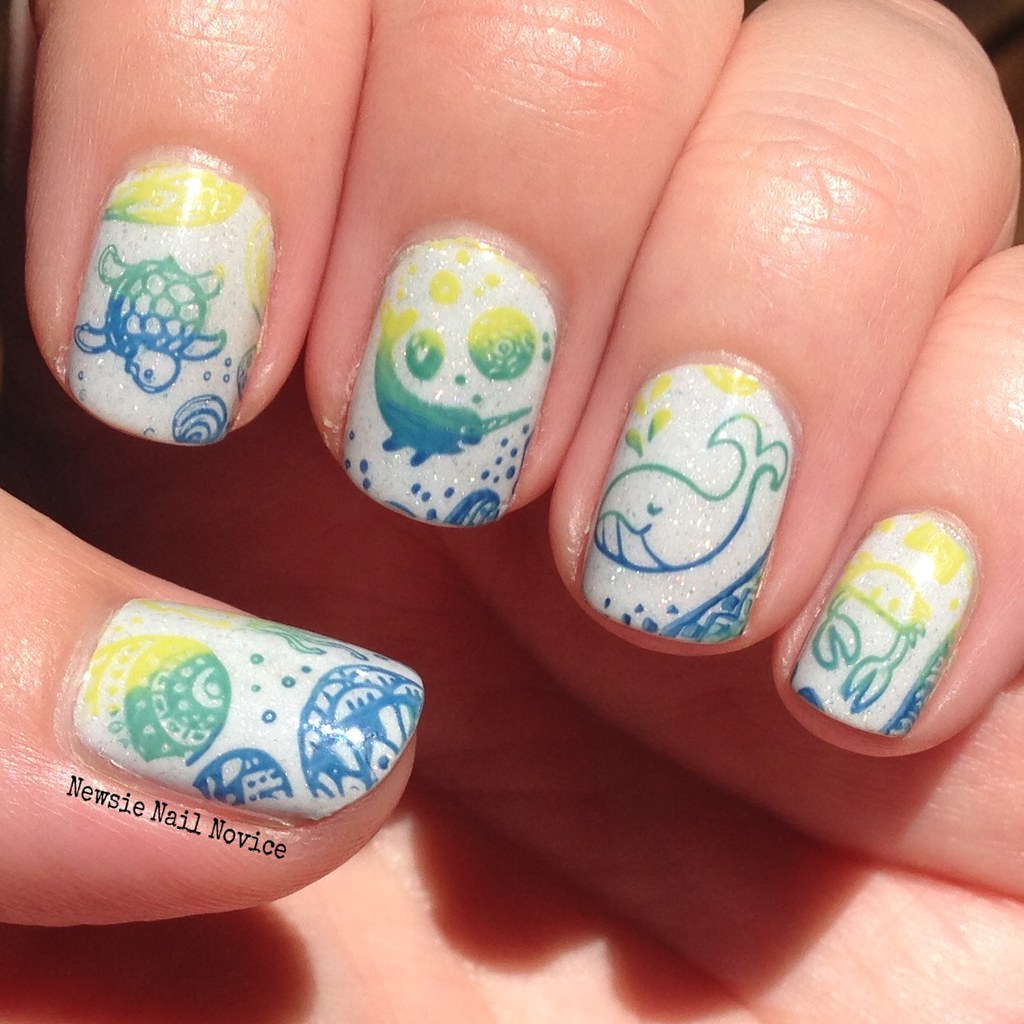
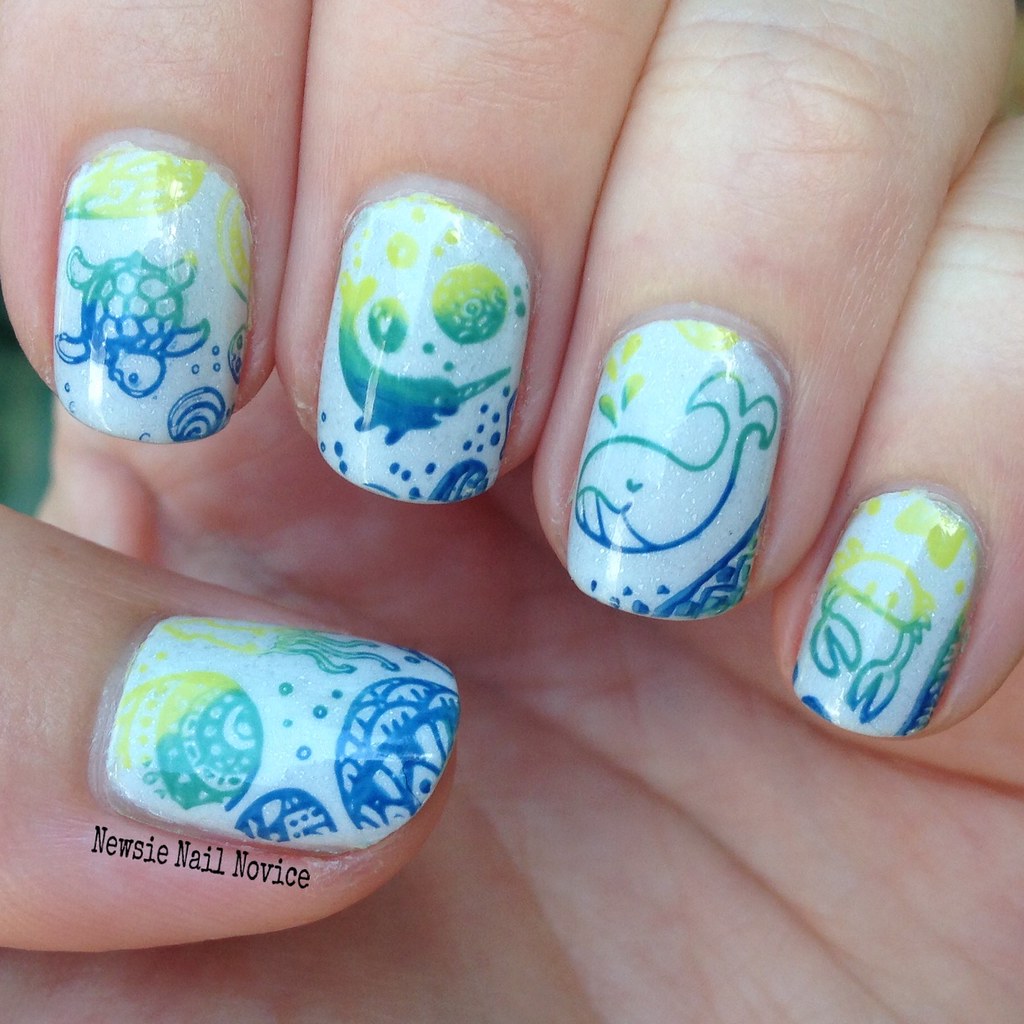
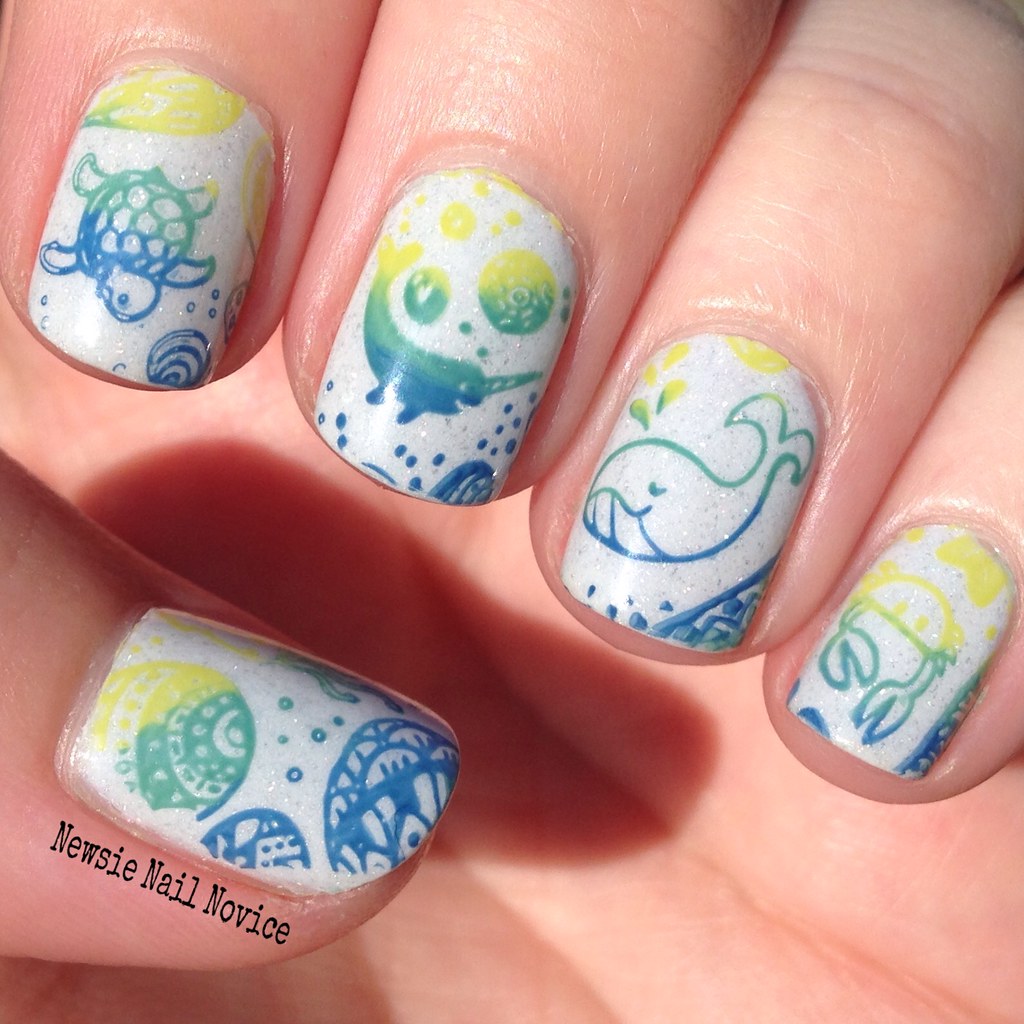
First off I am going to begin by saying these are by far some of my most favorite nails I have created so far this season and much of it is thanks in large part to the plate I used. For this look I used MoYou London Doodles 07 plate, and it is full of THE cutest sea creatures and crazy designs all over!

Just take a look at those designs, so many possibilities. At first I was overwhelmed, I didn't know where to begin. But when I finally set out to use the plate, I just focused on the creature I wanted to feature on each nail and scraped away. No matter what you choose to do, the design will come together!
Untitled

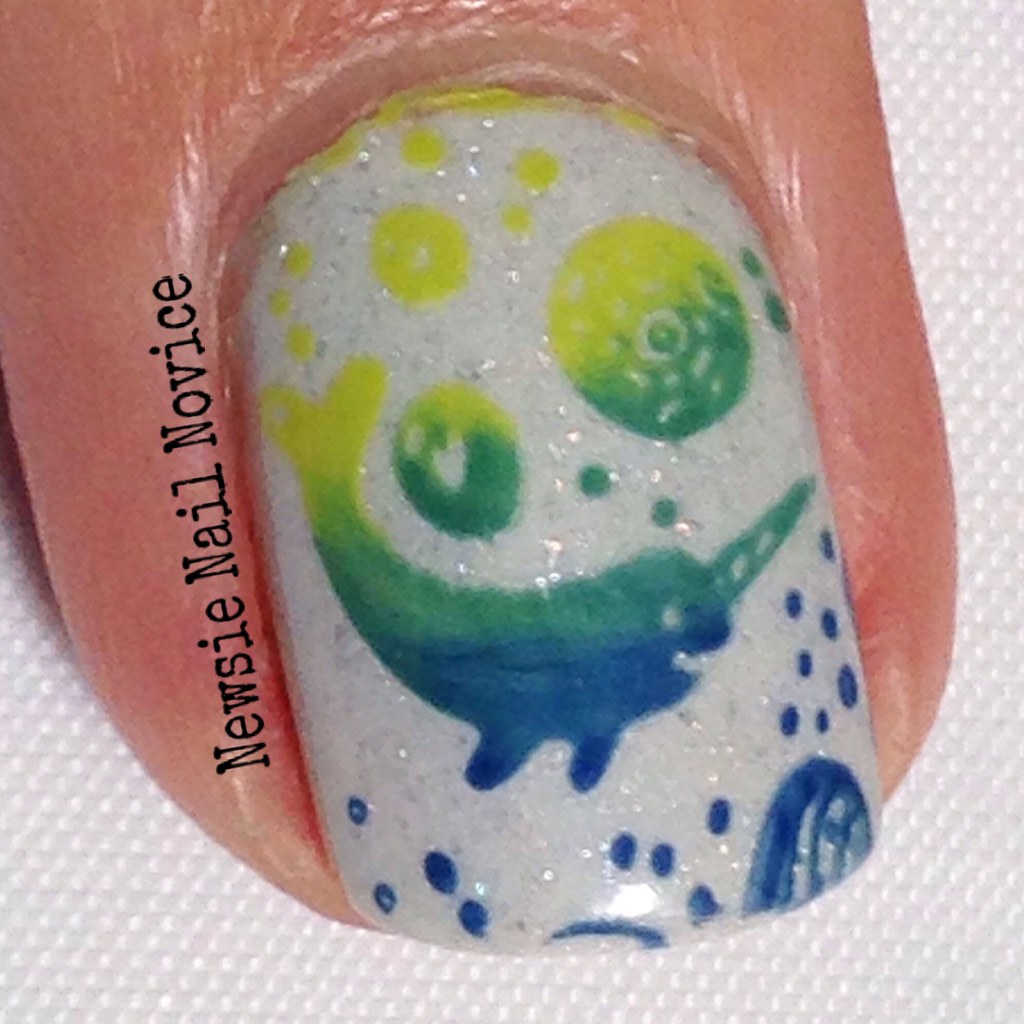
Take a look at that narwhal, could anything be cuter?!?!! Let's take a quick look at the full look in different lighting. I seriously could not stop staring at this look, it brought me such joy and happiness. I even got to share it with my niece (who is two and a half) and nephew (who is seven months), and believe it or not they really like them, well I like to think so!
Untitled

Untitled

Untitled

Honestly there is nothing happier to me than these nails. I am currently scheming what to do for my vacation nails. I'm headed to Hilton Head, South Carolina and Savannah, Georgia for a little Southern Beach Vacay with my mom and her friend. It is going to be a total girls week! I definitely want to incorporate this plate in some way, maybe the turtle since Hilton Head is a safe harbor for sea turtles!

So on to how I achieved this look. I started first with two coats of Picture Polish Lakodom. This is one of two new Picture Polishes I got, and I have to say, I'm less than impressed. I just thought for the price, the formula would be a little better. I have SUCH a hard time spending over $13 for a polish and when I do I guess I have really high expectations. With this polish and Honey Moon, I found the formulas a bit thick to work with. It's a shame because I covet so many PP polishes, but now not so much I guess.

Anyway, I do like Lakodom the color, it is a white jelly polish with holographic shards throughout. After adding a quick dry top coat and letting it dry, I added a gradient of stamping. Like I said, I had no idea how to tackle this plate because I was so overwhelmed with the awesomeness of it all that I just went to town with it. For the colors I used to stamp, I used a quick swipe of Zoya Edie, Zoya Alexa and Essie the More the Merrier. I just love this gradient combo and will most likely be using this again in the future real soon (who knows maybe even for my vacation nails!).

I finally got some good advice for my Creative Stamper and I primed it with a Mr. Eraser and use it with a light touch in a rolling motion (both for application and picking up the image) and it works great!

Untitled 

Now on to the giveaway. I teamed up with some other lovely bloggers from The Nail Polish Blogger Connection Facebook group for a chance to win a $250 prize, and a runner up gets a $60 prize!


Prizes:
• $250 grand prize that can be sent either as an gift certificate to your favorite e-tailer or directly through paypal.
• $60 runner up prize that can be sent either as an gift certificate to your favorite e-tailer or directly through paypal.  

Sponsors:
The Mercurial Magpie
Manna's Manis
Manicured And Marvelous Tales Of Coffee, Lacquer and Beauty
PolishandPaws
BruisedUpDollieNails
Lacquer Or Leave Her!
The Polished Hippy
Delight In Nails
The Procrastinating Polishr
Doctor Crafty
Curb Appeal Nails
 Les Essais Beaute De Schette
Newsie Nail Novice
Lauriestrode's Fun With Nails
Moni's Mani
Lacquered Geek  

Rules & Info:
• The giveaway is open internationally.
• The giveaway will run from today until midnight on Monday, May 18th. The winner will have only 48 hours to respond to my email claiming the prize, after that a new winner will be selected.
• You must be 18 or older to enter.
• No giveaway-only, empty or spam accounts, those entries will be disqualified. All winning entries will be verified.
• No following and unfollowing once the giveaway ends. Unfollowers will be banned from future giveaways. 

a Rafflecopter giveaway

Wednesday, October 15, 2014

KBShimmer Mint-al Vacation with coral stamping

I've been trying to achieve this coral stamping look for awhile. I've literally been collecting coral stamps so I can perfect this look.

 photo 5A1F4984-18B2-4248-A297-A4B3FCE72201_zpsq4lfzxw8.jpg

To create this look, I used two coats of KBShimmer Mint-al Vacation as the base. Mint-al Vacation was a little on the thick side, but definitely not difficult to work with.

 photo 4029A5E8-A02A-4BA0-9669-D46A7FB0FE4B_zpsufyswkll.jpg

To stamp, I broke out my MoYou London Sailor 08 plate, which I may or may not have bought specifically for the coral. But it has a bunch of super cute fish on it too!


I need to make a fun skittle look with these sea creatures soon!

 photo F541D695-A9CD-469B-A901-5391BB4DDADC_zpss88lciyp.jpg

I used KBShimmer You're So Shellfish to stamp this look. To me, I think I needed something a little brighter. You're So Shellfish is actually a bright polish, but sometimes when you stamp, polishes show up a little sheerer than they look on the nail.

 photo 052D27FB-EAC7-4CF4-8E3A-22C3286AFE91_zpswbdcvdys.jpg

Where to purchase: You can purchase KBShimmer polishes at the KBShimmer website. Mint-al Vacation and other KBShimmer holos retail for $8.75 and You're So Shellfish and their cremes retail for $7.50. MoYou London plates retail for 4.99 pounds (sorry its late and I can't figure out the symbol for that). I consider MoYou London Plates among the best in quality, if you haven't purchased from them, you really shoul!

Wednesday, August 6, 2014

Bon Voyage - revisiting my beach/ocean nails

Bon Voyage everyone! This afternoon I am leaving town and headed out to go on a Northern European cruise! My cruise is making stops in Copenhagen, Denmark; Oslo, Norway; Gothenburg, Sweden; Warnmunde, Germany; Tallinn, Estonia; St. Petersburg, Germany; Helsinki, Finland and Stockholm, Sweden. After the cruise I will spending a week visiting my sister in law, her husband and my two-year-old niece who moved to Munich a year ago! I'm so excited, this is going to be such a great and fun trip!

While I am away, I have had several blogger buddies step up and volunteer to write a guest post for me and there are some great looks headed your way! So a major thank you to Jessica at Be Happy and Buy Polish, Cait at Polish Hound, Betty at Betty's Beauty Bombs, Michelle at Manic Talons and jeebjeeb at In Jeeb We Trust for the wonderful work you have done. If you aren't already checking out these fabulous ladies – add them to your daily blog rolls now. They have some fabulous work!

So while I am currently frantically trying to figure out what design I want to wear on my nails before I leave for my cruse, I thought I would leave some photos of ocean-related nail designs I have already shared, as they will be on theme for my vacation on the sea!

Thanks for sticking with me while I'm gone – I'll be back toward the end of August!

 photo 3DCFF935-2932-42C5-8520-04F3DEF902E1_zps5orzyman.jpg

 photo 3A19678F-748B-4EBE-B8C3-41A73DBC0CC0_zpsmptsvpev.jpg

 photo 130C0D2F-066F-4320-B069-304119841237_zpsuvj773ua.jpg

 photo 1B6412CC-3B5E-4729-978E-437039B3F258_zpstuappquy.jpg

 photo 1F10C0AB-2D6E-4E0D-B44F-366195CE0C59_zpsvgoau1gb.jpg


Monday, June 30, 2014

Sea star nail art

Recently I spent a weekend away visiting my family in Irvine, California, where I grew up. I knew I needed to do some fun nails that show my skills a bit, but also blingy and ocean like because I associate beautiful beaches with Southern California.

So here is the fun nail art I came up with!

 photo 3A19678F-748B-4EBE-B8C3-41A73DBC0CC0_zpsmptsvpev.jpg

After seeing numerous beach themed nail art, some of my own included, I saw somewhere someone who hand painted sea stars on their nails, and I thought "that doesn't look so hard, I could do that!" And so I did!

 photo C729D687-05BE-49DF-A8EC-73A497049D0F_zpsphp85idc.jpg

To create this look, I painted two thin coats of Color Club Over the Moon (which really, could be a one coater, so amazing!) and used a dotting tool to drag Zoya Heidi polish into the shape of a star. Then I used a finer dotting tool to make the white dots, to give the sea stars their typical appearance.

 photo BE83E89C-0CC0-47E7-A14D-E3E17E6F9978_zpsv6f0remm.jpg

I absolutely loved this manicure, because the blue holo polish was the perfect aquatic color. As you can tell it practically matched the pool where I spent a few hours over that weekend! I was really impressed with out well Color Club Over the Moon held up. It was a dream to work with, and the sea stars were not that difficult to recreate either.

So have you tried to do a beach like manicure yet? What beach like nail art is your favorite?