Showing posts with label Lily Anna. Show all posts

Monday, September 21, 2015

Winery Weekend Nails

Hey everyone, I'm just back from a wonderful weekend away with my family in wine country and I just couldn't wait to share with you the nails I sported for my time away!

Untitled

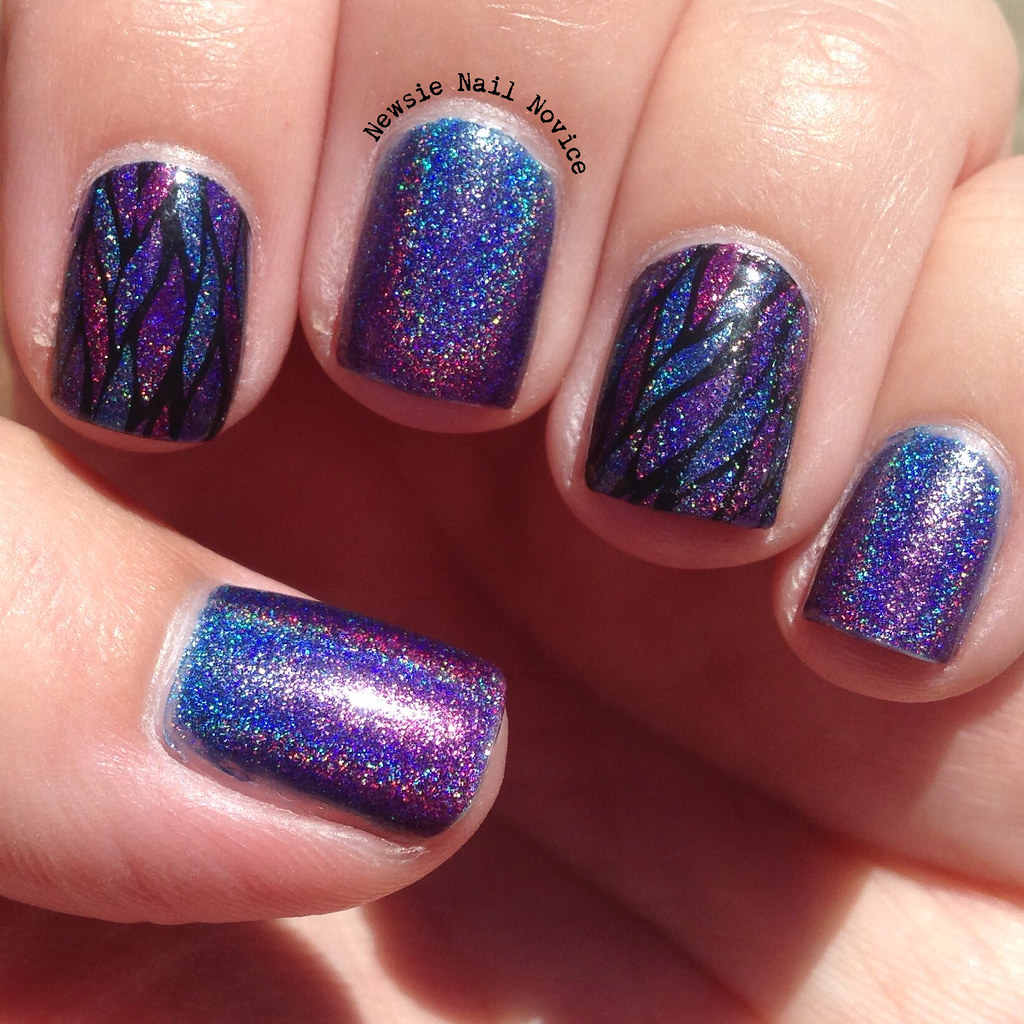
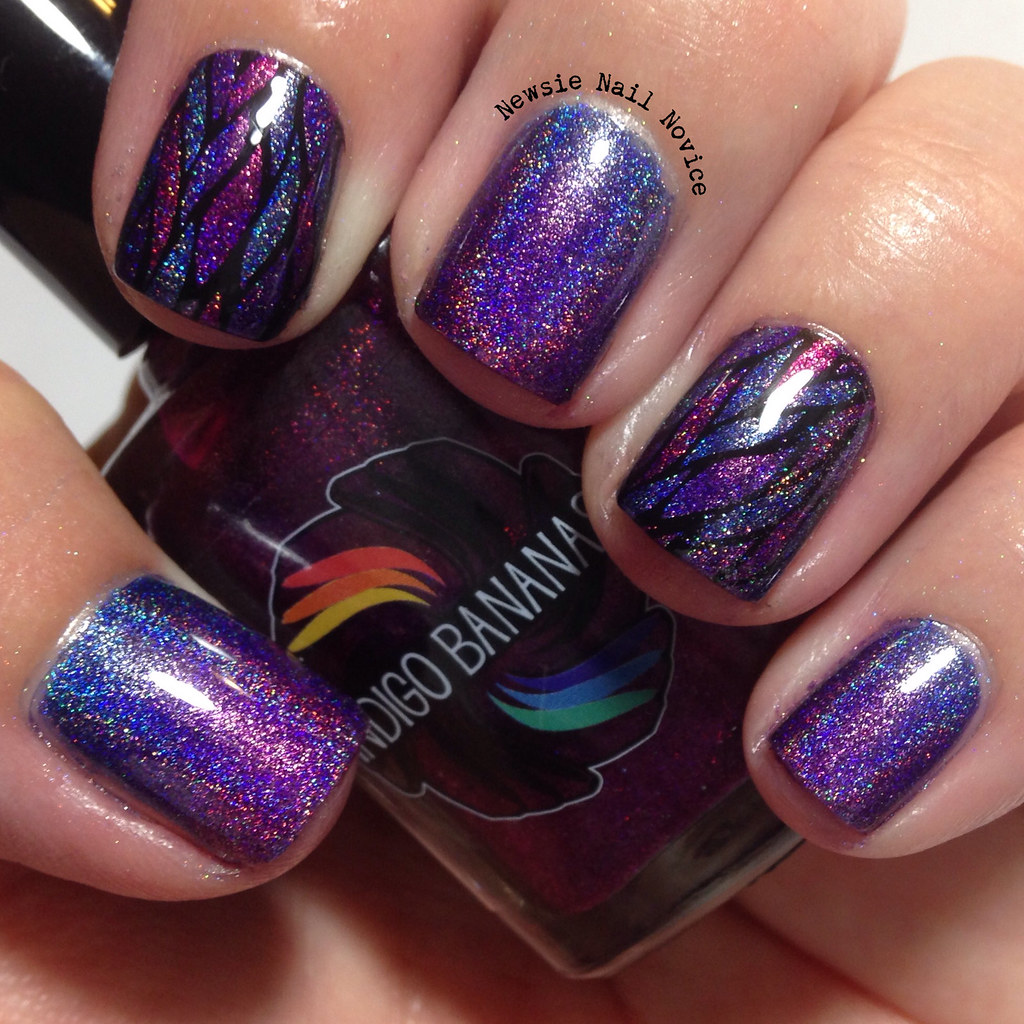
This is a look using three Indigo Bananas holo polishes the fall collection (note, these were originally sent for review which I did here) and made a skittle look using decals and gradients.

Untitled

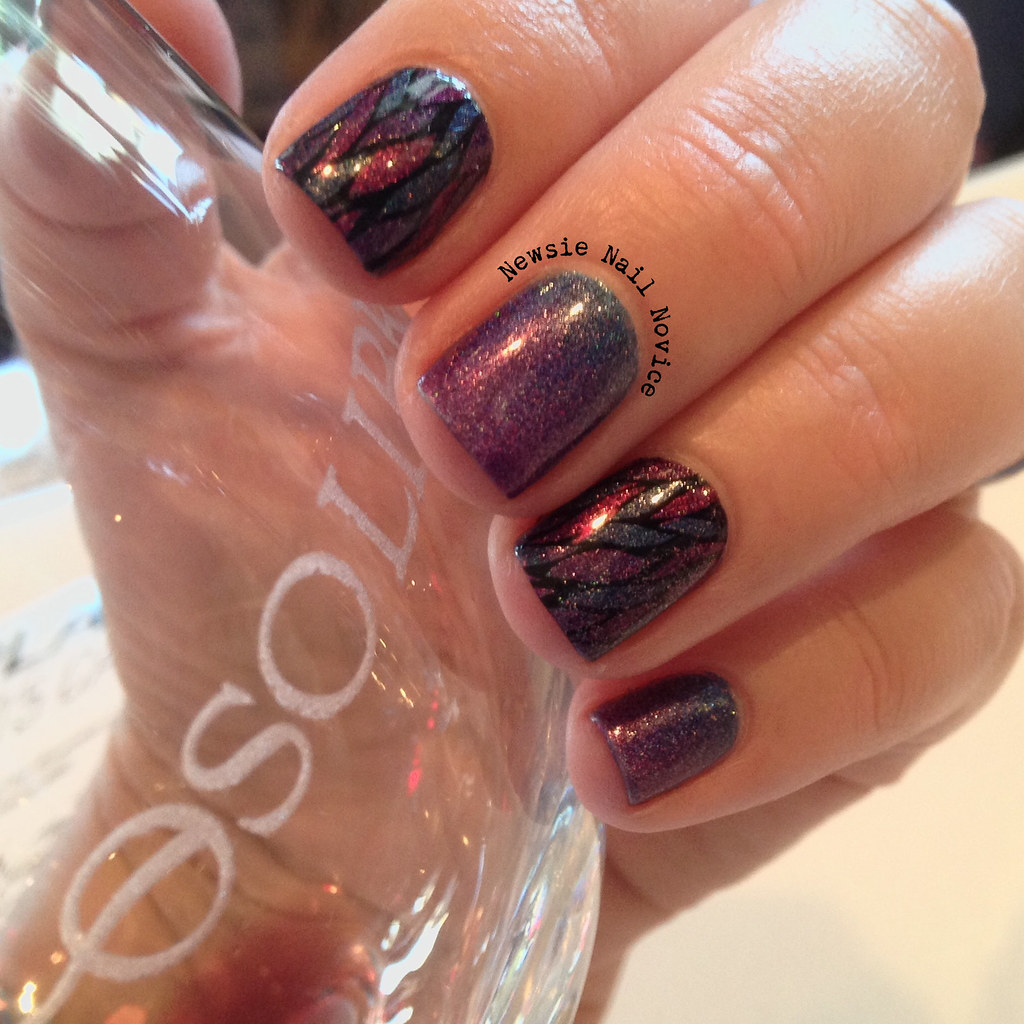
To create this look I used a gradient of Indigo Montoya, Rhythm & Booze and Polish of Unusual Quality on my thumb, middle and pinkie fingers and used the same three colors to create the decals on my index and ring fingers.

Untitled

Creating the decals definitely took work, but I think the payoff was great! To start I broke out my UberChic Beauty Uber Mat and painted two coats of the Zoya top coat I had laying around. I find using regular top coat works best for decals because it doesn't flake away as easily.

Once the top coat was dried (like 5 minutes) I stamped the image from the LilyAnna Plate 10 from Messy Mansion using my Rica Blackout polish and then very carefully using a fine nail art brush I filled in randomly each opening using the three colors.

Untitled

Once I finished one decal, I painted a fresh coat of Indigo Montoya on nail I wanted the decal on and while it was still wet, I placed the decal on the nail using tweezers. Now the decal was obviously bigger than my nail, so once I gently placed the decal in the spot I wanted it, I used acetone and my clean up brush to make the edges adhere to the nail and to clean up the extra decal. The decal will look a bit cloudy until a top coat goes on top (after clean up) but it looks AMAZING when it is completely finished.

Untitled

So I know the lighting isn't the greatest for this shot and I maaaaaaay have been a bit tipsy when taking this shot, but I wanted to show you my nails and my wine of course. I had a great time in Paso Robles with my family, we were celebrating my dad's birthday and we went wine tasting and stayed at this awesome ranch house in Templeton where we encountered cows, horses, tarantulas, gorgeous sunsets and just an all around pleasant peacefulness.

Untitled

It was a great weekend, and I've got another family filled one in store this coming week. My cousin is getting hitched in the woods this weekend and so I'll no doubt have another fun look to share with you soon! Hope you all had great weekends as well!

Wednesday, July 8, 2015

Under the Sea Coral Nail Art

Hello everyone, thanks for bearing with me for my mini absence from the blog (missed Monday's post). Sorry about that! On the Fourth of July my mom fell and had a compound fracture to the wrist and a dislocated elbow. Spent most of the night in the hospital with no sleep, then back the next day for surgery and then I had a late flight back home.

So by the time I hit the pillow at home on Sunday night at around midnight I was exhausted and I spent the next day at work on deadline operating at about 25 percent my normal energy level. I am just about getting back to normal today, Wednesday, after spending most of yesterday after work laying on the couch too tired to do anything but read and take small cat naps.

And that brings me to today, hump day, where I am finally regaining my energy and have a look to share with you today so let's get to it!

Untitled

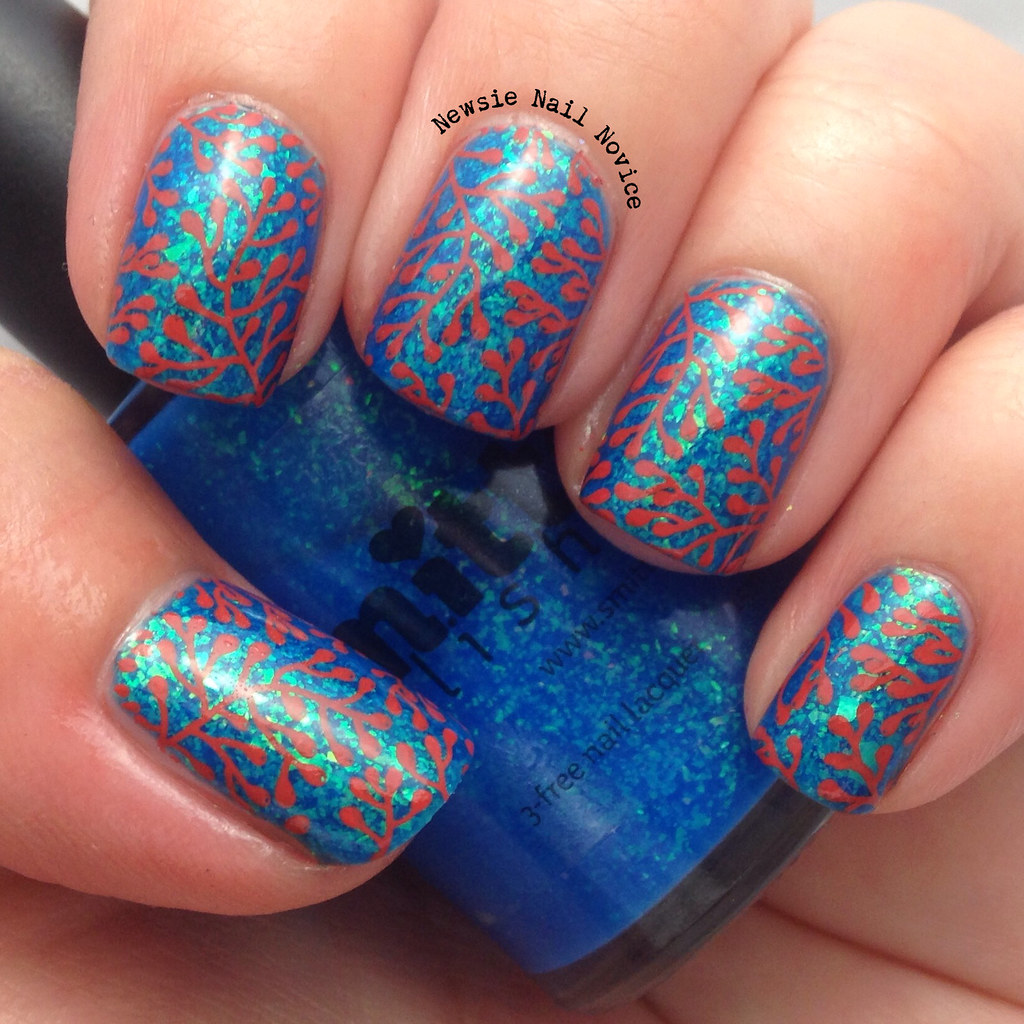
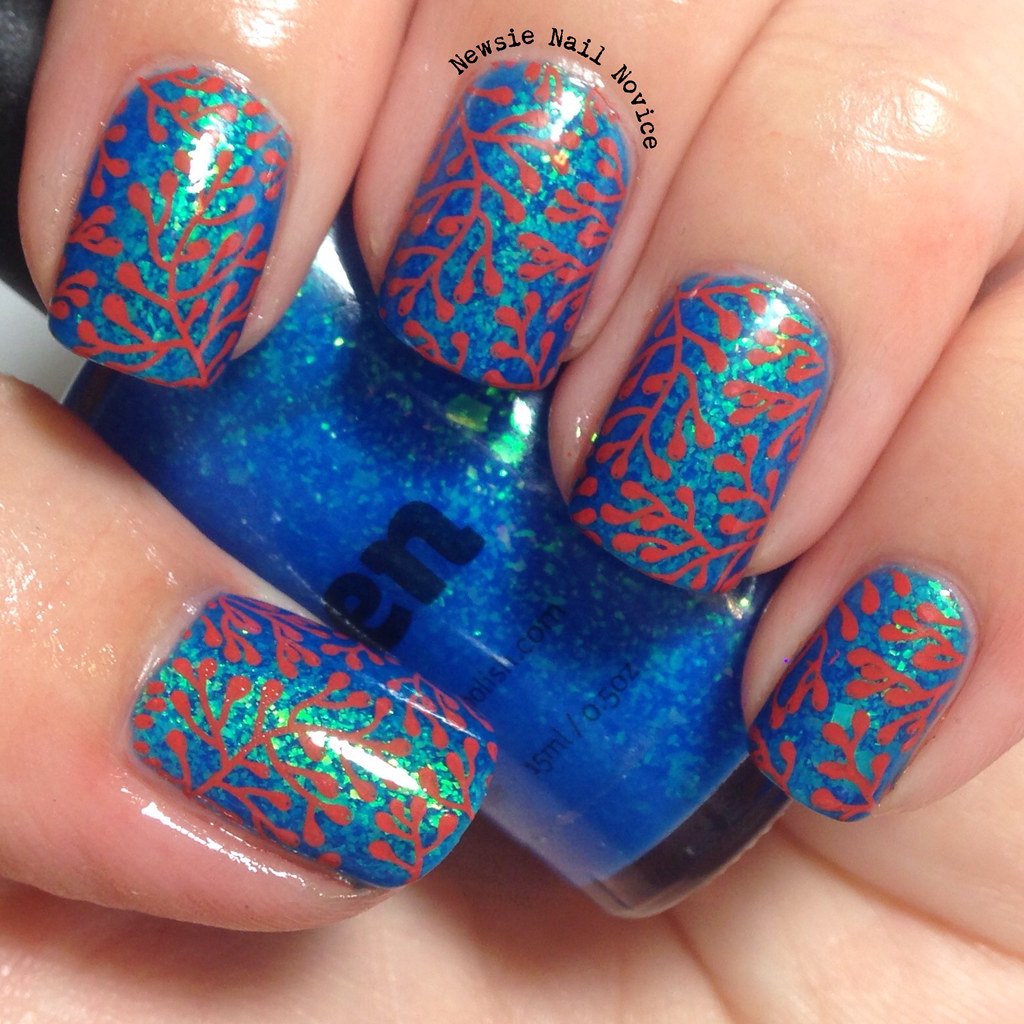
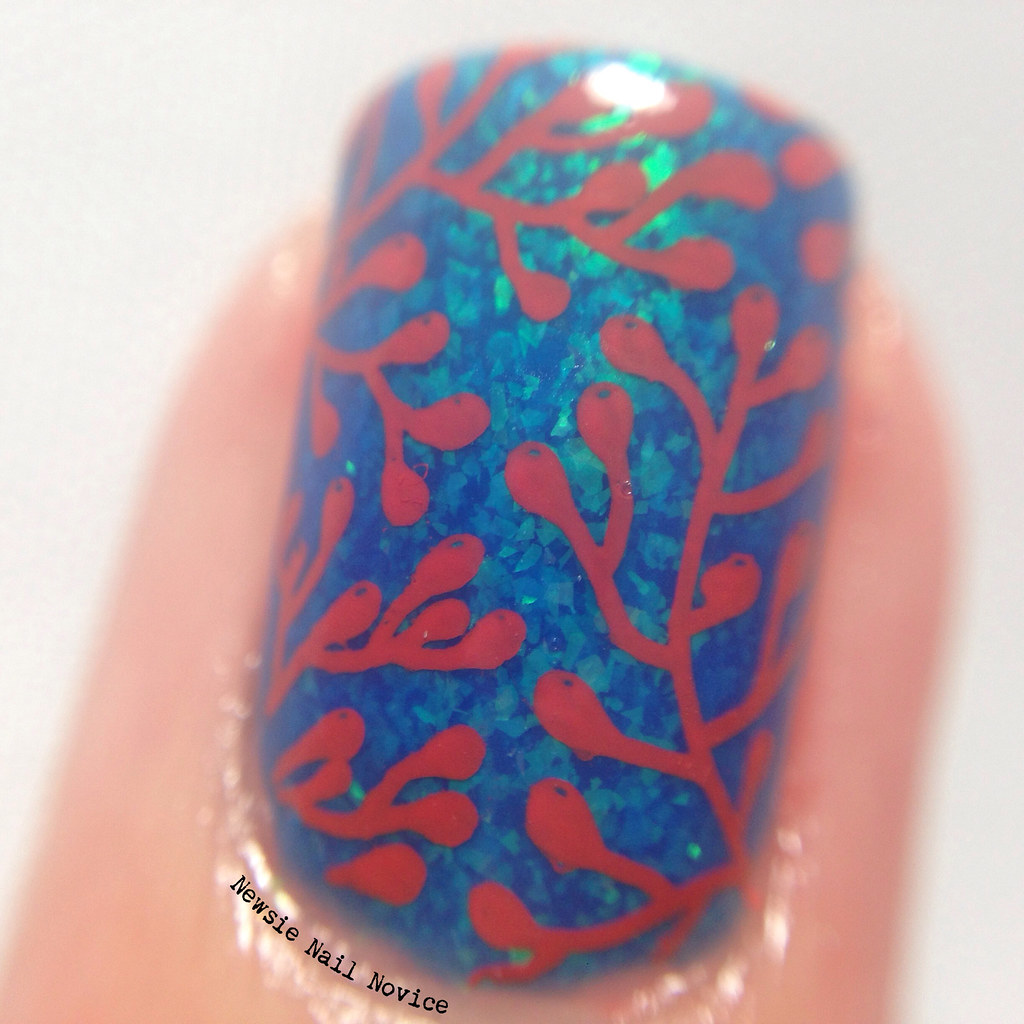
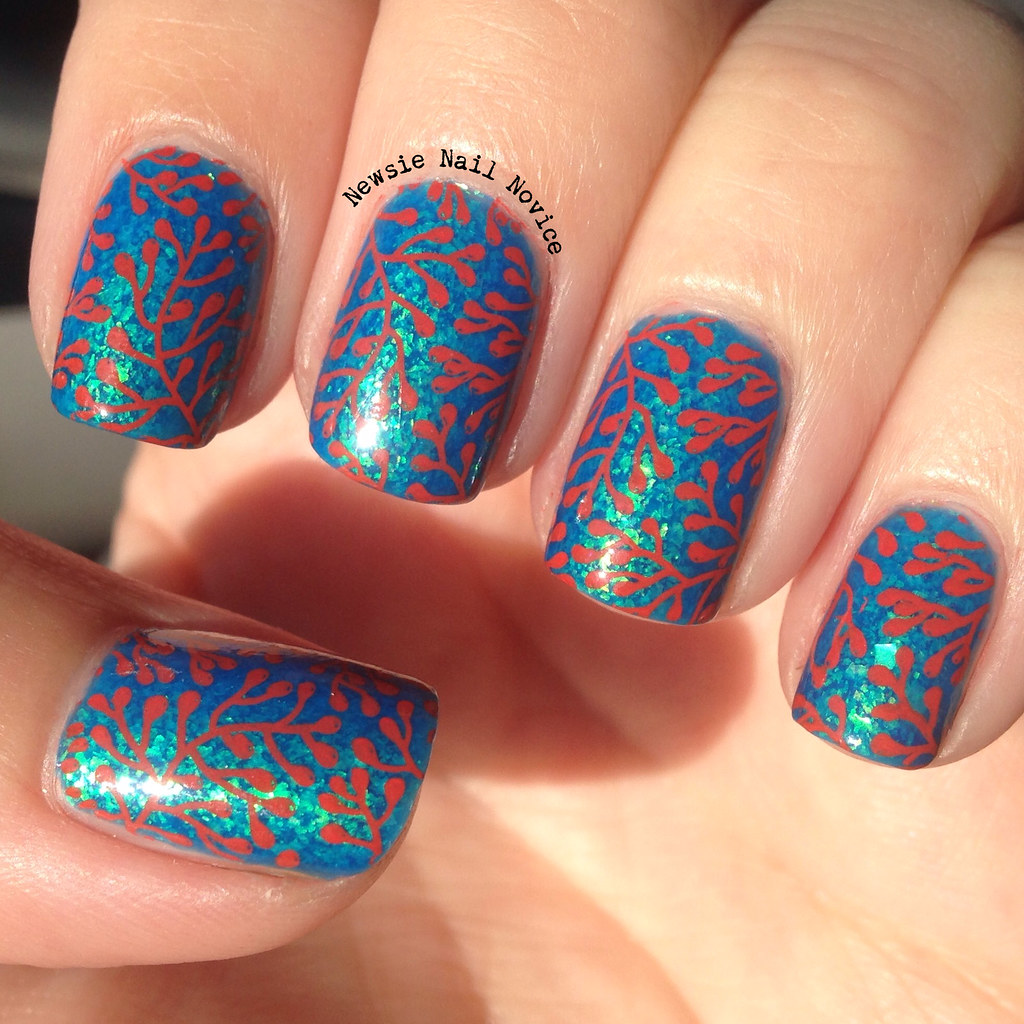
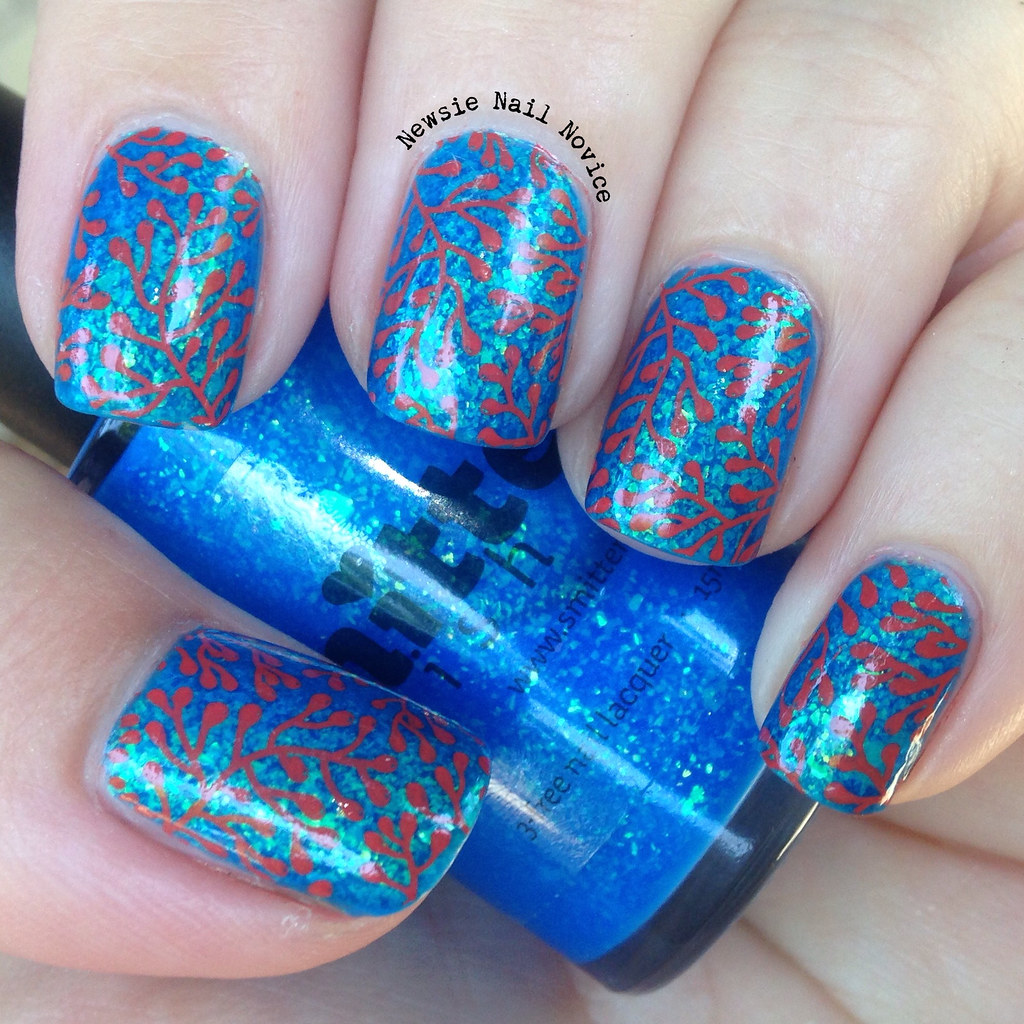
This is the beautiful Smitten Polish Aqua Opal* with some fun under the sea coral stamping over it. First I will talk about my love of Aqua Opal – this polish is a lovely blue jelly polish with green iridescent flakies swimming throughout. On its own, this polish mimics ocean water with the sun streaming through – which is why I had to pair it with the coral stamp.


For the stamping image I used Lily Ana 10 plate I purchased from Messy Mansion. I purchased this plate specifically for this image because the coral image. I just love under the sea images and coral in particular. I love the thought of under water plants and coral is just so vivid and lovely.

Untitled

Now let's get through with the unpleasant portion of the post – the stamping polish. This is my first experience ever with a Mundo de Unas polish and I'm sorry to say it will be my last. I have been eyeing the MdU polishes in online stamping groups for the longest time and have always wanted to try one. I wanted a coral-esque color so I could create this look so I purchased Mundo de Unas Tulip during a sale.


While the polish worked super well as a stamping polish, it got the image perfectly, it had a scent that was so overpowering and terrible that I made this look and then unfortunately had to remove it the following day. It has an overpowering chemical smell, completely unnatural and it lingered in the room where I painted my nails for more than 24 hours. I thought maybe a top coat would help mask the smell, but it did not. I did these nails before bed and I could barely sleep because of the scent of the MdU polish still lingered on my finger tips.


I know MdU works for some people, and that is great. Unfortunately my nose just couldn't handle it. Doesn't smell healthy to me. So no more MdU for me. I recently got a set of Jolie Polish stamping polishes and they are 5-free and have no scary scent to them thankfully. You'll see more of that later.

But overall, despite the terrible smell, I was super happy to finally put this look together and the base polish is really what makes this look come together in my opinion! Hope you like it!

Have you ever tried MdU polishes? Do they work for you? Are they usually this pungent?

*Polish originally provided for honest review.

Friday, April 10, 2015

Fair Maiden Garden Party Swatches and Art

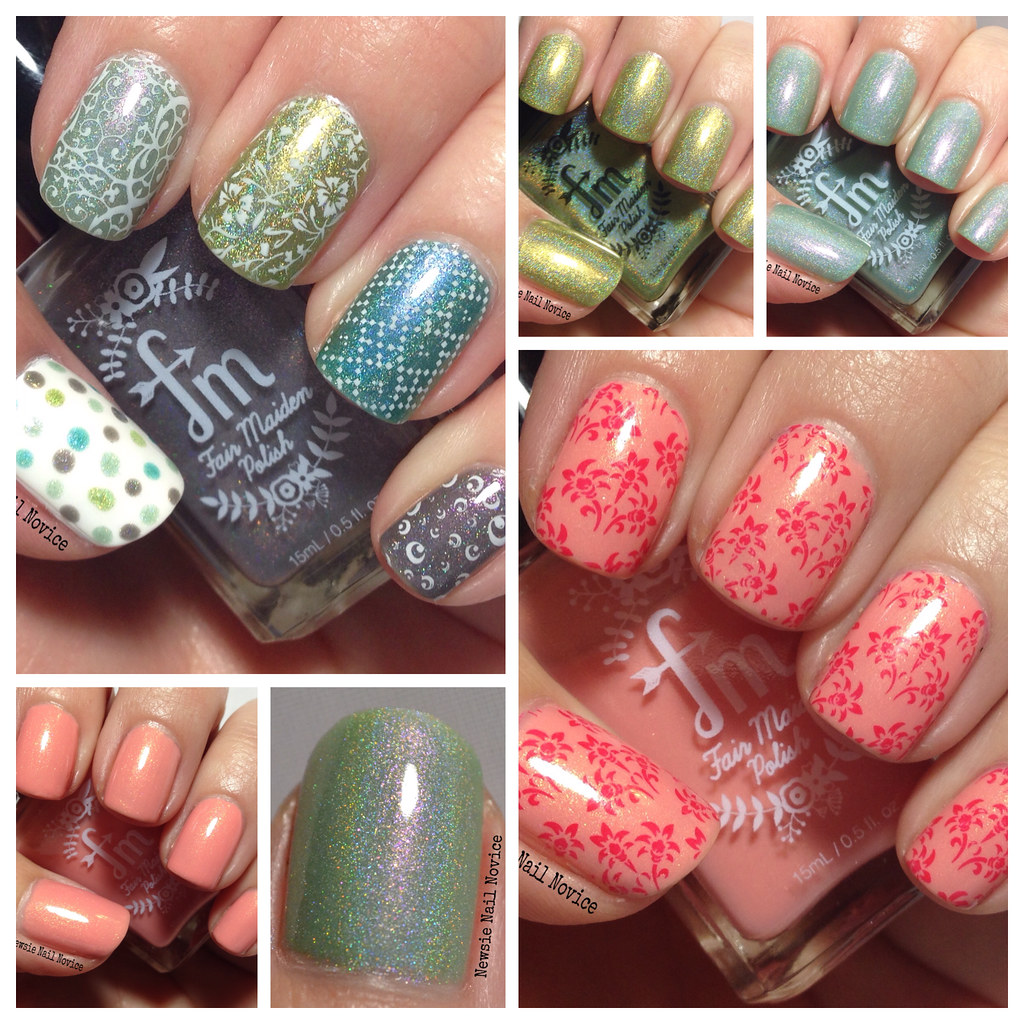
Today I've got a review of the polishes I purchased from Fair Maiden Polish's Garden Party Collection! When the collection initially released a few weekends ago, I purchased three of the polishes from the collection I wasn't sent to review and over the last week I've had fun making various nail art looks with them!

And news around the block are these are being restocked next Saturday April 18 at 12 CST!

Untitled

I purchased Sweet Honeysuckle, Green Goddess and Mint Succulent, so let's get to the swatches shall we? And stay tuned, I've got some awesome nail art I made with these polishes coming up as well later in the post!

Untitled

Untitled

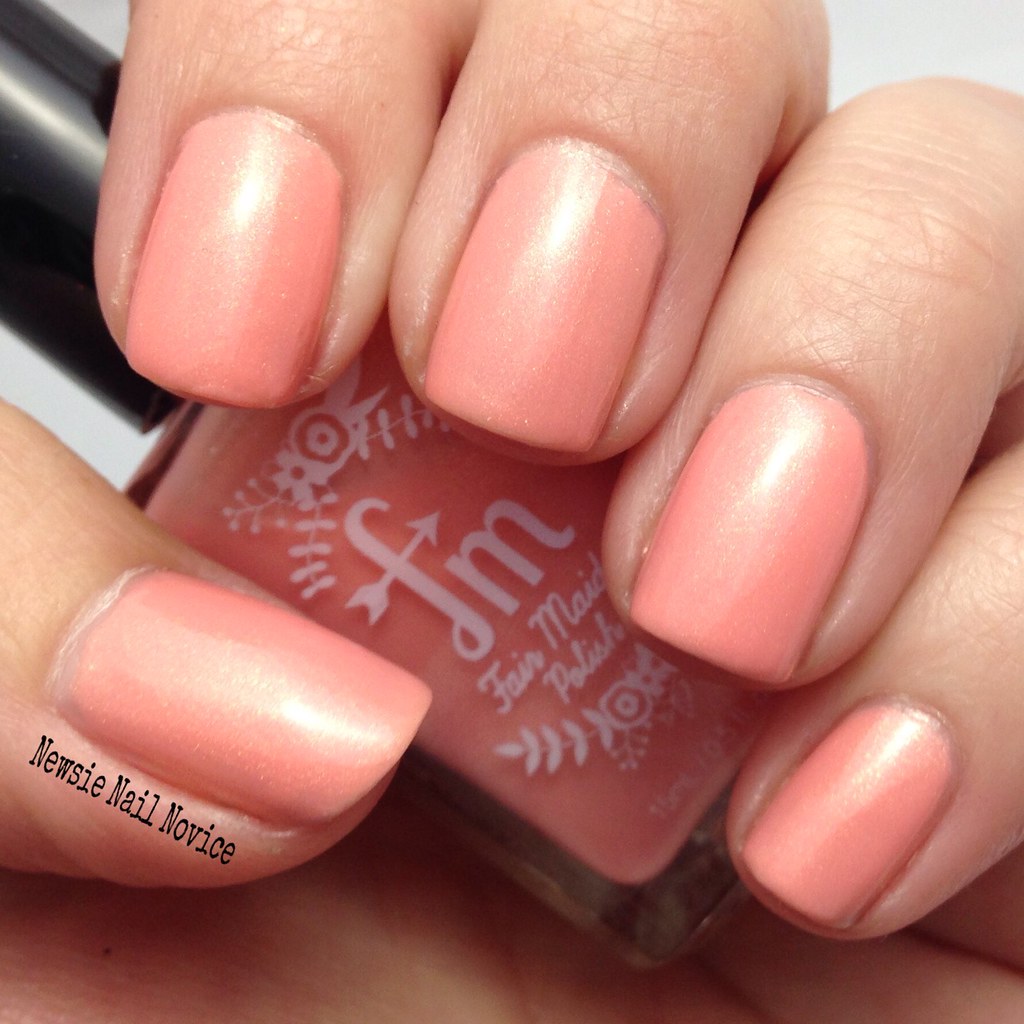
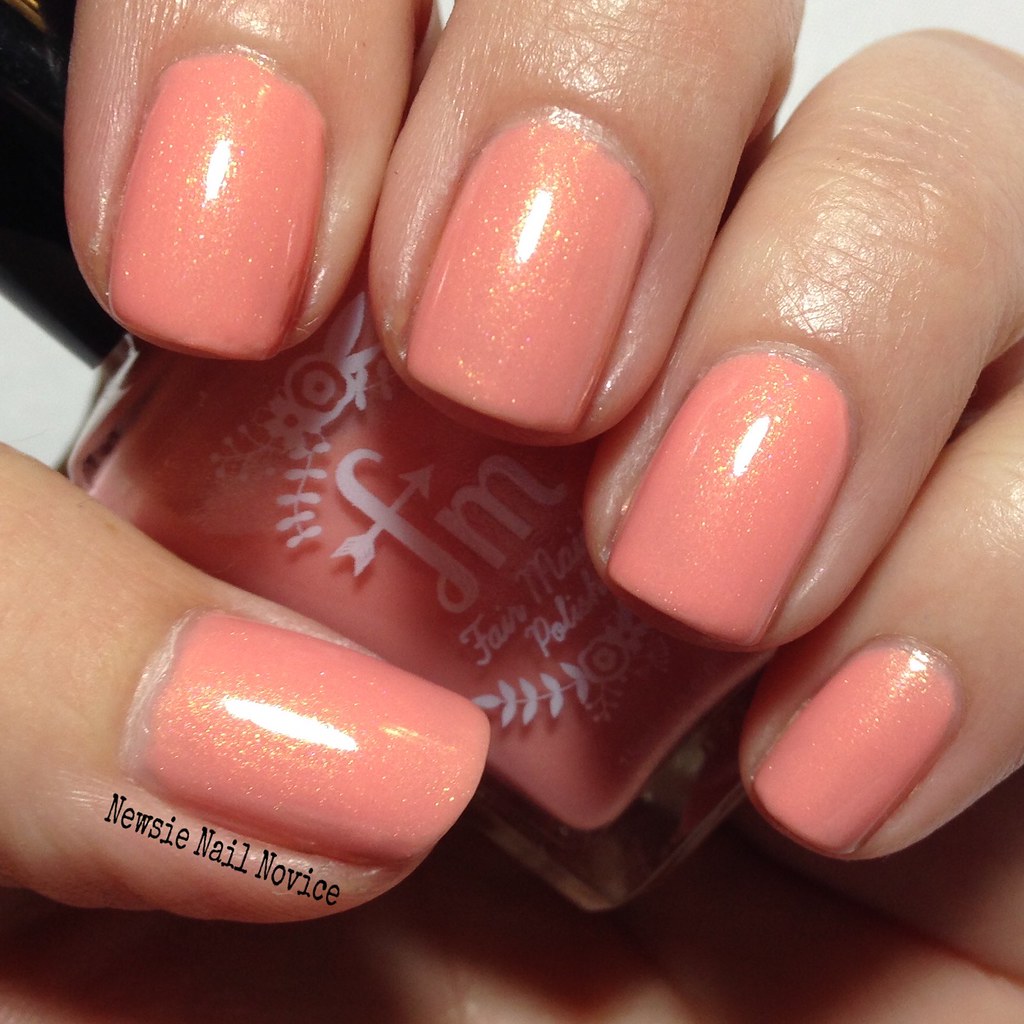
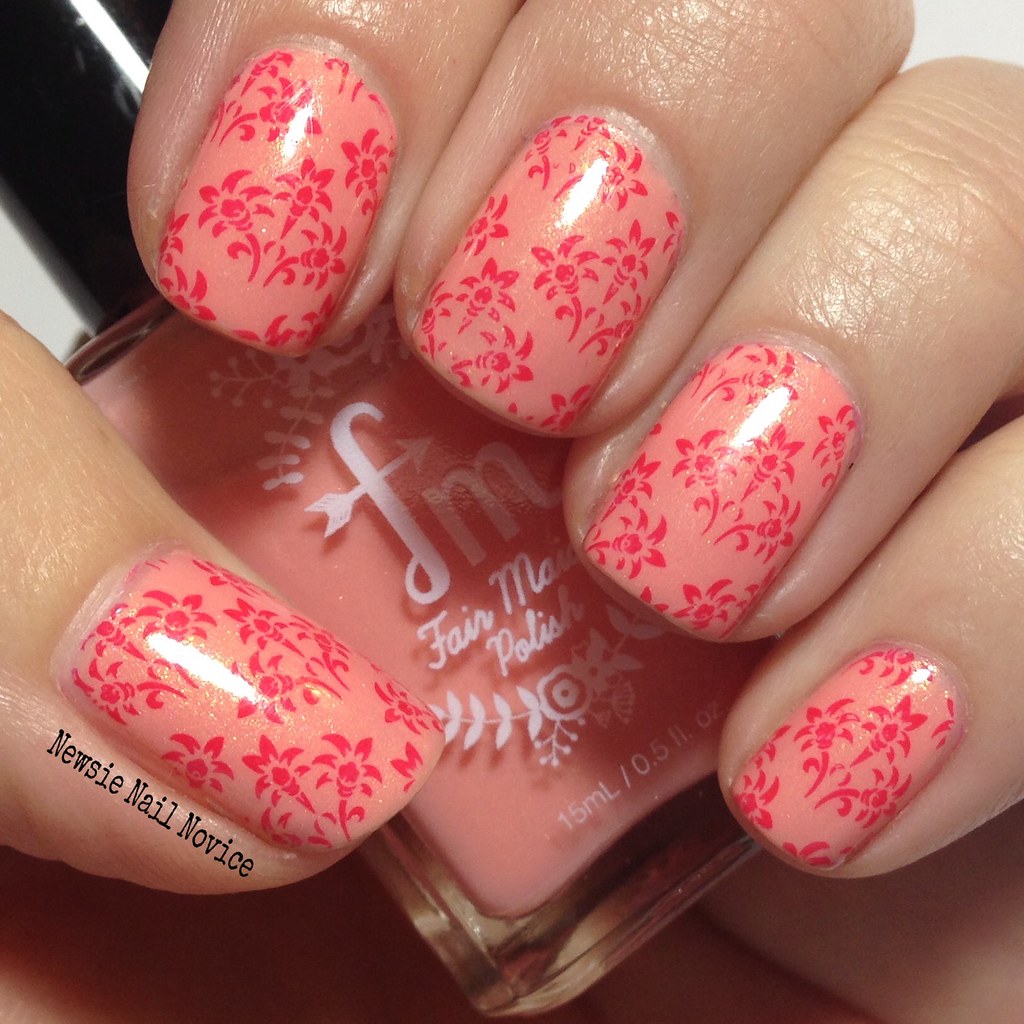
First up we have Sweet Honeysuckle which is a gorgeous peach creme polish with the most amazing golden flash with the slightest hint of violet flakies throughout. This polish is not just a creme, it has so much more going on with it that makes it special.

The consistency of this polish is thicker than the other polishes I worked with from this collection. It wasn't difficult to work with, just be careful how much you load on your brush during application. This is three thin coats.

Untitled

Untitled

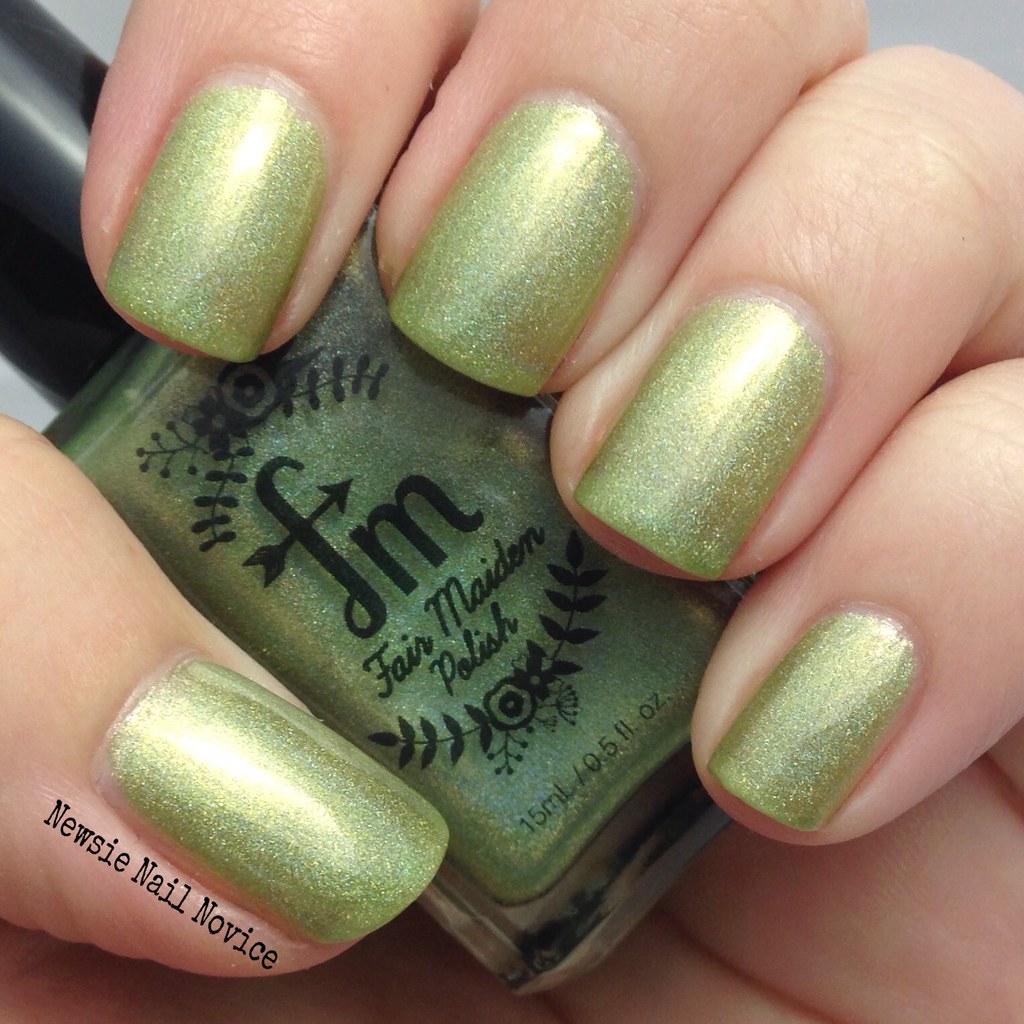
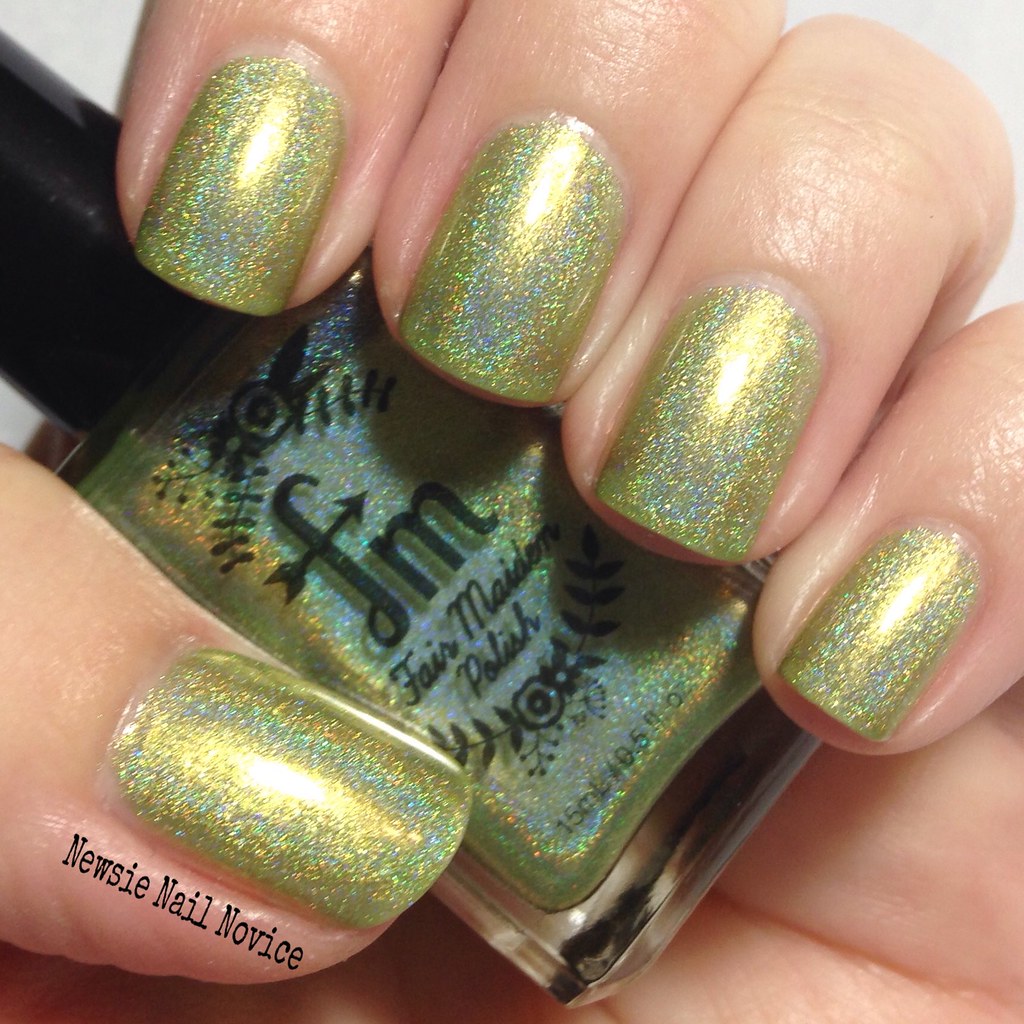
Next up we have Green Goddess which is a gorgeous light green holographic polish with a lovely golden flash to it!

The application on this was a breeze. Most people could probably get away with two coats, I added three just to be safe!

Untitled

Untitled

Untitled

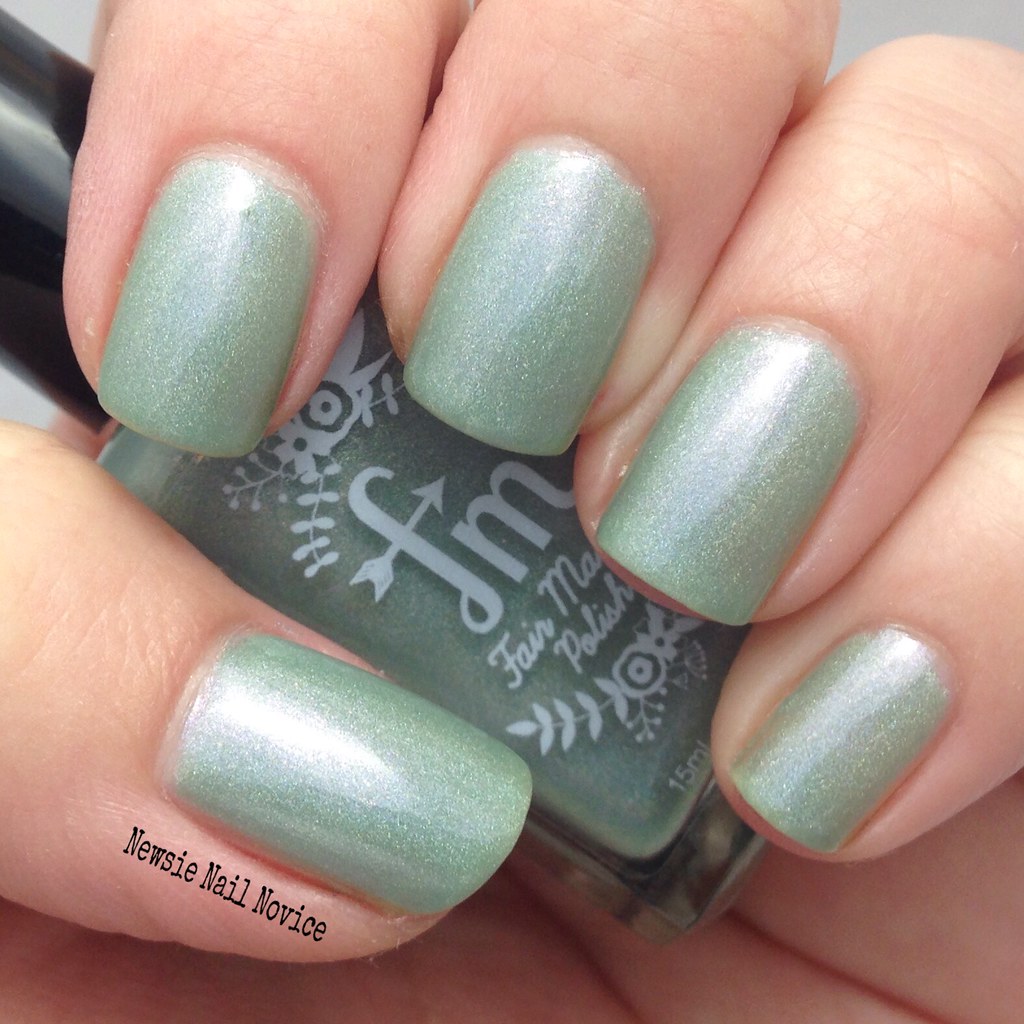
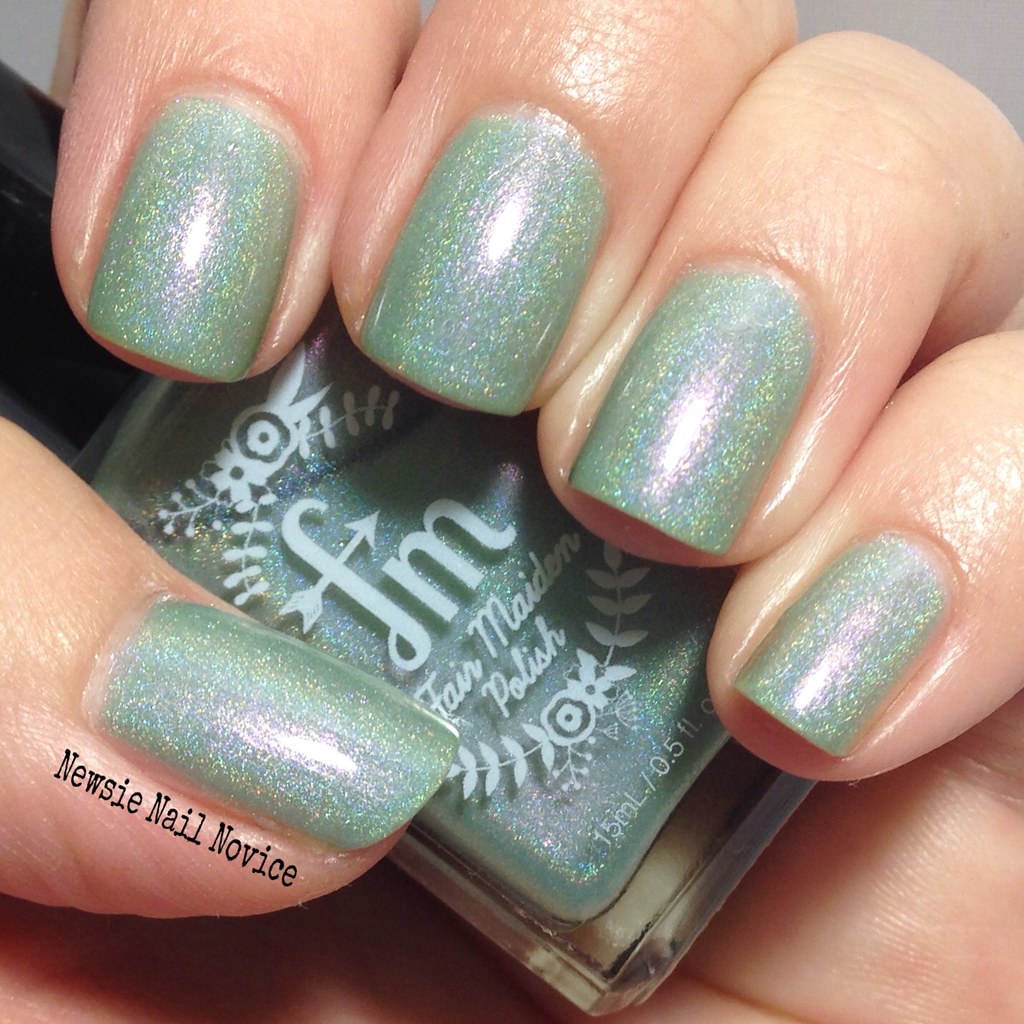
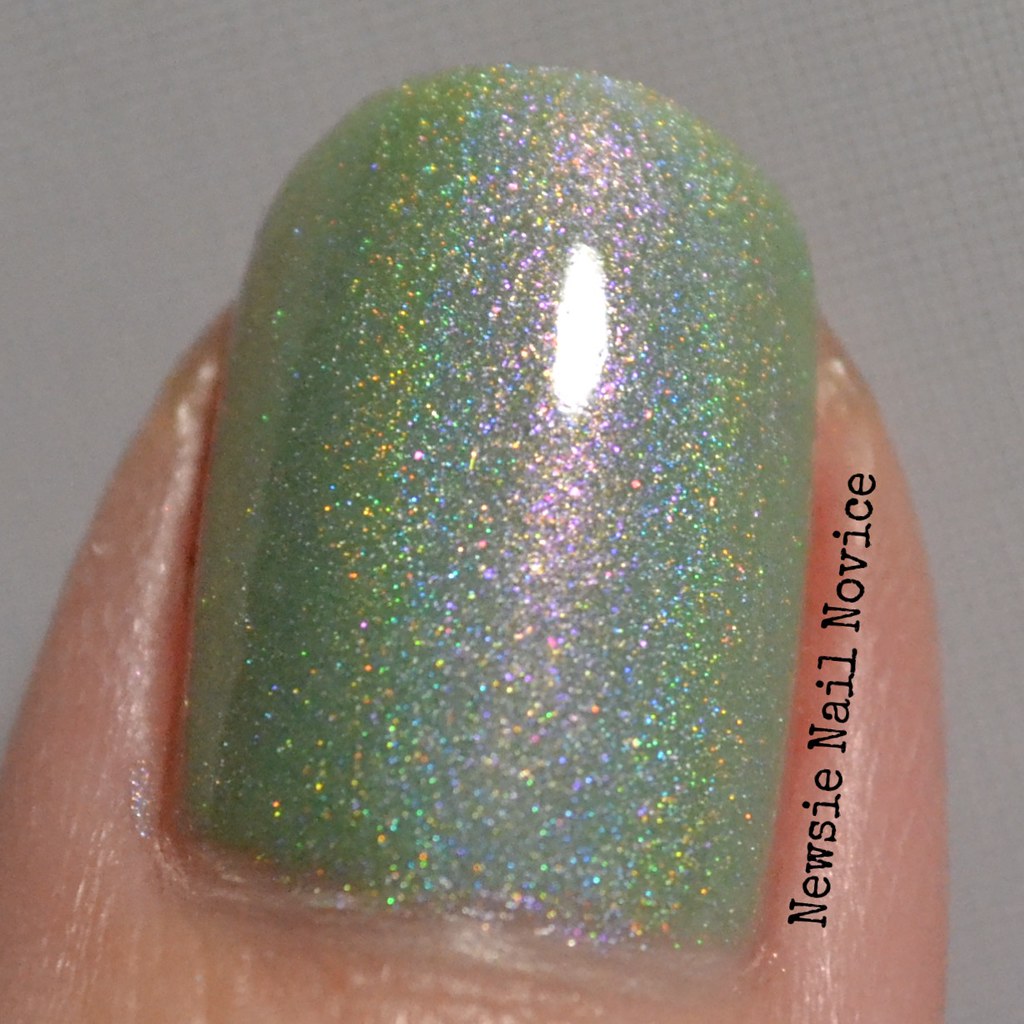
Finally we have my favorite of the these three polishes, Mint Succulent. This is a gorgeous sea foam green holographic polish with the most complex shimmer sparkle in it! I took home the work DSLR camera and captured a stunning macro shot of it! See that amazing pink shimmer with red micro flakies in it as well. This polish has dimension!!!

This polish also applied completely easily, much the same as Green Goddess. Would probably be fine with two coats, I added a third for good measure and more sparkle! :)

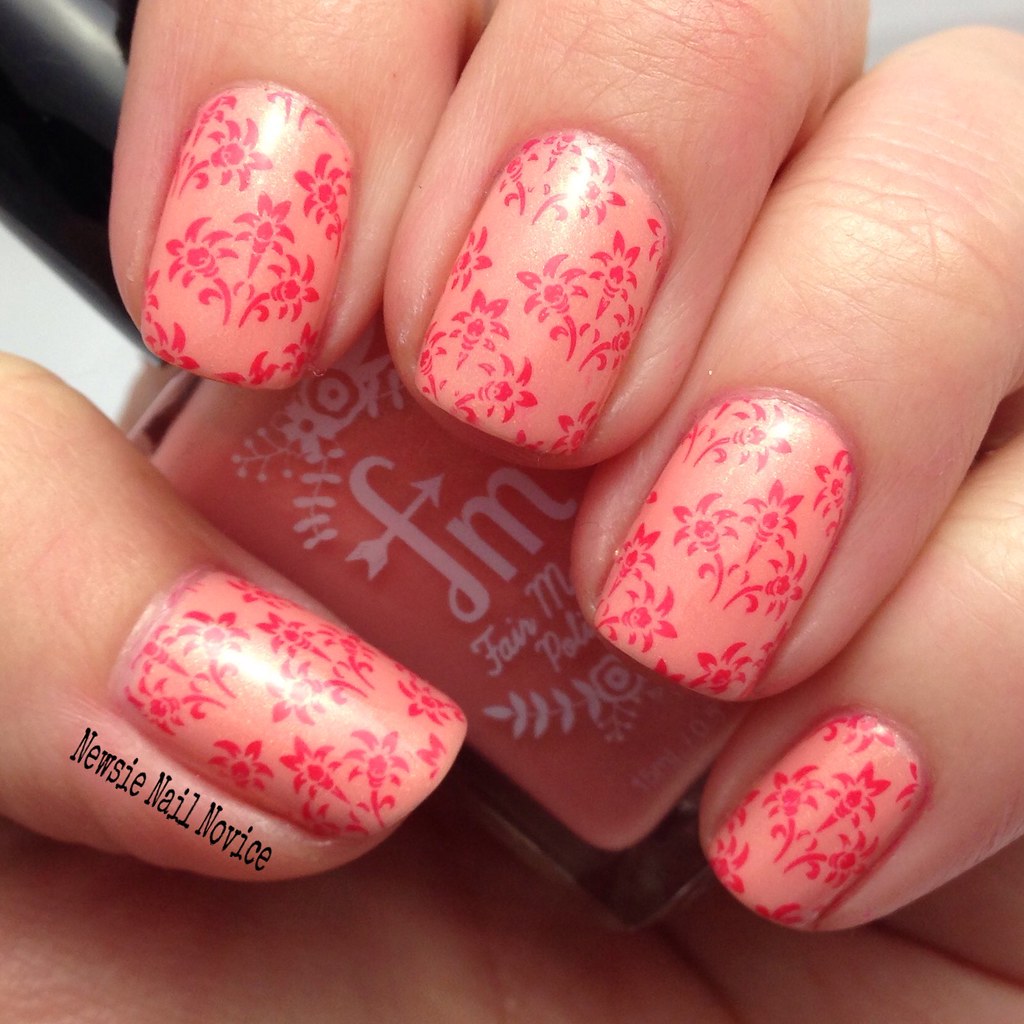
Now on to the fun nail art looks. Sweet Honeysuckle is the first polish I took out to play with and I was looking through my stamping plates to see if I had anything that looked close to a honeysuckle and this was the closest I could get. I used my Lily Anna 07 plate using Essie Come Here to create this fun stamping look!

Untitled

Untitled

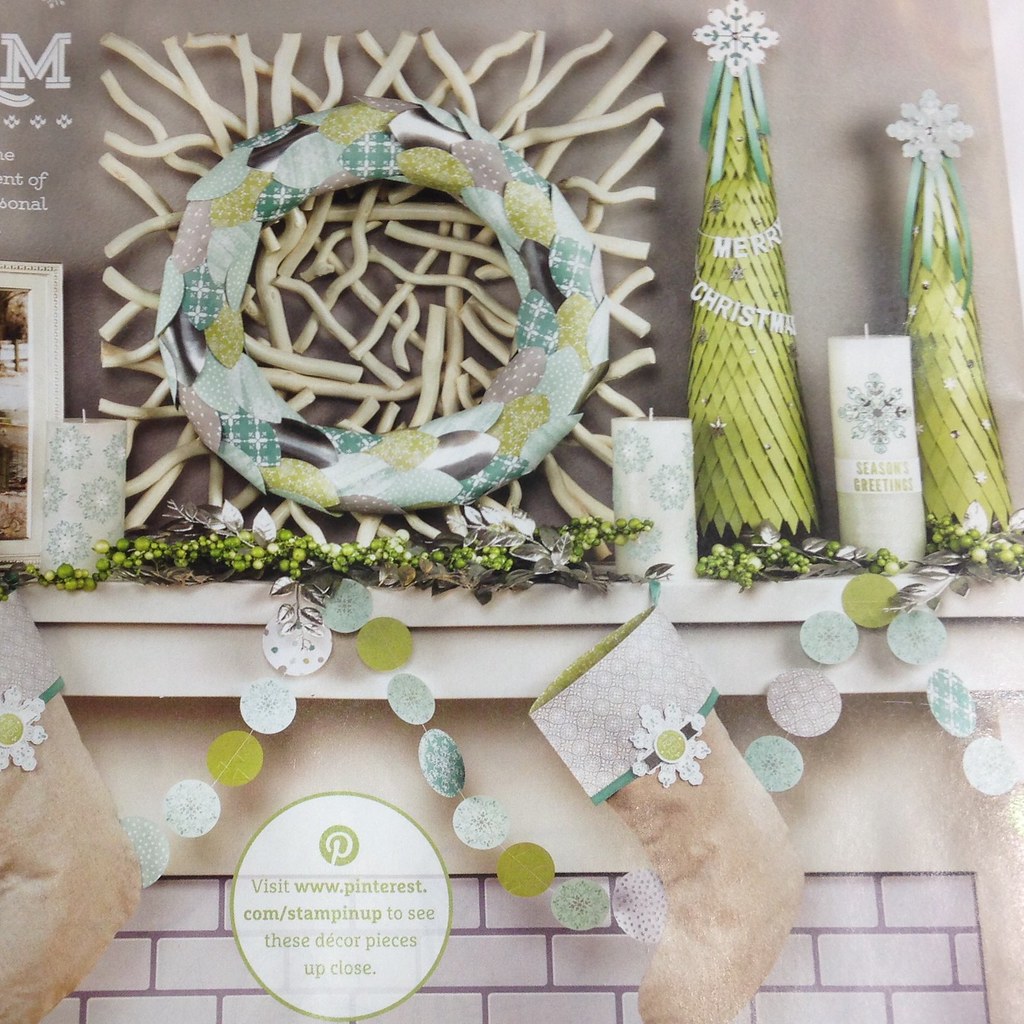
In this funny polish world, we find inspiration in the silliest of ways. On my polish tray (which is actually a breakfast tray I can move from room to room) I have an old Stampin Up catalog from the days when I made cards for fun. Anyway I use the catalog as sort of a place mat and turn the page when I have made enough of a mess of the previous page. When I turned the page to work on my Fair Maiden swatches this is what came up.

Untitled

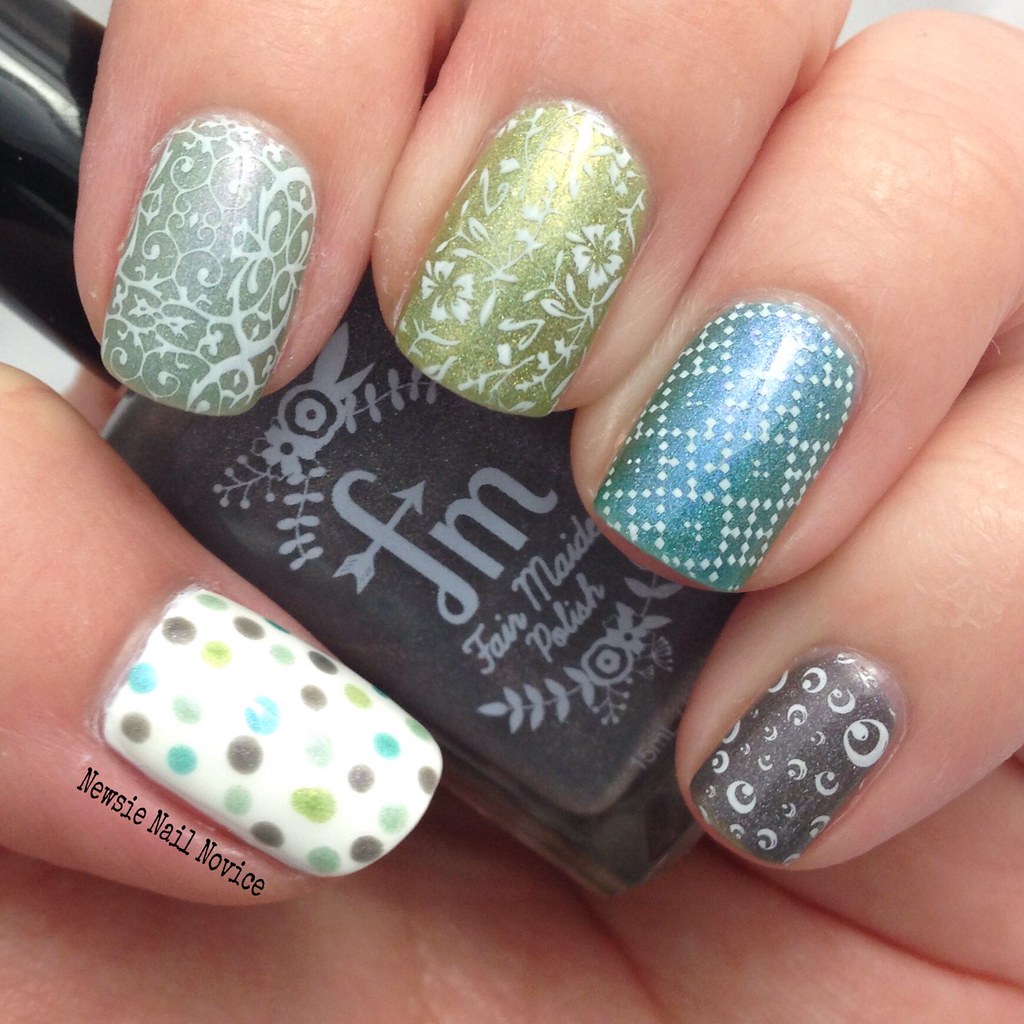
I saw all those colors and a light bulb went off in my head. I have Fair Maidens to match that color scheme! So off I went to create a fun nail skittle!

Untitled

Untitled

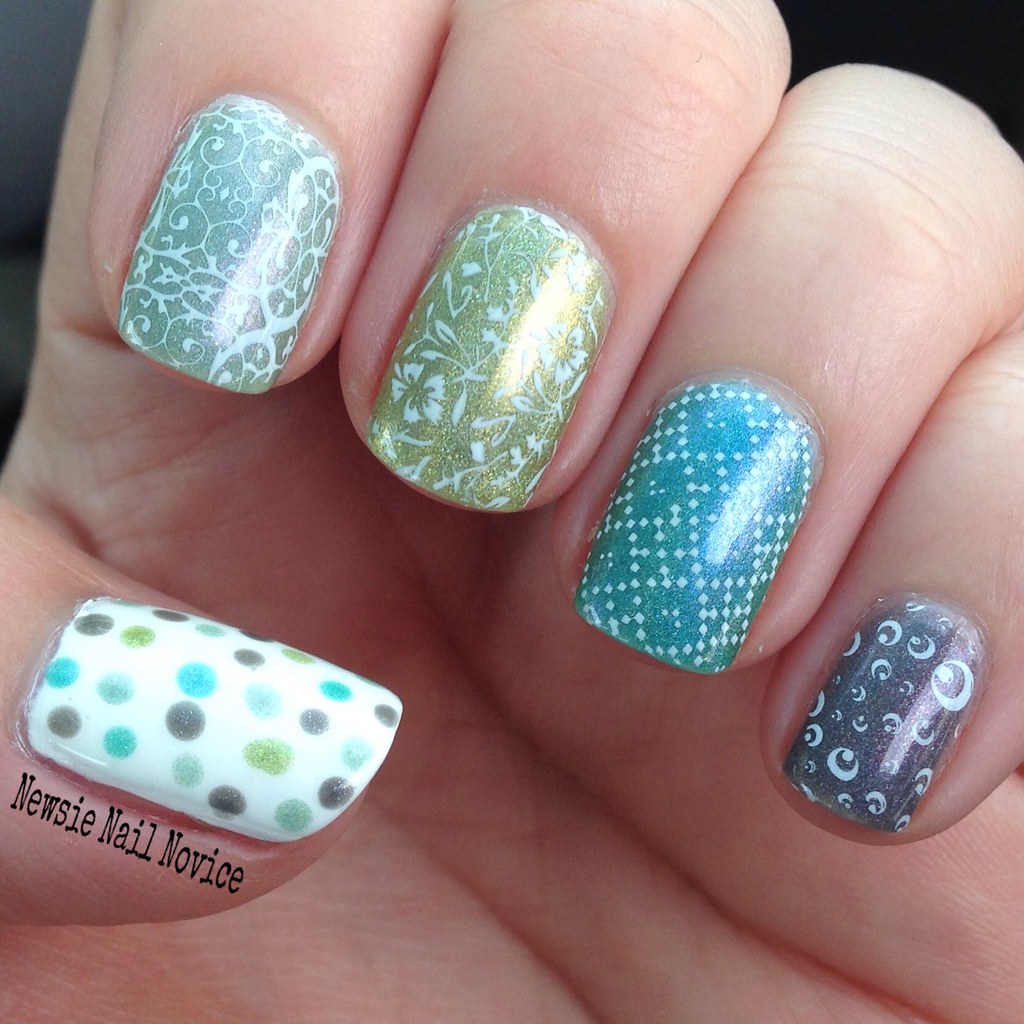
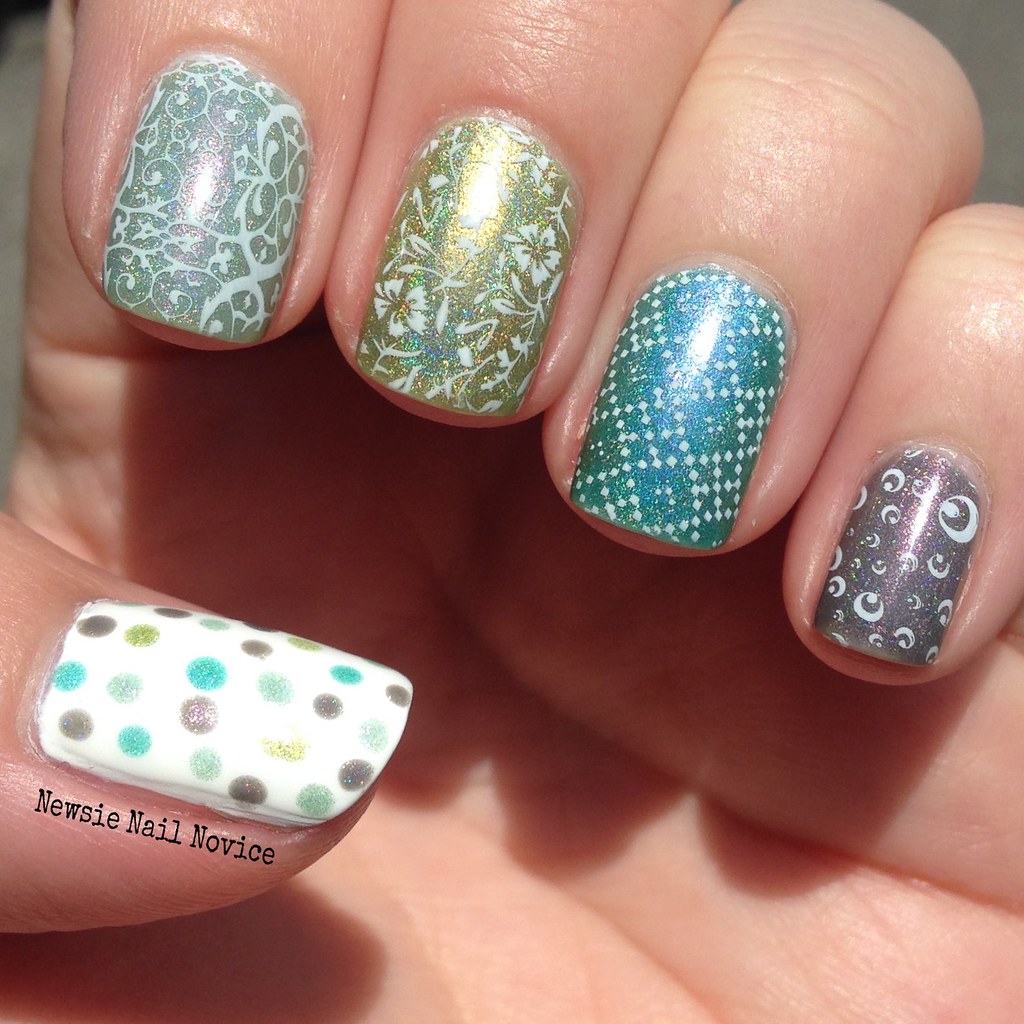
Colors used here, from thumb to pinkie are KBShimmer Eyes White Open (which I also used to stamp with, it's an amazing opaque white polish), Mint Succulent, Green Goddess, a special fan-group custom polish and Be Your Own Heroine.

For the stamping designs, I used my Uber Chic plates 1-01 and 1-02. These are great nail stamping plates, so much you can do with the designs. If you haven't checked them out yet, I highly suggest it!

And here are a few more shots in the sun and daylight because I wanted to share with you how amazing these polishes are in all lights!

Untitled

Untitled

So anyway, you'll want to get you hands on some of these polishes when they are restocked on April 18. If you haven't tried out this brand I highly recommend it. I previously reviewed two polishes from this collection, and I just love those as well!

So which polish do you like best out of this post? Have you tried Fair Maiden yet, which are your favorites?!

Tuesday, February 24, 2015

Gold to teal gradient with stamping

So I was cleaning out my phone yesterday and I couldn't believe how many looks I had created that I never actually got around to blogging to!

So here and there, I'll be updating you guys with a post from the vault. Please be kind to me when posting these, most were before my better lighting and photo set up, so the photos are much more amateurish than what I've been striving to post.

Untitled

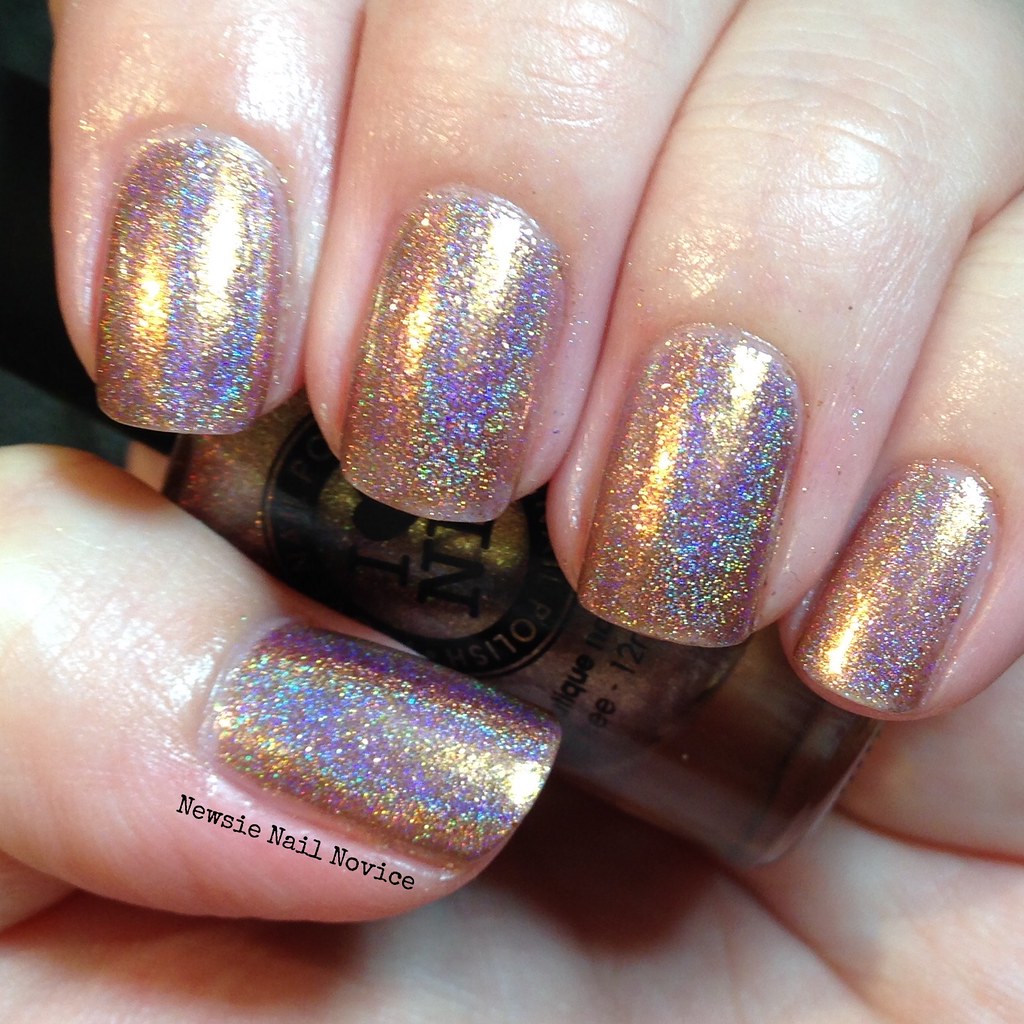
To start today's look, I started with three thin coats of ILNP Iconic. Iconic is a gorgeous gold holo polish with really subtle violet undertones. I just love this gold, it is just a spectacular holo! I remember application being on the sheerer side, so I think it needed at least three coats for this application (but I did this mani back in October, so it is completely possible I am remembering this incorrectly).

Untitled

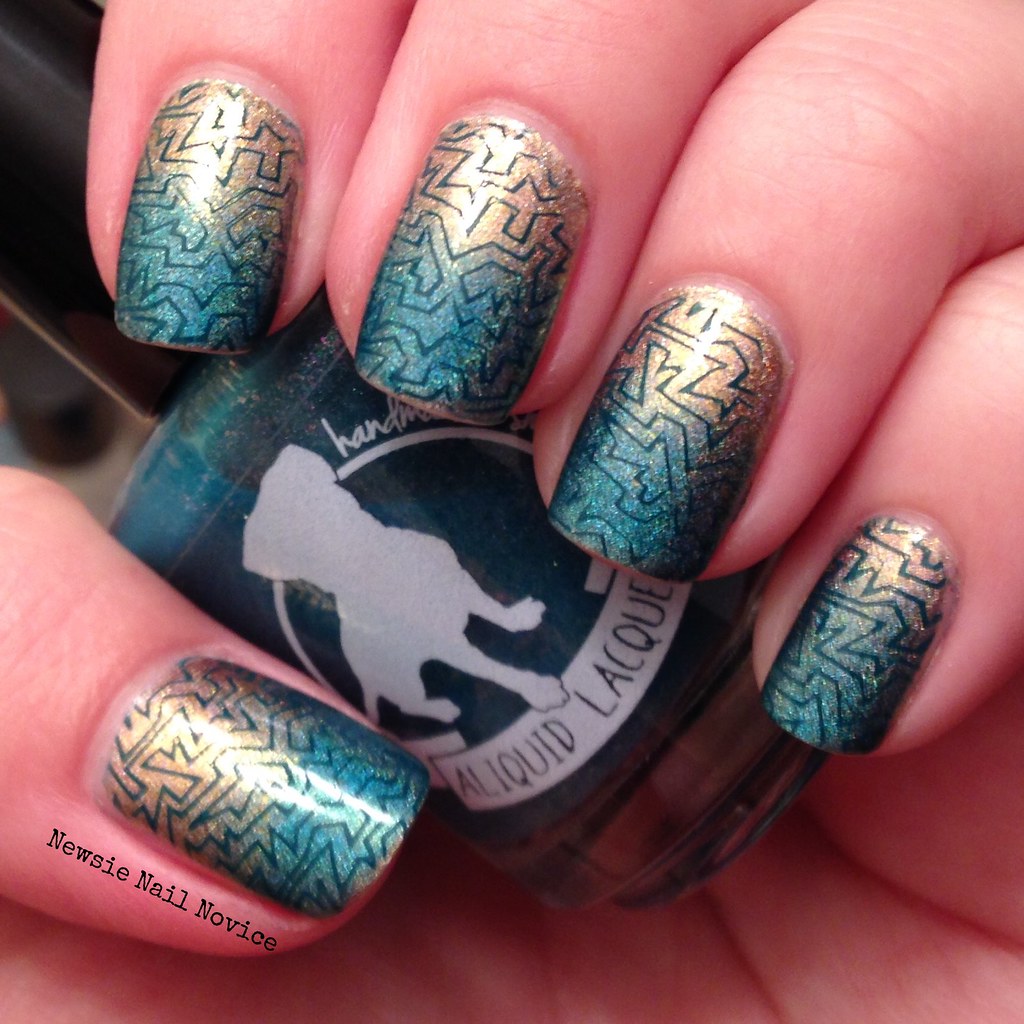
For the next step I used KBShimmer Up and Cunning to sponge on the teal gradient. I believe this was my first holo gradient and I can't believe I haven't revisited this technique since. Definitely need to break out the makeup sponges again soon! Oh and that polish bottle was some nail mail I had just revived from Aliquid Lacquer, another vault look I'll be showing you at some point!

Untitled

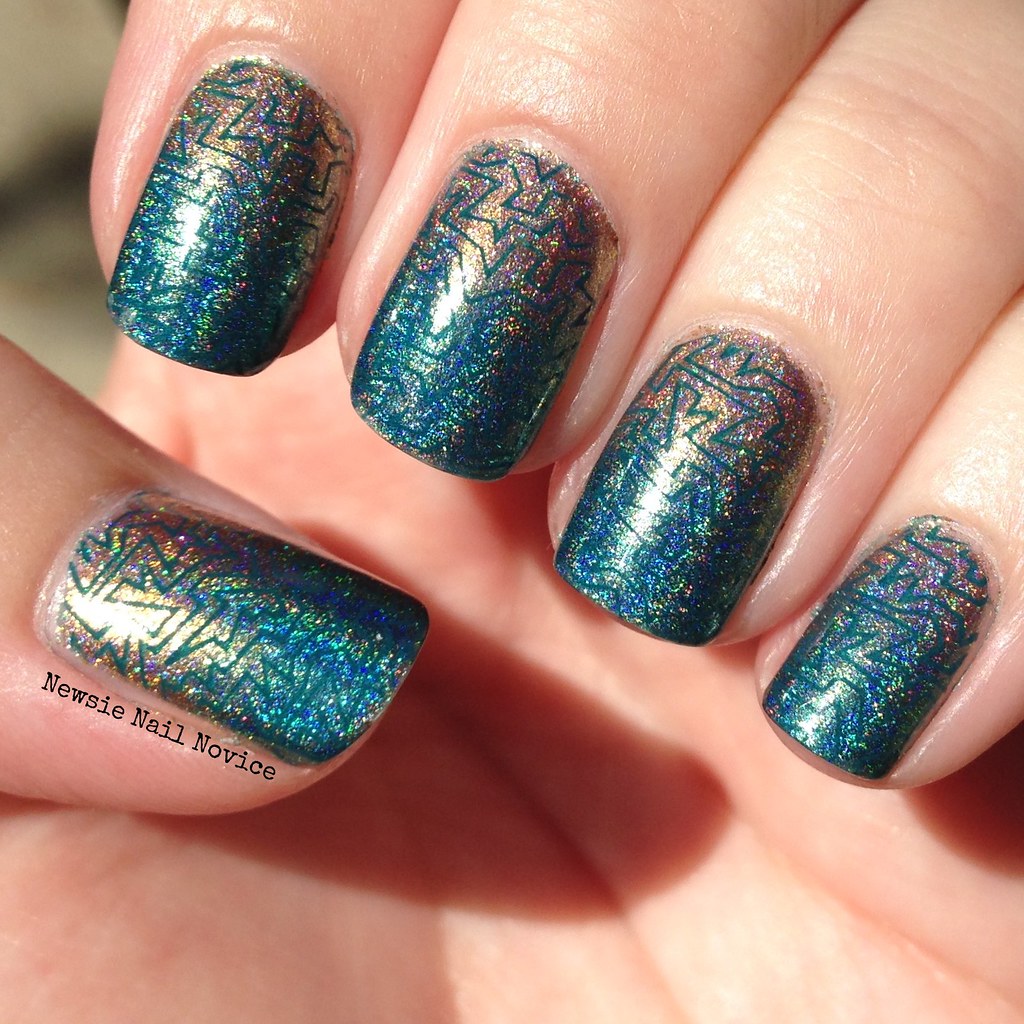
To finish off the look I used Essie The Perfect Cover Up to stamp this geometric abstract design using my Lily Anna 08 plate!

That's it for today, I hope you liked this look from the vault! Tomorrow I've got a review of polishes from Model City Polish, a new to me indie! One of my goals was to try a bunch of new indie polishes, and this is a review of just one of those experiences. And you'll definitely want to check back in at the end of this week for my very first Blogiversary, including an epic giveaway!

Thursday, January 22, 2015

My Nail Art Must Haves

Hi guys, my Mani Must Haves post really inspired me to also share with you my favorite nail art tools. So you can easily take your nails from drab to fab with a few simple tools!

 photo 8BDEEC94-5B2E-4523-A85F-72D45C3A932F_zpsjhfywgsn.jpg

So where to start? I'll start with the simplest tools first.

 photo E6A9BCD7-E5D0-4F34-A7C1-2F769245510A_zpsqtiwwfkc.jpg

Many beauty supply stores sell these in sets. I got a lot of these from a set I got from the Born Pretty store! Don't forget to use the code TRAH10 for a ten percent discount!

Dotting tools are super easy to use and can really jazz up any old mani! You can do fun things with it like a straight line of dots, a dot gradient, or a dot funky french. The possibilities are endless.

 photo 12CAE9B6-4ED0-493C-B817-E99AE2E62E8F_zpscqyrrkiw.jpg

 photo B420DE5D-EF57-4667-9B85-68C281D7C14A_zpssfmmcebh.jpg

Next up, a new favorite of mine, are nail vinyls.

 photo 696E9AAA-06CD-4AC8-B9A7-F5306EE5A2A3_zps477plyeu.jpg

A number of indie makers have nail vinyls, but I can tell you my favorite go-tos are NailVinyls.com and KBShimmer! Each sheet ranges from $5-$7, and you can get a multi variety pack (which is a good way to start if you can't ever make a decision like me)! They have straights, chevrons in various sizes, scallops, lightening bolts, even holiday related ones!

Application is something you need to get used to, but once you do this can become nail art in a snap!
Tips: Before applying the nail vinyl to your nail, make sure your base coat of polish is extra dry. Remove extra stickum from the vinyls by applying to the back of your hand a few times, I find this makes removal easier. And removal is easiest with tweezers (forgot to take a photo with my tweezers, oops).

Here are some fun manicures I have completed with nail vinyls!

 photo 12D4DE7B-A9E4-44D9-809A-50F37B7AE37F_zpsagehaipt.jpg


 photo 036BDA98-45E8-4B70-AFD9-29828B4CB52E_zpsq76hw8qb.jpg

Moving on toward the more challenging – stamping is up next!!!

 photo BA4CDAC0-D832-456A-9904-B283B30B8224_zpsc8ewc30f.jpg

Before we even get to plates, here are my nail stamping tool essentials.

• A good stamper. I use this one from the Winstonia store and it hasn't let me down yet! Not too soft, not too hard and not too sticky. When you get it you'll need to prime it, but that is pretty easy, there are a bunch of YouTube tutorials on it!
• A reliable scraper. For the scraper, I never use the ones provided with stamping kits. I go straight to the throw away credit cards they send in the mail. They have straight edges which are ideal for scraping the paint away in the metal plates.
• Q-tips! These are a great tool to use to clean up the polish in the plates after application. I dip a little in acetone, use that end to clean up the excess polish and the other end to dry off the design.
• Blue Painters Tape! Why? Well this little handy tool is the perfect way to clean off your stamper with any excess design that didn't transfer to your nail.
• Good stamping polish. This can be hit or miss for awhile. Once again, the Born Pretty Store is a good place to start. I really like how crisp their stamping polish is. It dries really quickly so I find that you have to work a little quicker, but the results are fabulous. I also find that Zoya cremes and Essie cremes stamp pretty well as well. Drug store quick dry polishes, like the Sally Hansen ones also work pretty well. Good rule of thumb is if it is a one coat polish, it probably works well for stamping.

Now on to the plates!

 photo 71D6872F-671A-404D-911D-FB197B8D61A0_zpsl0h50jhy.jpg

There are many many places you can get plates but I'll tell you what I've tried and what I find works best. I started out with the Winstonia plates and they are pretty reliable from what I've experienced. They have some nice sets, which you can get at their website or even on Amazon. They are also where I purchased this handy dandy plate holder from. A must when the plates start piling up!

I've also tried Bundle Monster, but their plates can vary in quality. I had some issues with some of the original plates I purchased from them, but their more recent collections have been pretty good in quality I must say. A plus when it come to ordering from them, you can get individual plates for a steal of a price.

I've just started getting Born Pretty Store stamping plates, but have been very surprised at their quality. They are super inexpensive too and you can buy them individually as well. Shipping takes longer since they are international, but it also free!

 photo 218361D6-2014-49C9-A5A4-8A855079EA3C_zpsxaasbjj0.jpg

Next up is the MoYou London plates, which are the best in quality I own. These retail for a little higher of a price, about $7.50 a plate. But the images are great. And their smaller images work well on my nails, so I can get a lot of images on one plate. 

 photo CEA75BD1-FE68-4B5A-8EA2-B9C35E234BA9_zpsfxs5me5u.jpg

And my most favorite plates of the moment are the Lily Anna plates from Messy Mansion. Messy Mansion is out of Australia and shipping is around $6 for plates only. I just love the designs on these plates, they are so unique and I pull them out for so many different looks!

And now the fun part, I'll share a few stamped manis for your viewing pleasure!

 photo 91FA149A-0878-4269-B6C4-2D0BB22B092C_zpstmsuycal.jpg
Bundle Monster and Winstonia stamping using Born Pretty White Stamping Polish

 photo BC380759-BEB9-421F-96DE-EB2B82EFD3C1_zpskoab72pk.jpg
Born Pretty Store Black Stamping polish and a Born Pretty Store plate

 photo 47807C6D-83A0-40A8-ADE2-4C0A4726D2E2_zpsgt3vbmle.jpg
MoYou plate stamping with a drug store white (I can't recall what polish this is exactly)

 photo E0ABD422-9625-407C-9019-4AE5AE6542D1_zpsmkgddsi2.jpg
Lily Anna stamping plate with a Color Club Holo polish to stamp with.

Now for the most advanced, for which I haven't even mastered yet, the nail art brushes.

 photo AF7364F7-6828-440F-9E01-F3E47BAC99ED_zpsi3motp6m.jpg

I got most of these in a set from the Born Pretty Store, because it was a decent price, but I heard you can get the acrylic brushes from a craft store and they work pretty well too.

I haven't put a lot of these to work yet, and I heard you can do a lot of nail art with acrylic paint over a polish base, but like I said, I haven't been that adventurous yet. I'll share with you my most recent mani I used the brushes for: My Piglet Nails.

 photo 88109534-EF49-4762-A02B-468BAEEA76A4_zpsmsx3xq0q.jpg
I used the striping brush for the stripes and a finer brush for the face.

As you can see, my freehand leave a lot to be desired. But practice makes perfect, and I just got acrylic black and white so I can start playing a little more with different looks.

There are of course a slew of other things you can use for nail art – 3D Nail Gems, makeup sponges for gradients, liquid latex for quick clean up – these are just what I use most often to take that regular manicure to the next level.

I hope you enjoyed this post. I had so much fun writing it and I hope that you learned a tip or two along the way! What are your favorite nail art tools? I'd love to hear about them, maybe I can try a few new things out!

Wednesday, January 21, 2015

Three Greens Nail Art Challenge

Hi everyone, I'm back with another Crumpet's 52 Week Pick and Mix Challenge. This week I chose the prompt three shades of green and/or yellow (the other prompt was fire and I couldn't quite figure out how to tie the two together, but Serene at Copycat Claws did an amazing job!).

So I didn't just pick out three greens, I picked four, because I just love green. It is my favorite color!

 photo C2782632-6CCE-45DA-9F65-9AEF7A3F837B_zpshcgehjrv.jpg

I started out with two thin layers of Color Club Kismet, because, I guess I can't do a manicure with out some holo!!! Kismet is a great super linear holo that is almost lime green leaning yellow green, just lovely.

 photo 502C481C-6BAE-4C5C-B2EF-980D6FE348ED_zpsdqptdori.jpg

Then I took three Zoya greens, from top to bottom, Noot, Hunter and Shawn and stamped them using this scale-y design.

 photo DCF23D20-4E28-4382-A193-7C84ACC0DA6F_zpsmyy8hcdd.jpg

It's harder to see the three greens in the light because, um, hello holo, but I think the effect is nice in the shade and in the sun!

 photo EA177C39-097F-4915-9BCD-162BFF01D113_zpspsyc3k9d.jpg

The stamping plate I used is Lily Anna 09. I just love my Lily Anna plates, I seriously probably use them for more jobs than anything other plates I own (I own Lily Anna Plates 6-10). I think I want to collect them all because all the looks are so versatile. I might ask for some for my birthday (coming up in early March).

Overall I called these my dragon nails, because I just love the look of the scales and the green was just so dragon-esque!

My original concept for this mani was using Noot as the base and various green holo polishes in a dotticure gradient.

 photo 4996FA8D-E295-4DF4-A87C-ACAA4E456D56_zpsaxquczgj.jpg

The reason I didn't stick with this one is because I feel the three shades of green holo get lost in each other. I decided to show it off though because look at how amazing Noot looks as a base. I can't believe this was an untried for me. I will definitely be breaking this out again for a nail art project in the future. Just look at how creamy and dark it is. Such a strong color, without being super black, which you can get with a lot of dark creme polishes. Just stunning!

Anyway, that is it for today. Don't forget to check out the other ladies taking part in this challenge!!!