Showing posts with label dotticure. Show all posts

Thursday, December 15, 2016

Simple Christmas Dotticure featuring Polished for Days

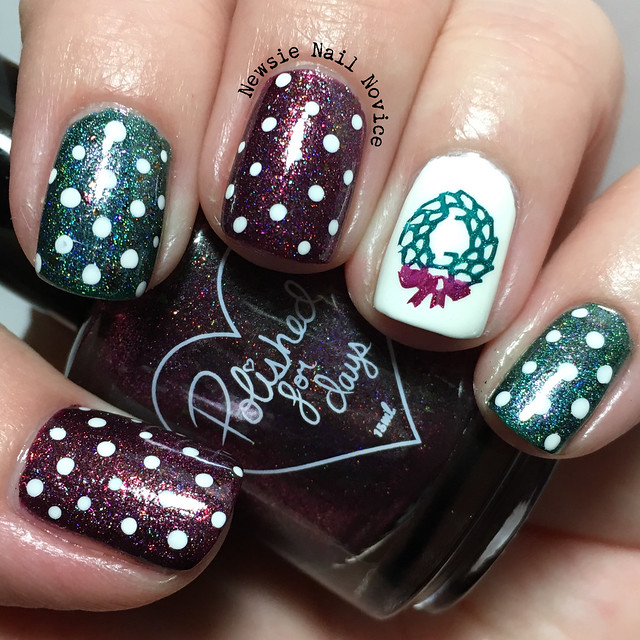
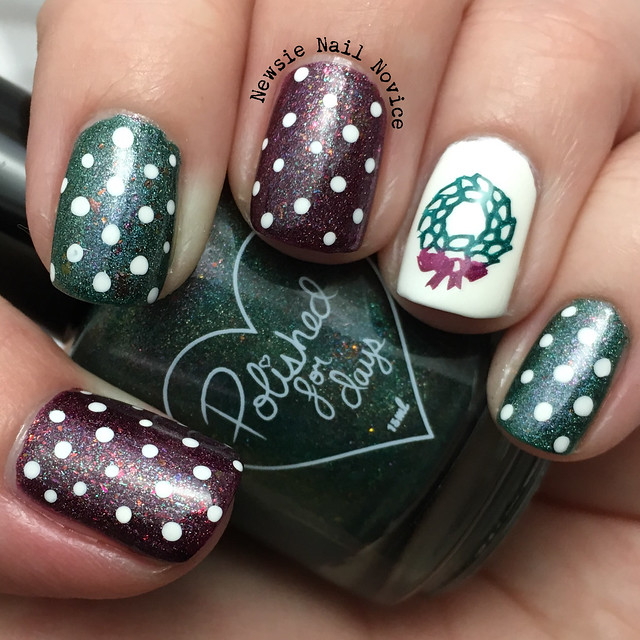
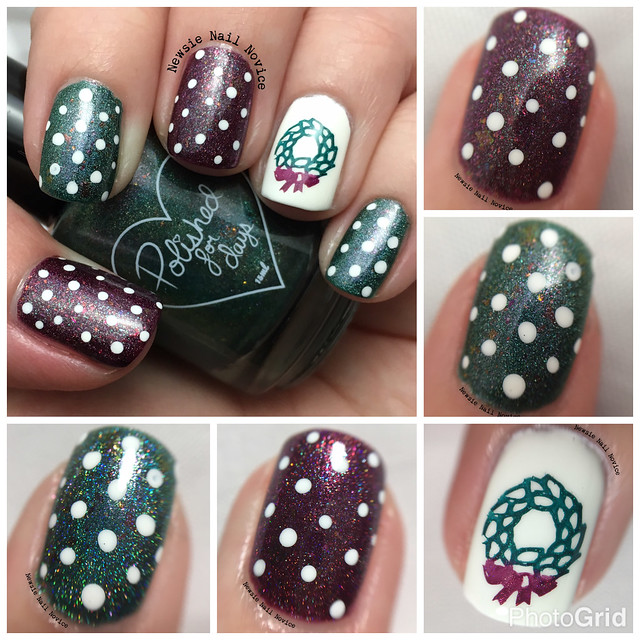
Today I have a simple holiday look I've been sporting on my nails all week. The base polishes are to die for, I just knew I had to pair them together.

Untitled

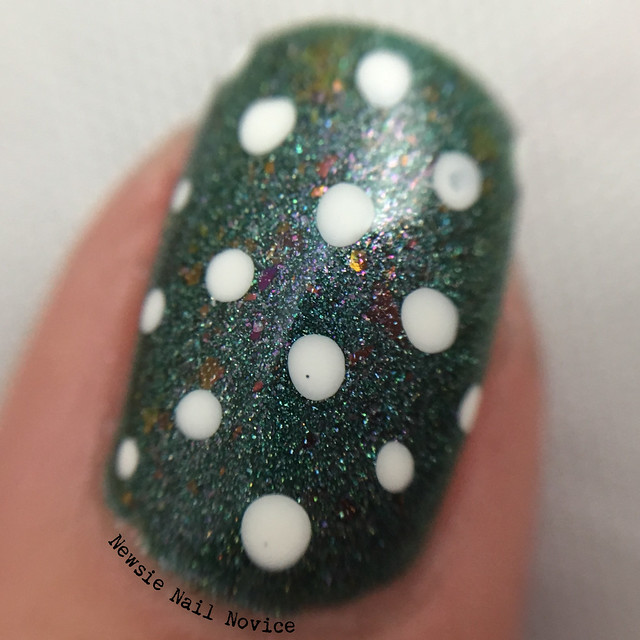
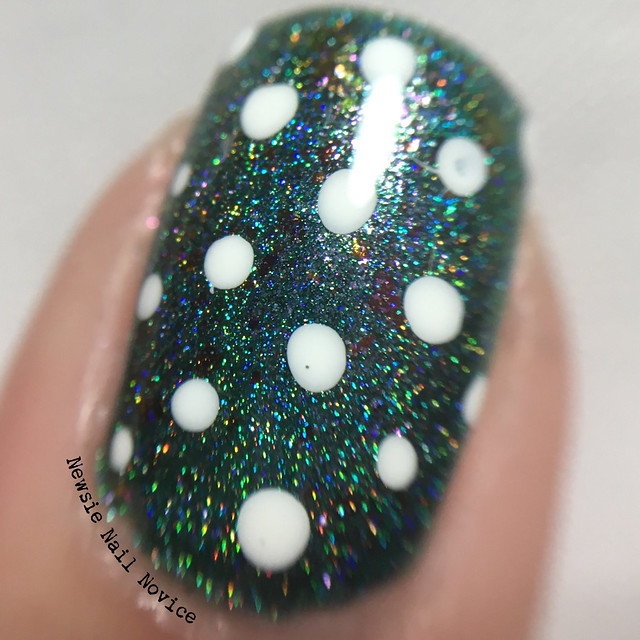
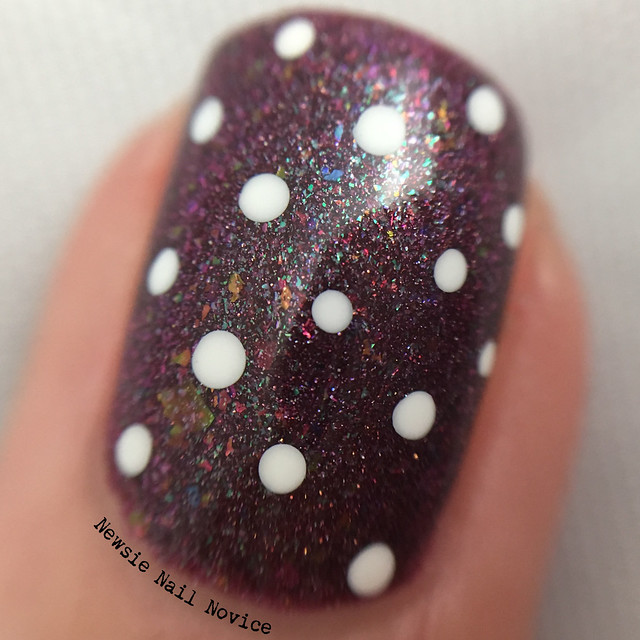
The two main polishes here are Polished for Days Twinkle and Polished for Days Grandma Got Run Over by a Unicorn (from the December For the Love of Polish Box).

Untitled

Untitled

Let's talk about these beautiful base polishes. This is Twinkle and it is a gorgeous teal leaning Christmas green holo polish with a red shimmer and red to gold shifting multichrome flakies. This polish has so much going on, shimmer, flakies and holo! It is so beautiful. Opaque in two easy coats.

Untitled

Untitled

This is Polished for Days Grandma Got Run over by a Unicorn and it is everything. This is a beautiful mulberry holo polish with a gorgeous teal/blue shimmer and copper to green to gold shifting flakies. This polish is so unique and so full of rainbows, I love this! Opaque in two easy coats.

Untitled

Untitled

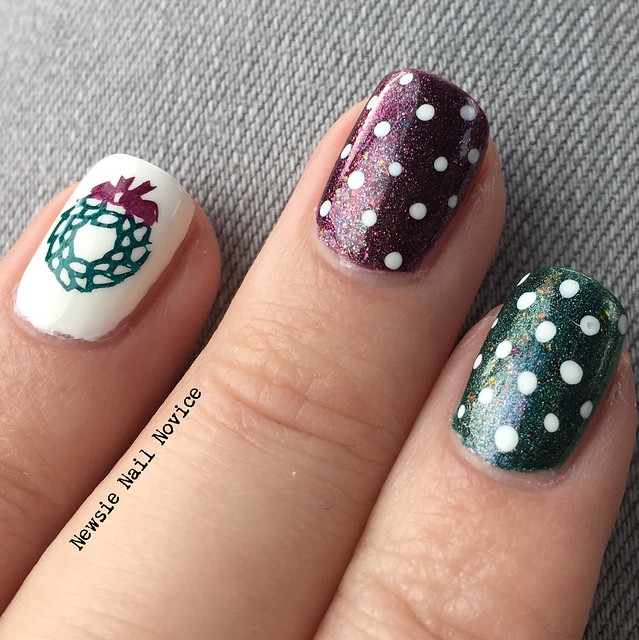
To bring this look together I did simple polka dots using KBShimmer Eyes White Open and then on my accent nail I stamped a wreath (from the Bundle Monster holiday plates) using a England Saint George and Cupcake Polish Blood Hound (very opaque holos which I knew would stamp and match the beautiful base polishes).

Untitled

I looooved the antique-y beauty of this look, it's not the typical red and green look, but it is understated and classy I think. And the contrasting shimmers in this polish were PERFECT. These polishes looked like they were made to go together like this!

Wednesday, August 5, 2015

Simple Dotticure and a Charity Polish

Hey guys, it's Wendneday and I have to tell you I am pretty stinkin' tired. I don't know if I'm fighting a sickness or I'm just feeling a lack of energy but I'm a bit blah this week. Good news is I finally got my husband to buy into watching Friday Night Lights with me, I love that show and I know he is going to love it too. Sot that's what I'm up to this week.

Since I'm a little tired and short on words, I thought I'd share this quick and simple look with you today.

Untitled

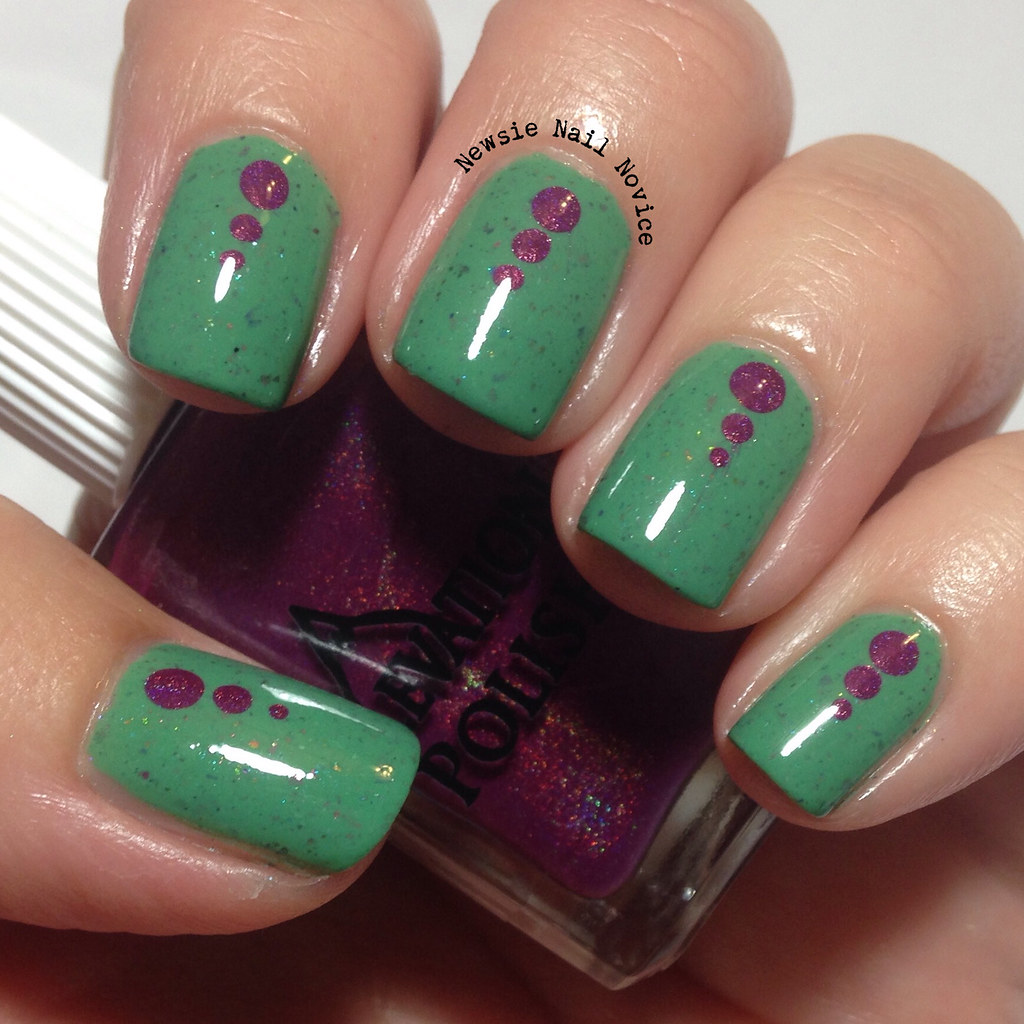
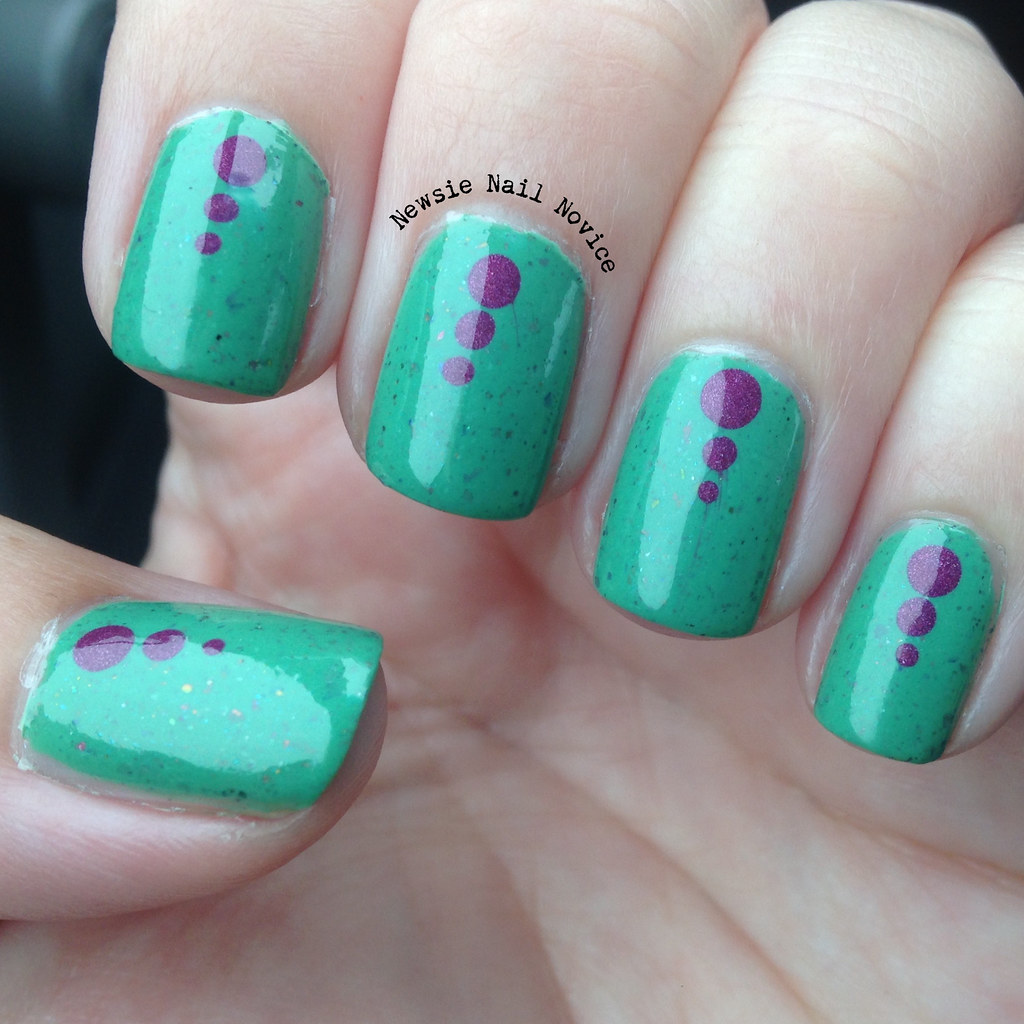
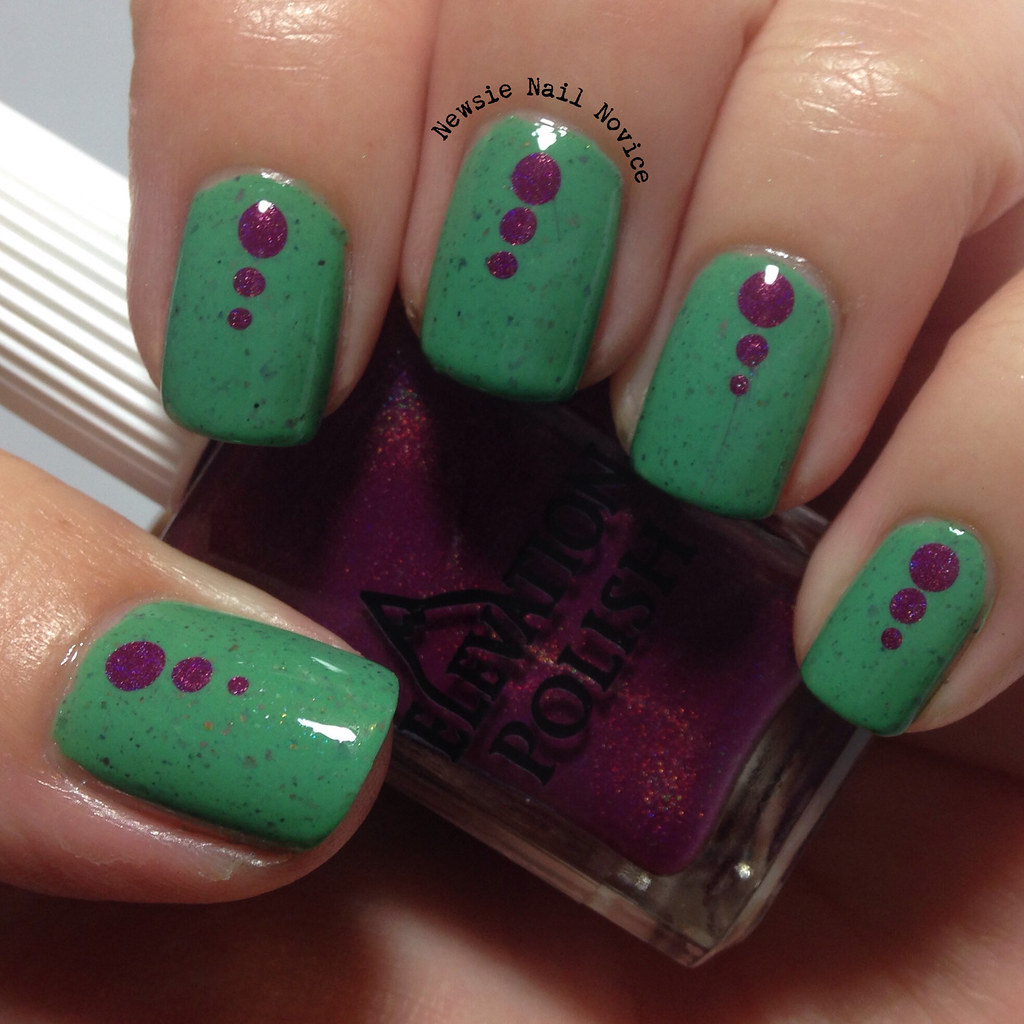
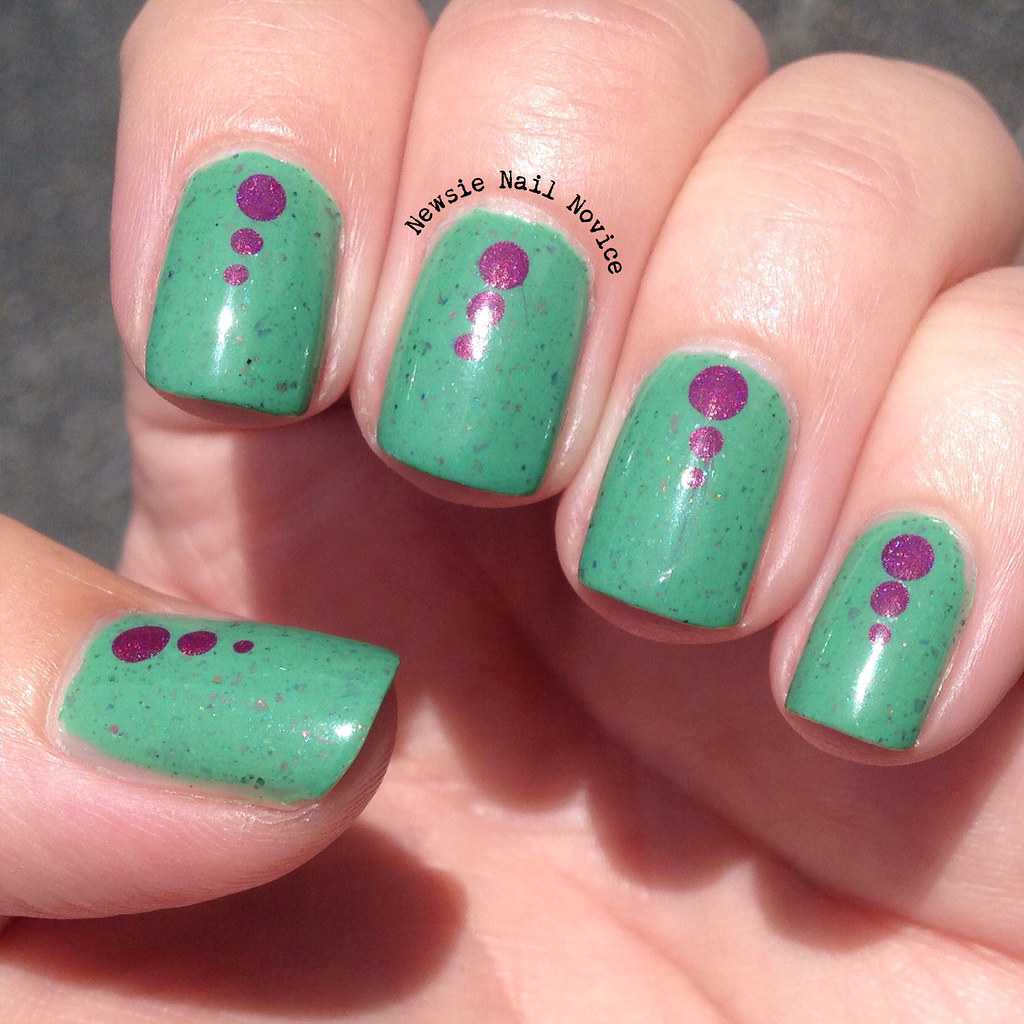
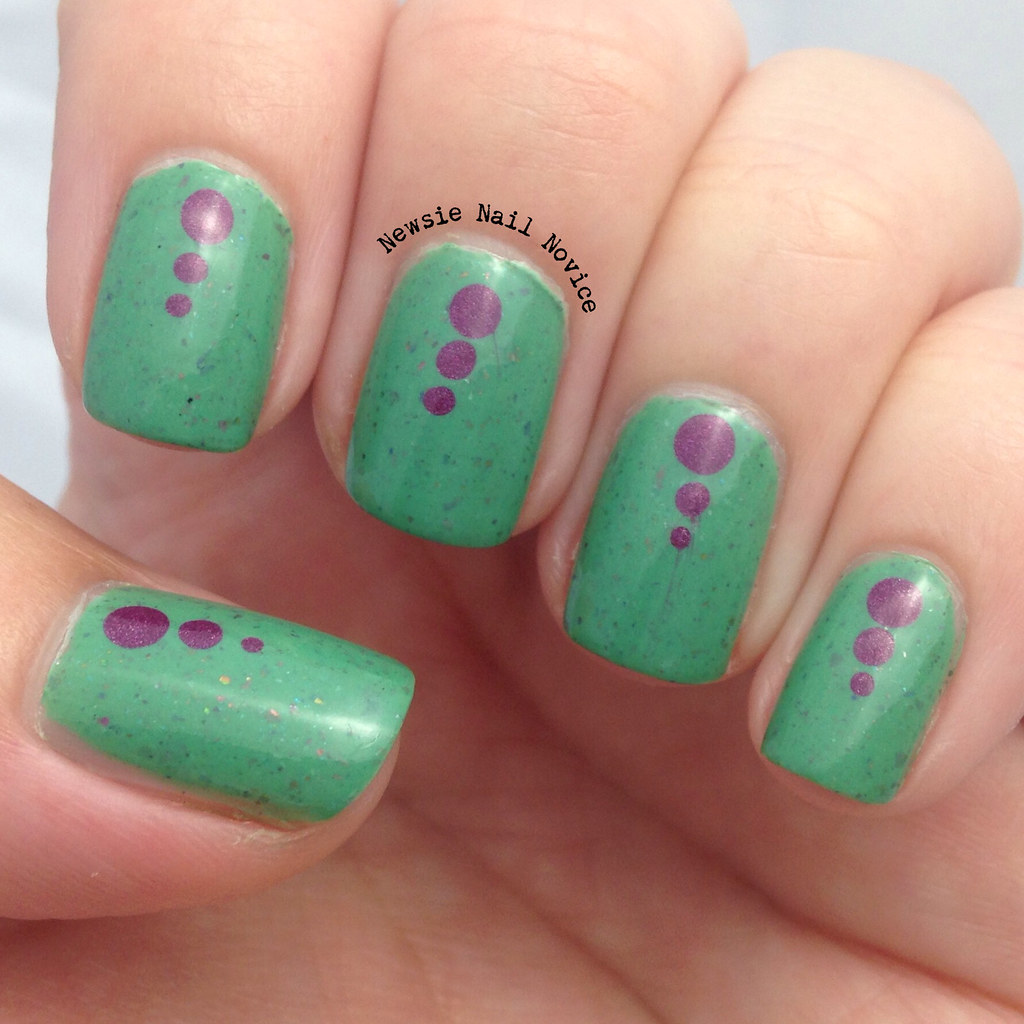
This is Elevation Polish Yeti's Healing Vibes and it a wonderful charity polish that benefits the American Himalayan Foundation in the wake of the earthquakes in Nepal. It is a gorgeous jade crelly polish with mulitchrome flakies and charcol flakies.

Untitled

I thought that Elevation Polish Bromeliad would pair well with this polish and bring out some of the beauty in the flakies so I added three simple dots to this look to create a simple but sophisticated dotticure.

I'm including a bit more photos than usual in this post because I wanted you to fully grasp the beauty of the flakies in this delicate polish!

Untitled

Untitled

Untitled

Sorry for this short and simple post, but I hope you like the look! Have a great hump day everyone!

Wednesday, June 24, 2015

Fair Maiden Purple Nail Art

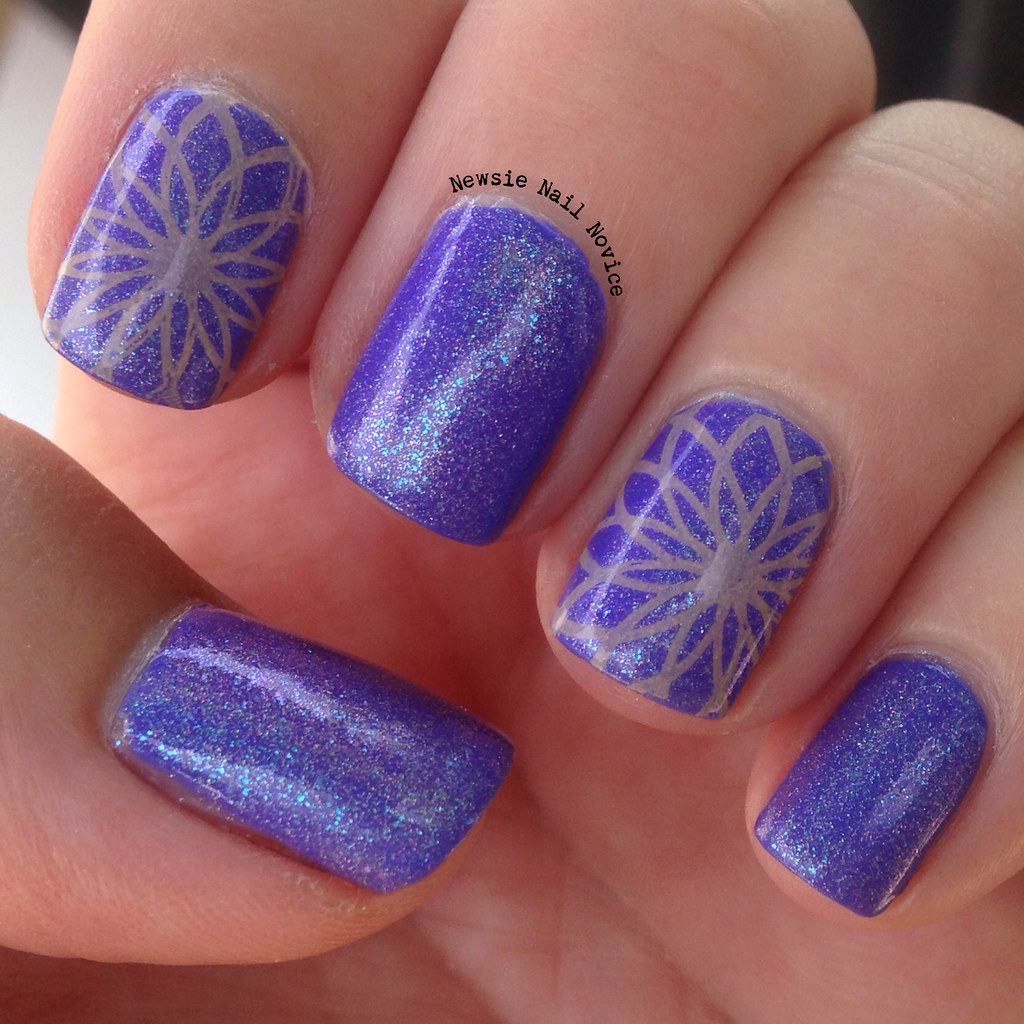
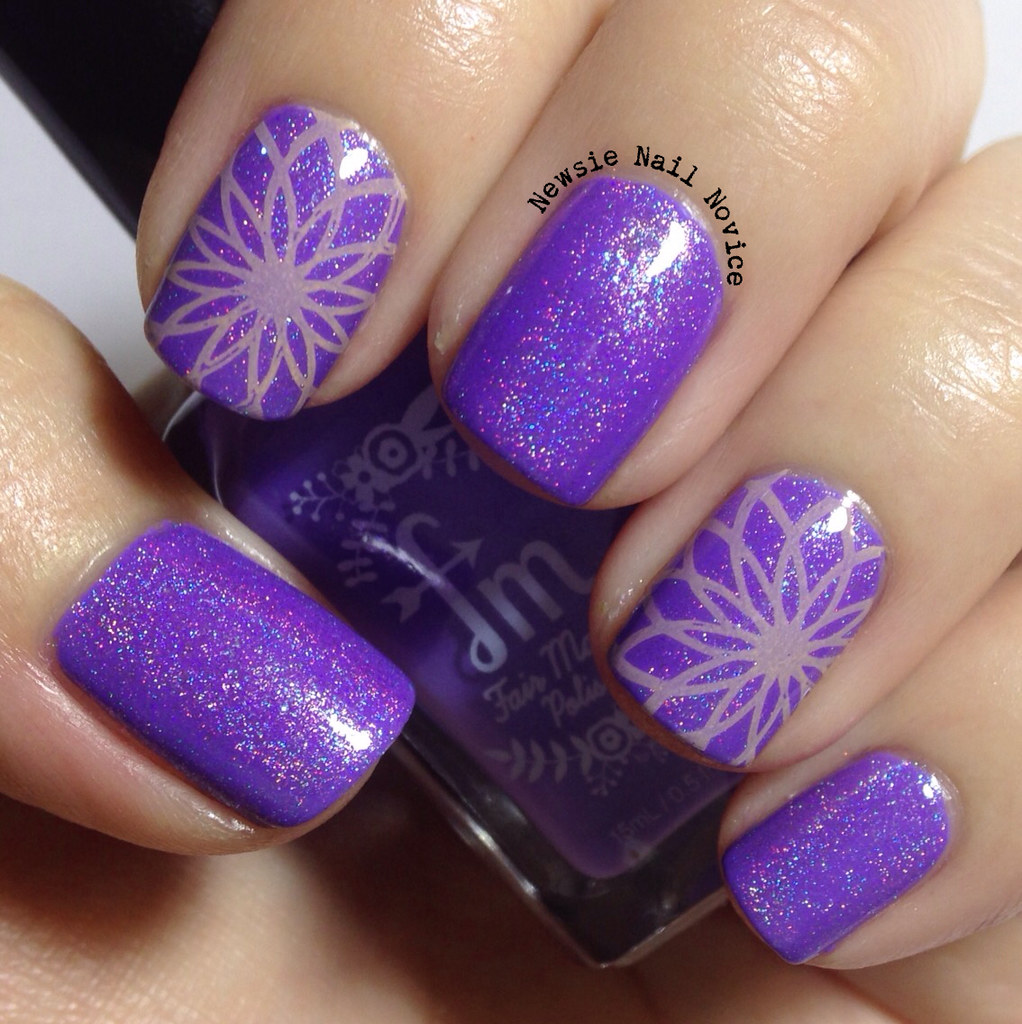
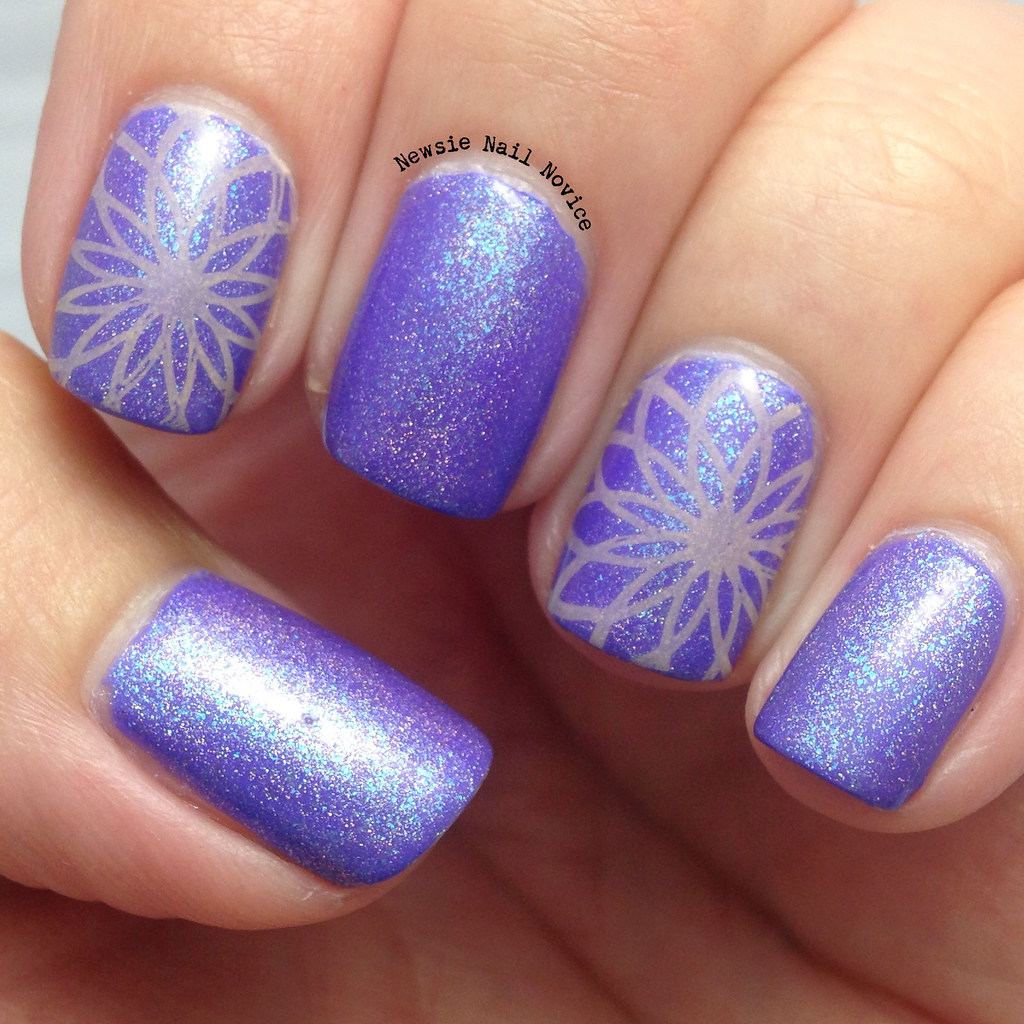
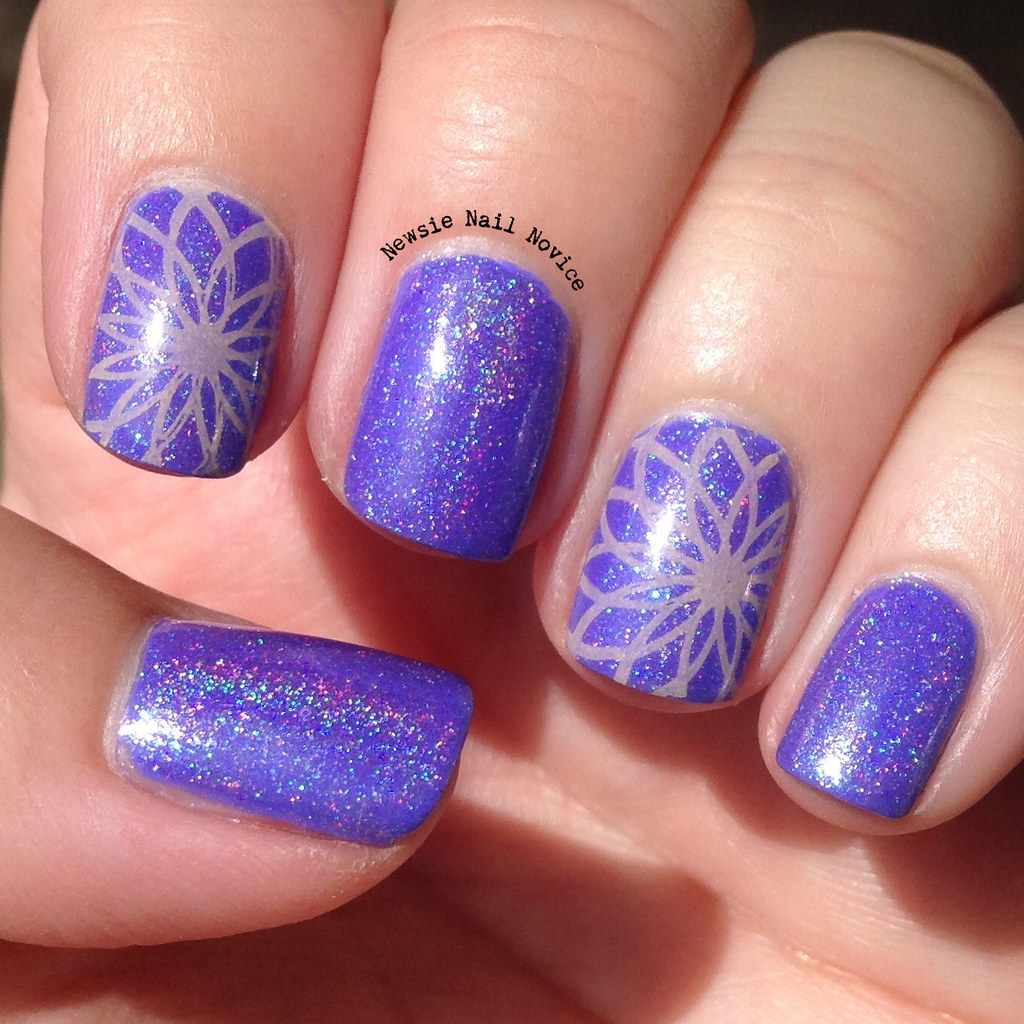
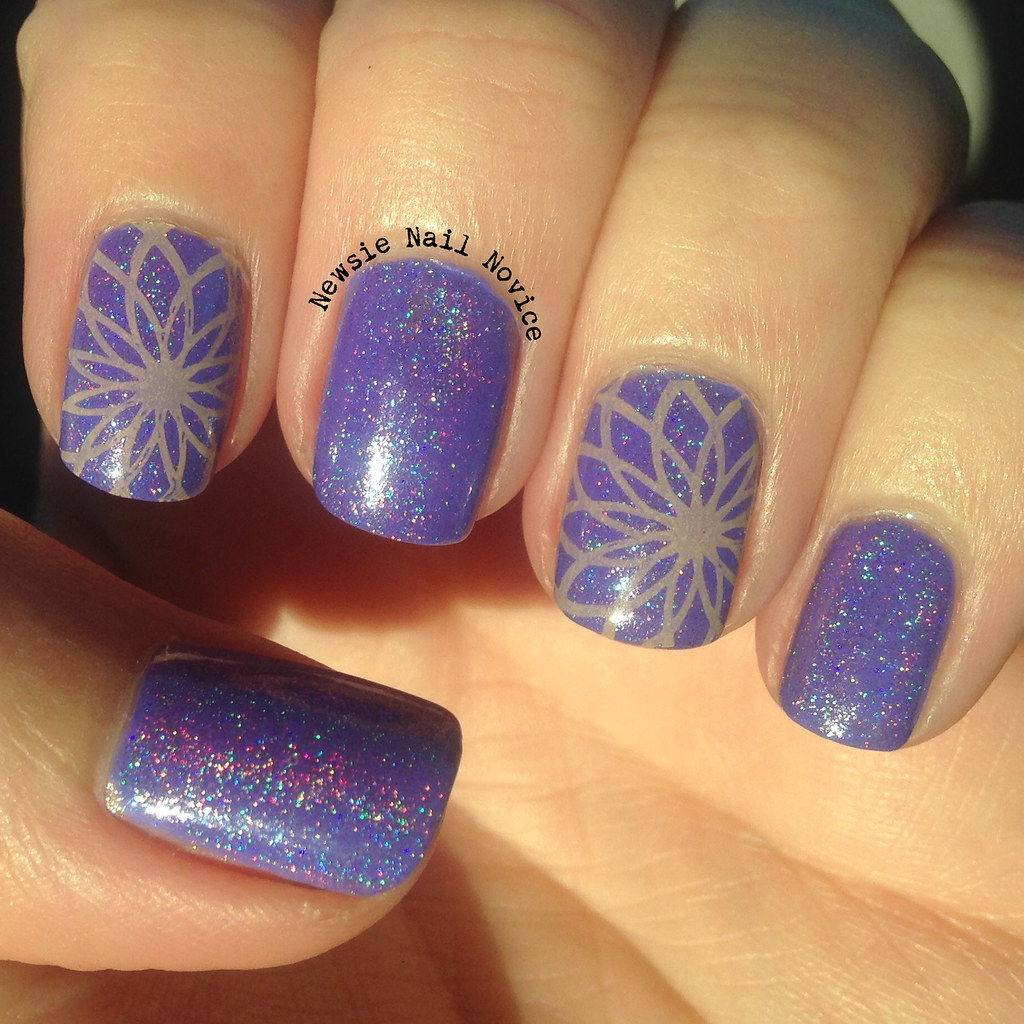
So I think I mentioned already that I went away for the weekend this past weekend, well I put on some Fair Maiden Polish and today I'm going to share with you the simple yet stunning look of Fair Maiden Polish Glory of the Galaxy over Fair Maiden Polish Reach for the Sky.

Untitled

Reach for the Sky, which was a kind gift from the makers of Fair Maiden Polish, goes on opaque in two coats and dries to an almost rubber/satin type finish.

Untitled

In the photo above, I did try to photo edit it, I might have made it a smidge warmer than it actually is, but purples always want to go more blue when photographed and I wanted to show how purple it actually is. I topped Reach for the Sky with Glory of the Galaxy.

Untitled

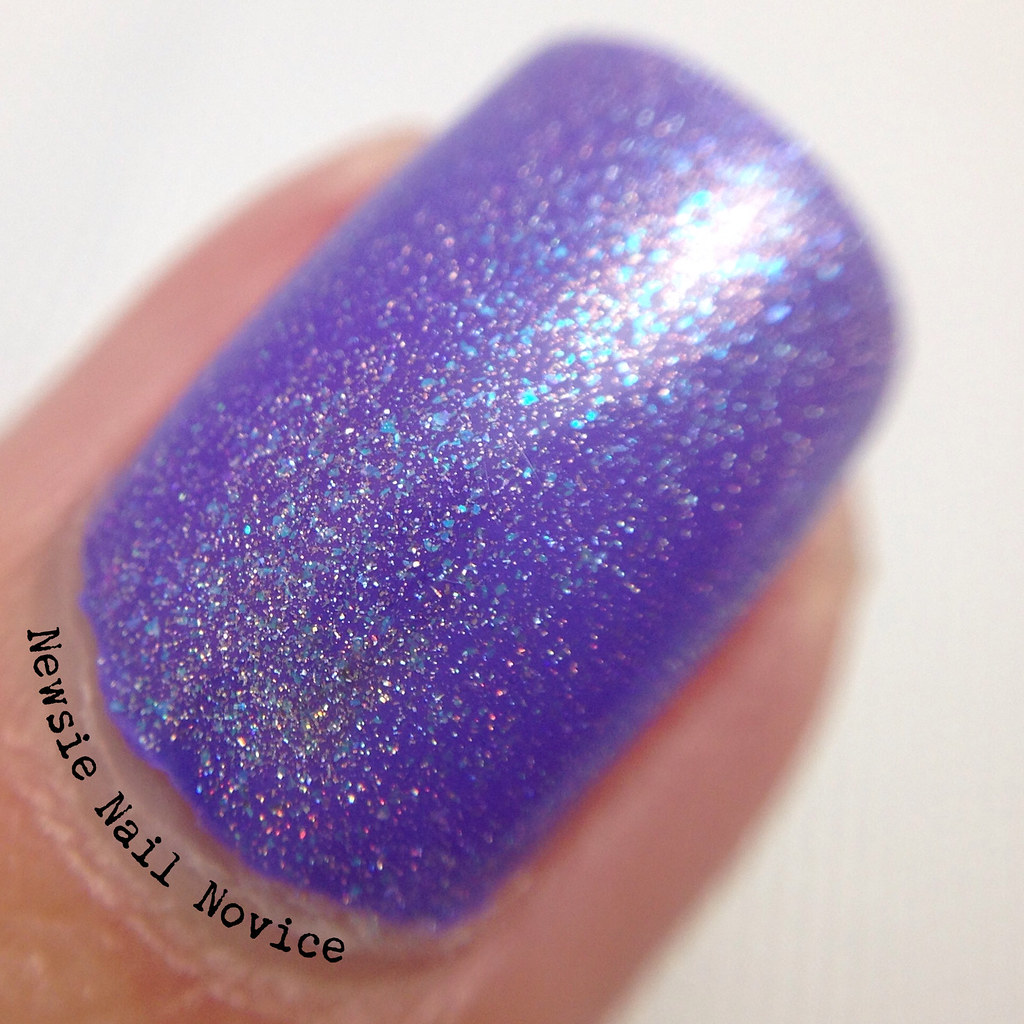
Glory of the Galaxy is a gorgeous holo top coat with beautiful blue glass flecks which give it a unique blue flash in the shade and give the whole top coat extra dimension.

Untitled

I stamped the design my pointer and ring finger using KBShimmer Leggo My Mango and my Born Pretty Store plate BP-L005. Now I took about a bazillion photos of this so I will leave the rest of those here! This look wore like iron, through a day in a chlorinated pool, an epic night of bowling and all sorts of old fashioned fun.

Untitled

Untitled

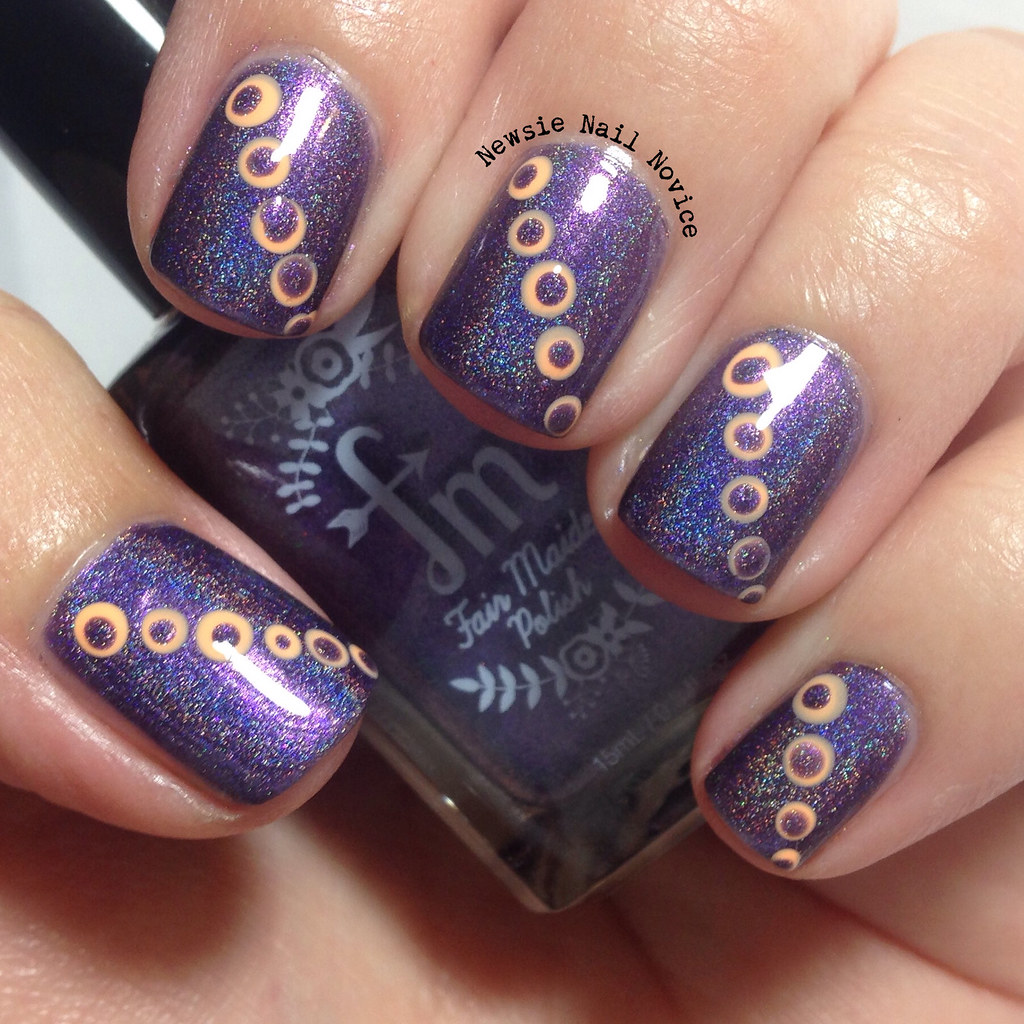
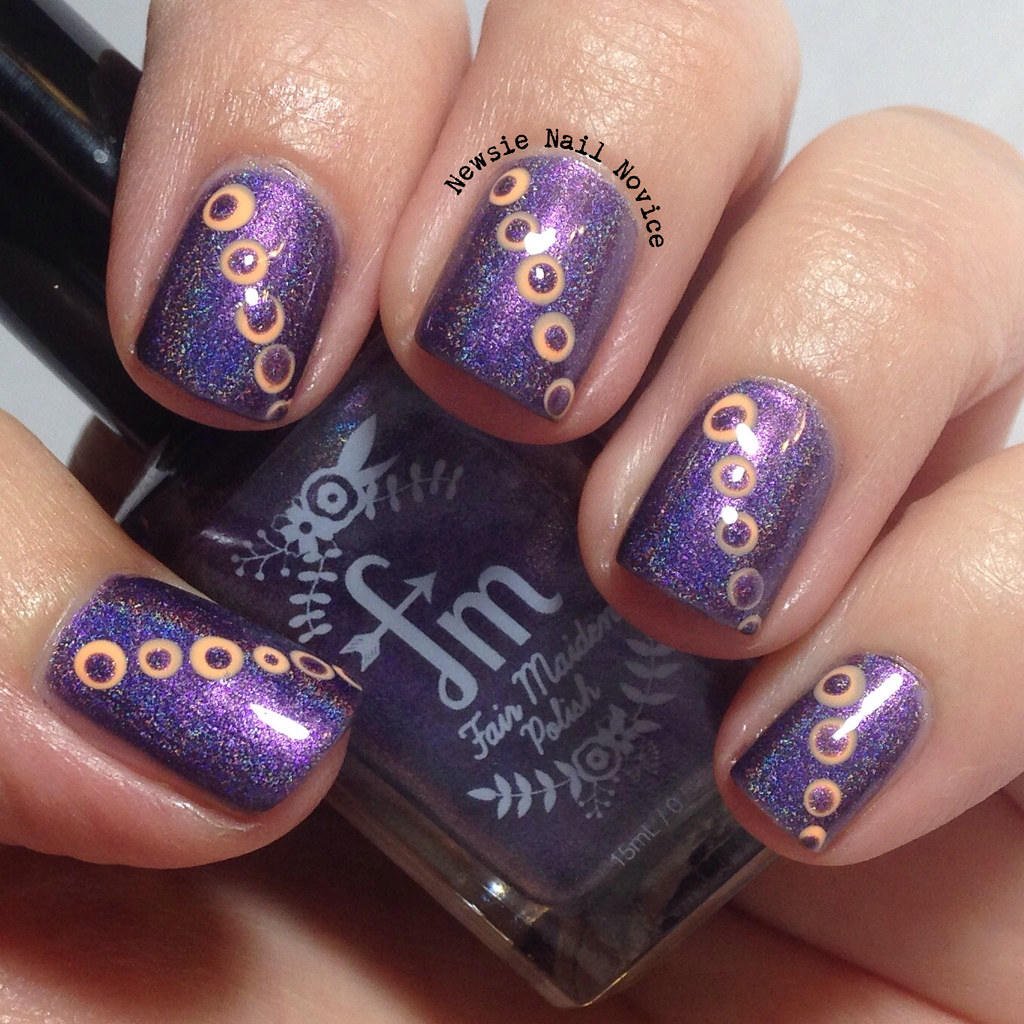
And because I can't just leave you with a post of one look, I've got another fun Fair Maiden Polish look I put together using Fierce, a Facebook fan group custom with the same KBShimmer polish. Just a fun and simple polka dot look!

Untitled

Fierce is an amazing dusty purple holo with this amazing orange flash. It is the ultimate purple holo in my collection. I just absolutely LOVE it. Also perfect winning formula, two coats for opacity and applies smooth as buttah!

Untitled

Anyway, I hope you like these looks and if you haven't checked out Fair Maiden Polish yet, I suggest you get right on that because the makers are the sweetest, the fans are awesome and the polishes are also top notch always with something extra special!

What have you tried from Fair Maiden?! What do you think of my new curved watermark? Just something I'm trying out – I'd love your feedback! :)

Friday, June 12, 2015

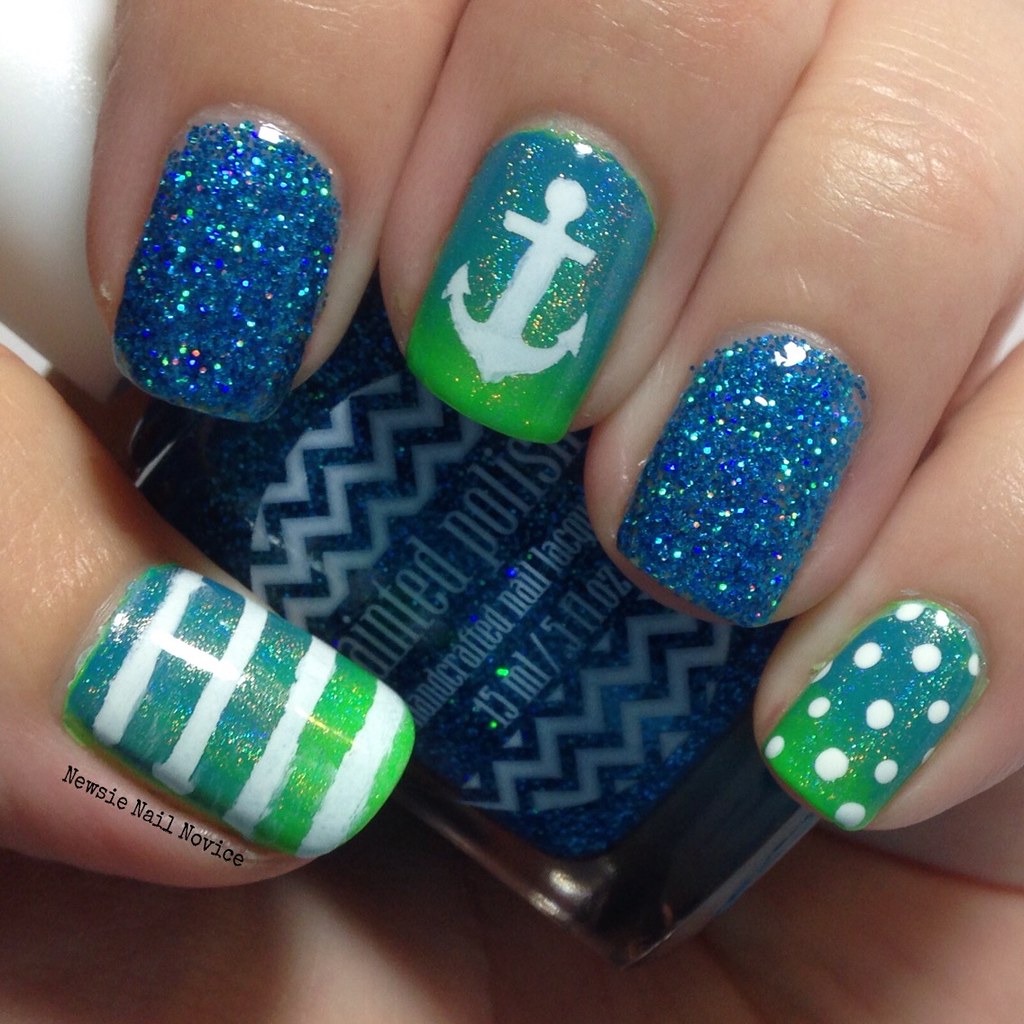
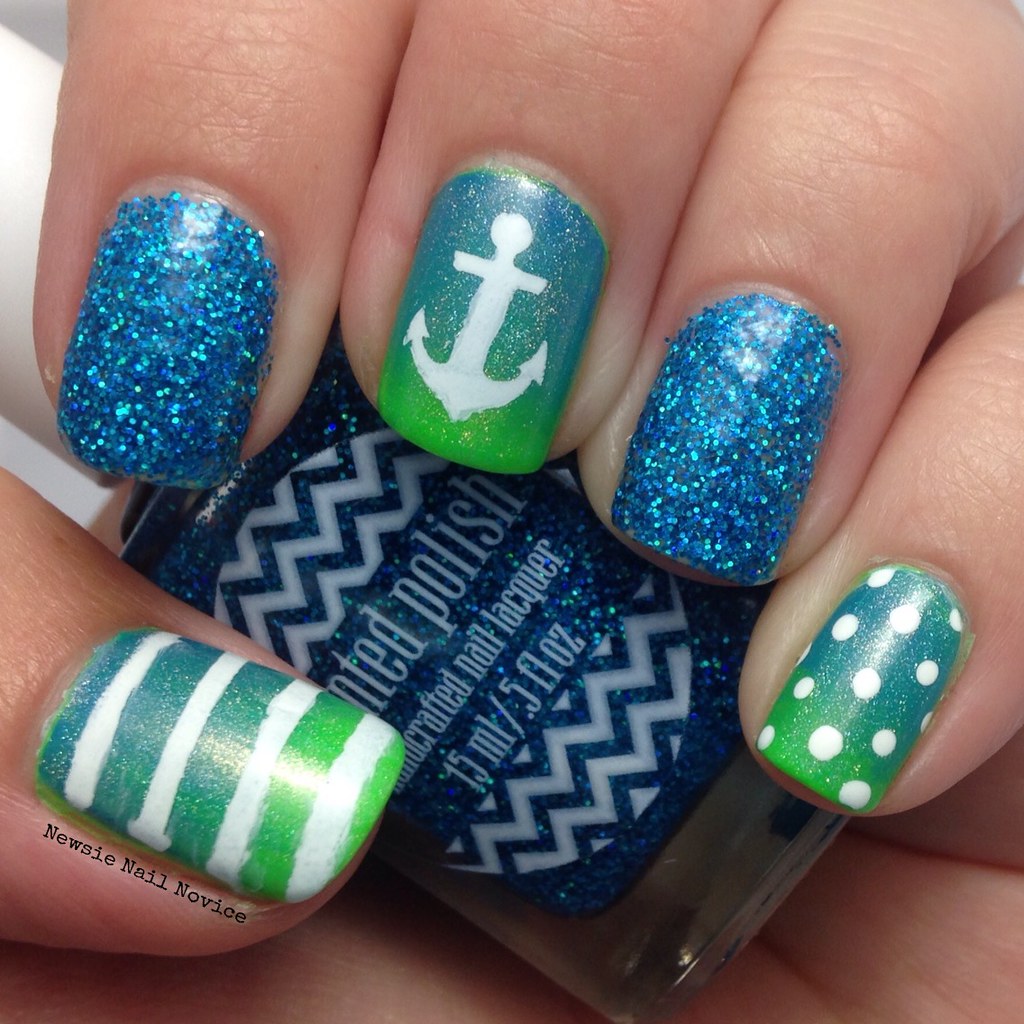
Nautical Skittle Nails

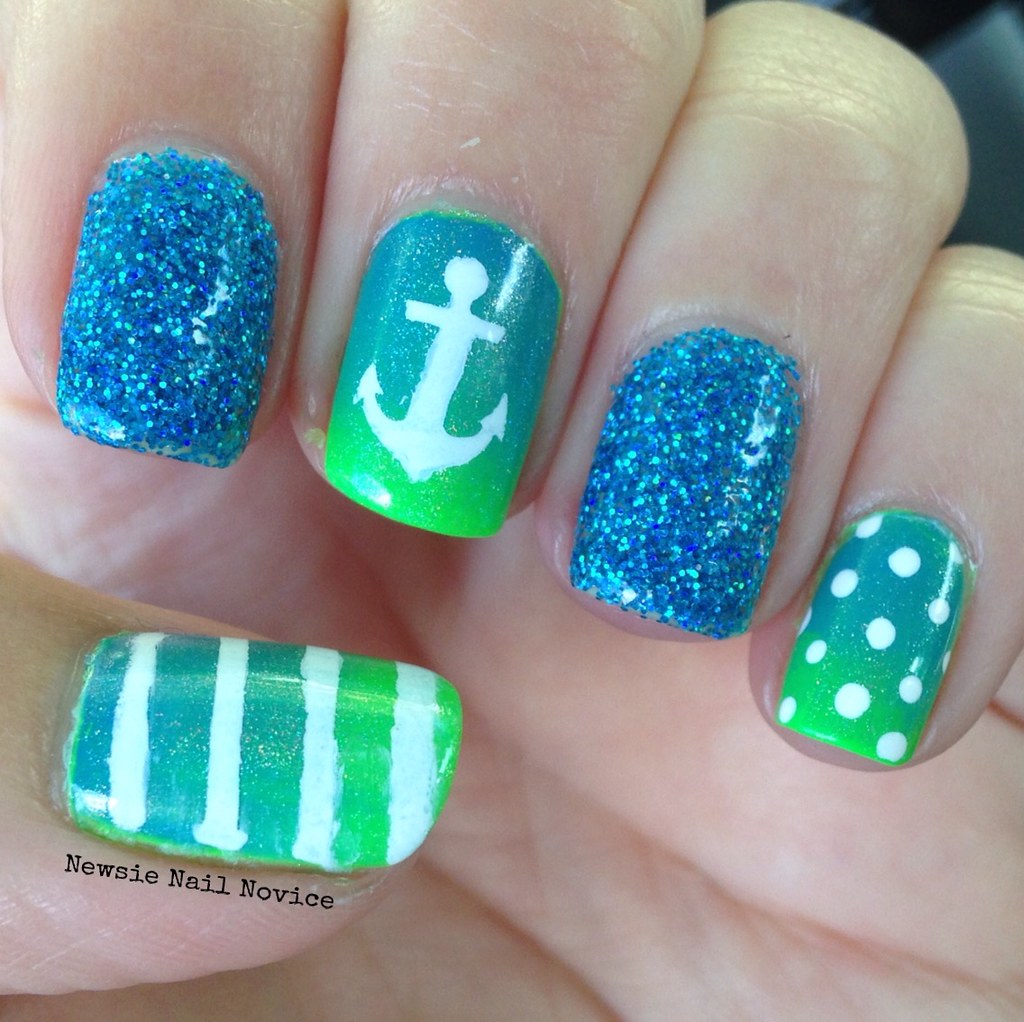
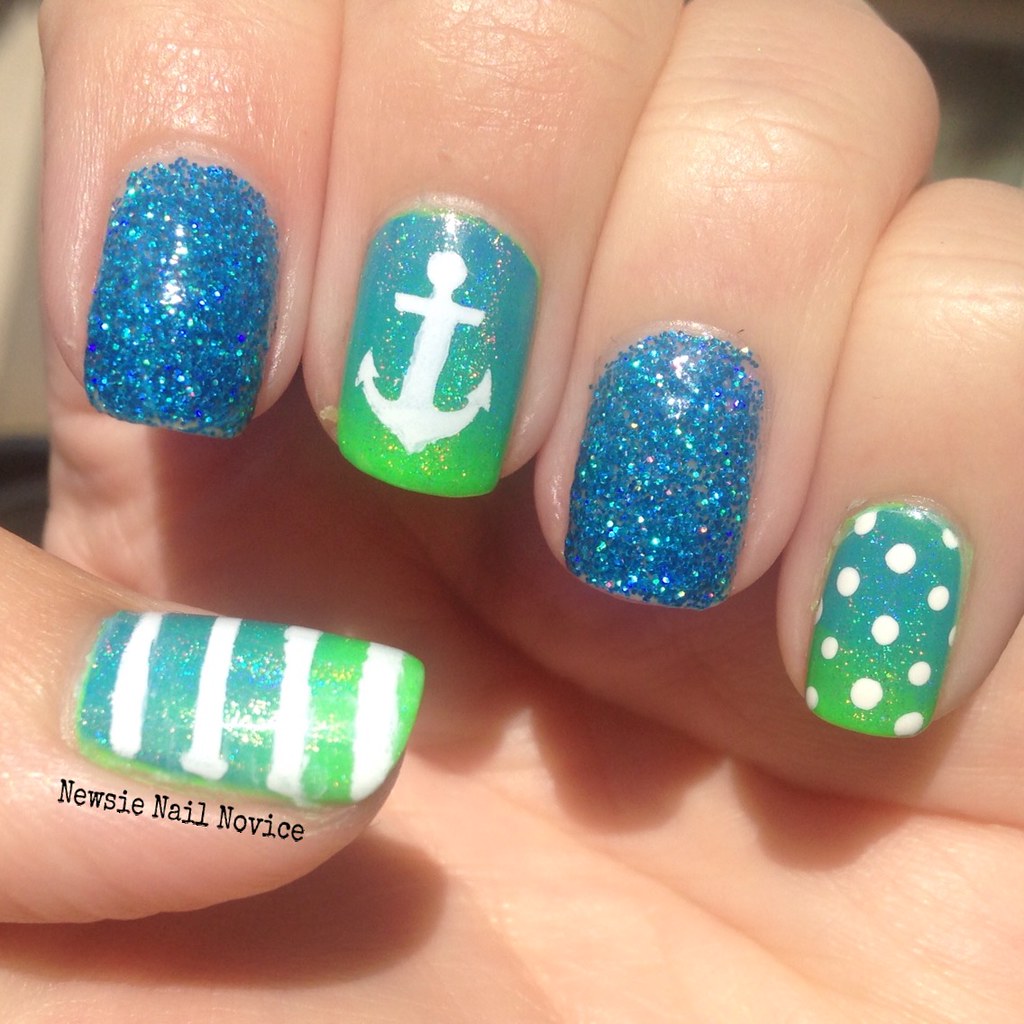
Happy Friday everyone! Today I've got some fun summery gradient sparkle nautical skittle nails! These nails scream happy summer day!

Untitled

This look started out with wanting to pair my new Painted Polish Nautical By Nature sparkle polish with a fun look! Nautical by Nature is a gorgeous aqua glitter polish that sparkles blue and green. I used three coats for the application of this mani, but you can also sponge on the microglitter for an even more out of this world look! So gorgeous and sea-like!

Untitled

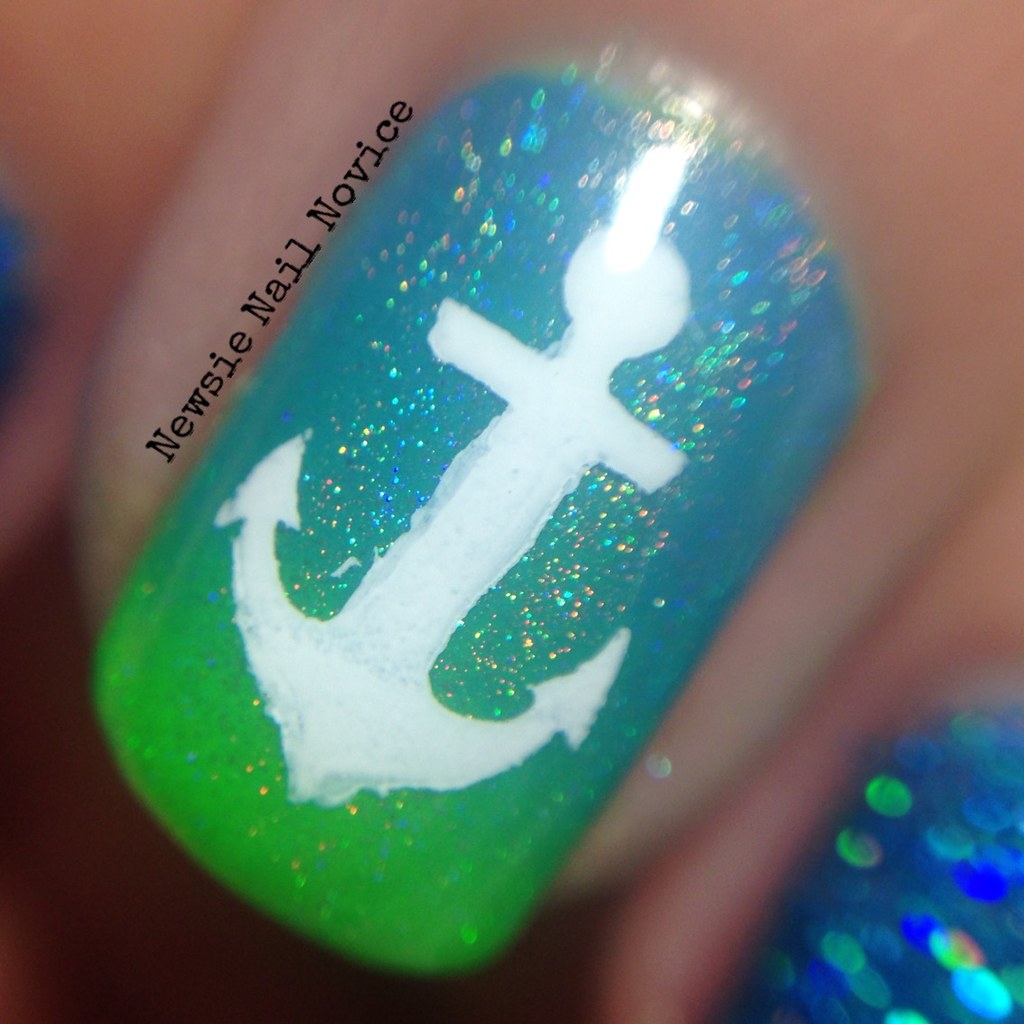
For the gradient I used Indigo Bananas Sulfur Green, Diva Plumbum and Carbon Dallas with a top coat of Spectraflair 35 Top Coat by Spectraflair4U.

Untitled

For the middle finger I used the fun anchor stencil that came with my Painted Polish order and sponged on KBShimmer Eyes White Open to create the image. It turned out super cute, but not perfect – it was my first time sponging over a nail vinyl stencil.

Untitled

For the final two nails I used KBShimmer Eyes White Open again and KBShimmer Connected Line Vinyls for the thumb, and used a dotting tool for the polka dots!

Untitled

Overall I really liked this look, but I mucked up the centering of the anchor on my other hand, so I didn't wear it for too long. Just look at the sparkle in Nautical by Nature – it's amazing out in the sun I just love it!

Hope you guys all have a great weekend, it's really starting to heat up in California, I guess summer is actually here!

Friday, April 17, 2015

Easy But Elegant Nail Art: Double Side Dot

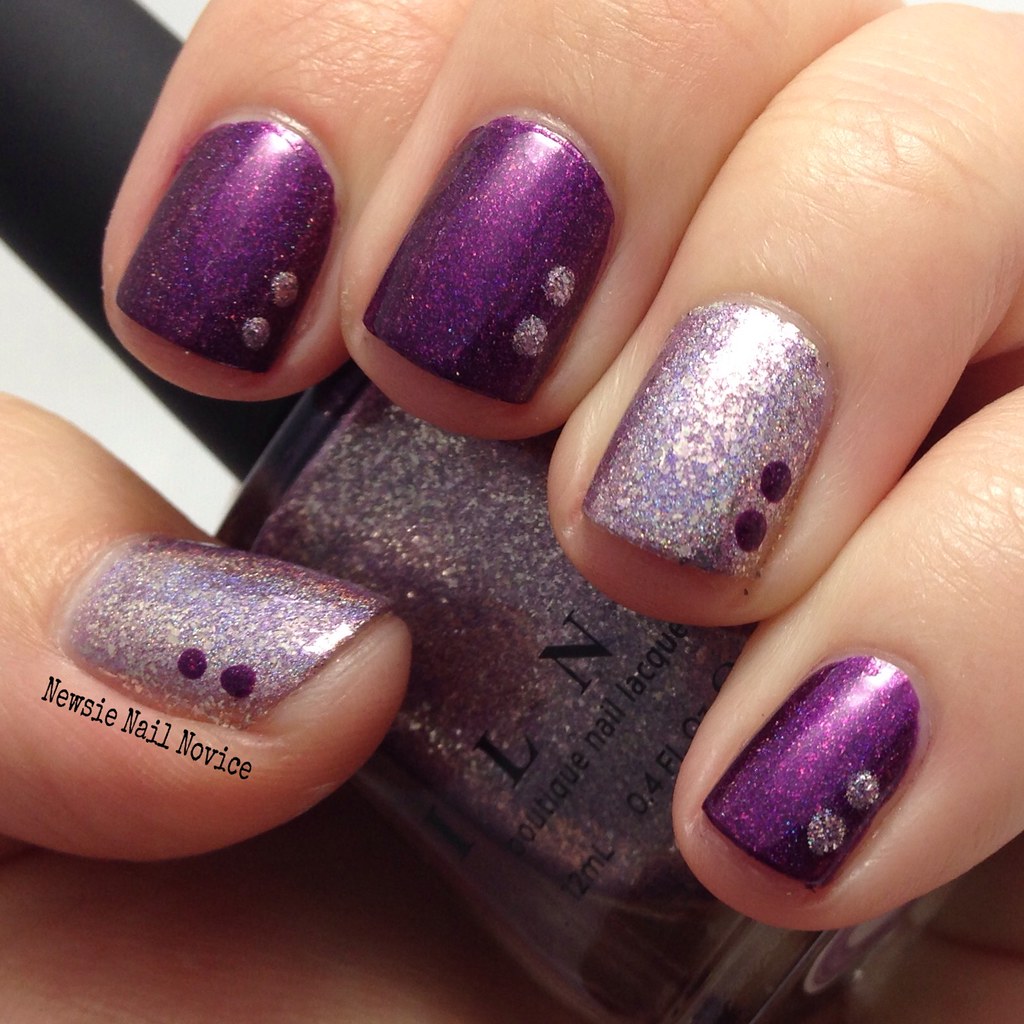
So the first time I saw the double side dot look, I kept the idea in the back of my head of something I must do! I believe the first place I saw it was from McPolish on Instagram, so this is definitely not my own idea but one I wanted to share with the masses regardless!

Also I had seen ILNP Poetry and ILNP Happily Ever After paired before, and knew they would make the perfect combination for this look!

Untitled

Untitled

Untitled

The formula for Poetry and Happily Ever After were great, wonderful two coaters both of them.

Happily Ever After, which is on the thumb and ring accents, is a lilac colored mega holographic which has gorgeous silver flakies throughout. The flakies make the polish glow in the shade and the holo finish makes it blinding in the sun! Awesome polish through and through.

Poetry is a magenta, warm leaning purple. Almost the color of a delicious sangria. But look close, there are magenta microflakies, giving the polish even more depth.

To make the side dot look, just use a dotting tool and add two dots to the side of your nail. Throw in an accent for an even more cute, coordinated look. Pretty simple to do, but a fun way to pair polishes!

Sorry this post is on the shorter side, I've had a busy week and it was my husband's birthday yesterday! But I've got some fun polishes to show you next week courtesy of Smitten Polish! I'll just leave a shot of the bottles right here as a little sneak peek! You won't want to miss these neon flakies!!!

Untitled

Friday, March 20, 2015

Elevation Polish Review and Nail Art

I'm really sticking to that whole goal of trying new to me indie brands and today I bring to you the most awesome discovery of Elevation Polish.

Now I have heard about Elevation on and off for a year now, but for some reason I just didn't pay attention. Then came the end of the year, and I was browsing everyone's top polishes of the year and Elevation Polish just kept coming up.

Untitled
Boy was I silly to not pay attention, I totally understand all the hype. So let's get to the polishes and nail art I did with these wonderful polishes!
Untitled

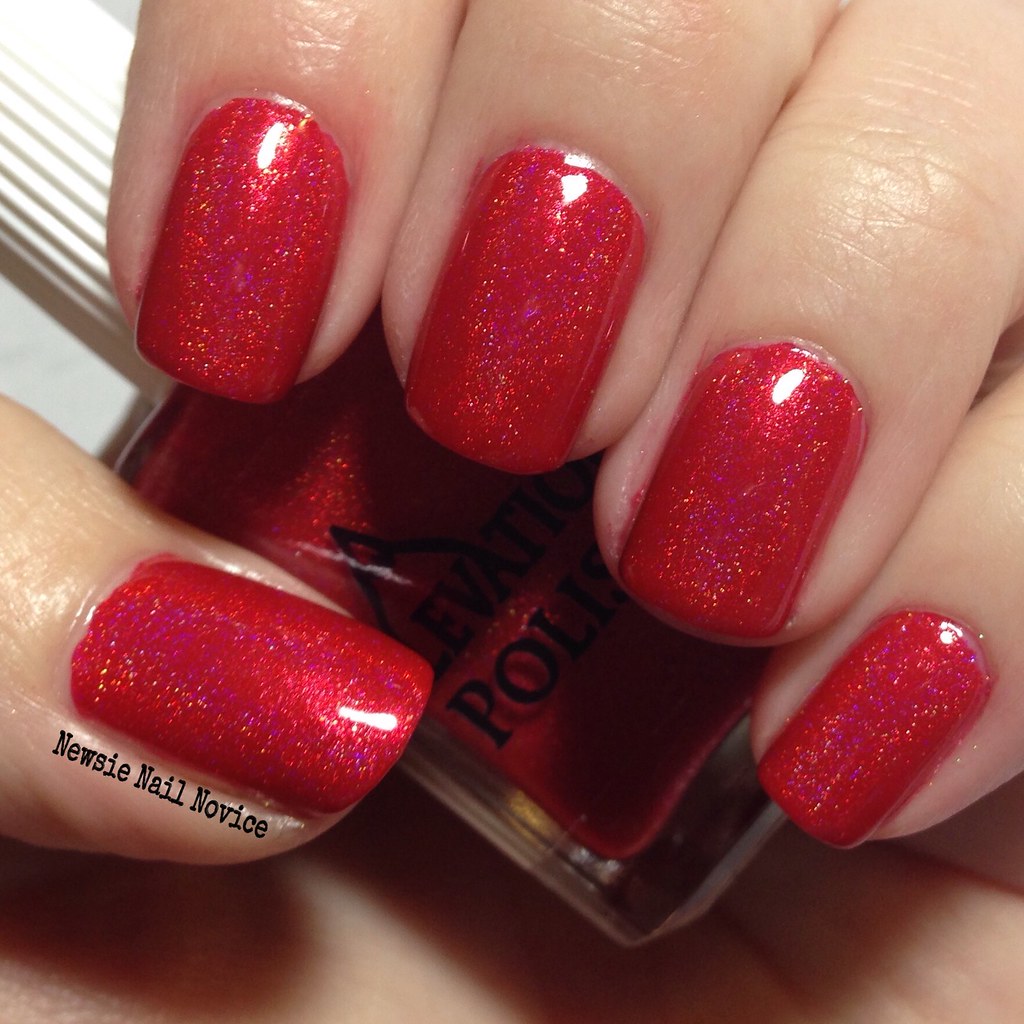
This polish is Elevation Yeti Hides in the Mini Apple, which is a lovely bright tomatoe red holo polish with the most lovely gold flash in it. I feel a bit guilty about sharing it, because it was a limited edition and is no longer available. This one was crazy hard to get, admittedly, I had to cart jack someone in order to get it. But the creator realized its popularity and offered it's second release as a pre-order so everyone could have a chance to have it that month. That's a sign of an awesome maker in my book!

And now on to the application. On all of these polishes the application was flawless and the consistency was not too thick, not too thin but perfect. And each of these polishes was almost a one coater!!! Can you believe it!?!

Untitled

For the nail art above, the first time I wore this, I wore a matching sweater (not on purpose actually) and the shirt I wore underneath was black and white polka dot, and I just thought the combination was too great. So I immediately went home, used a nail vinyl and painted the black and then added the polka dots! It was a lovely combination if I do say so myself! ;-)
Untitled

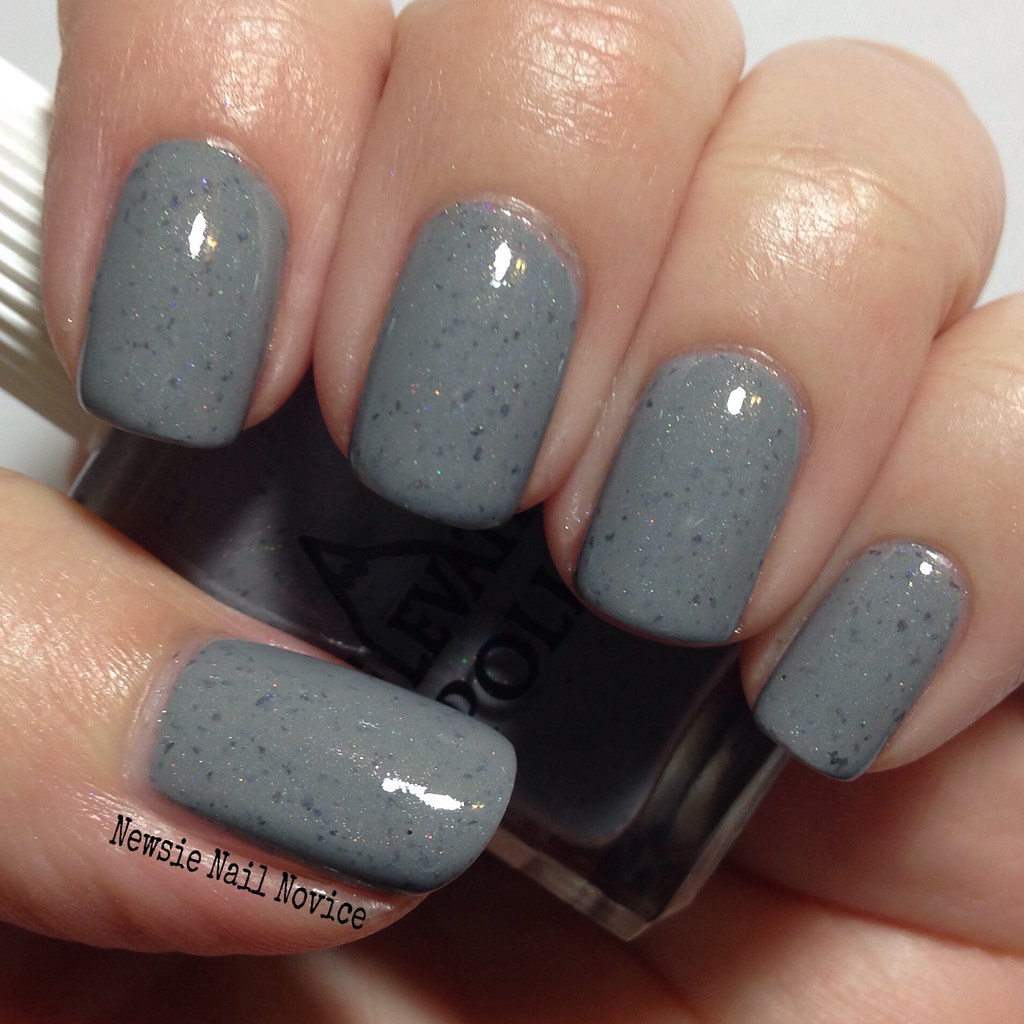
Next up is Shilin Stone Forest, and this polish is a great example of why this brand is so well loved, just look at everything that is going on there.  This is a grey creme polish with darker grey scattered flakies, lightly scattered holo, violet flakies and a golden glow. This polish just is so lovely.
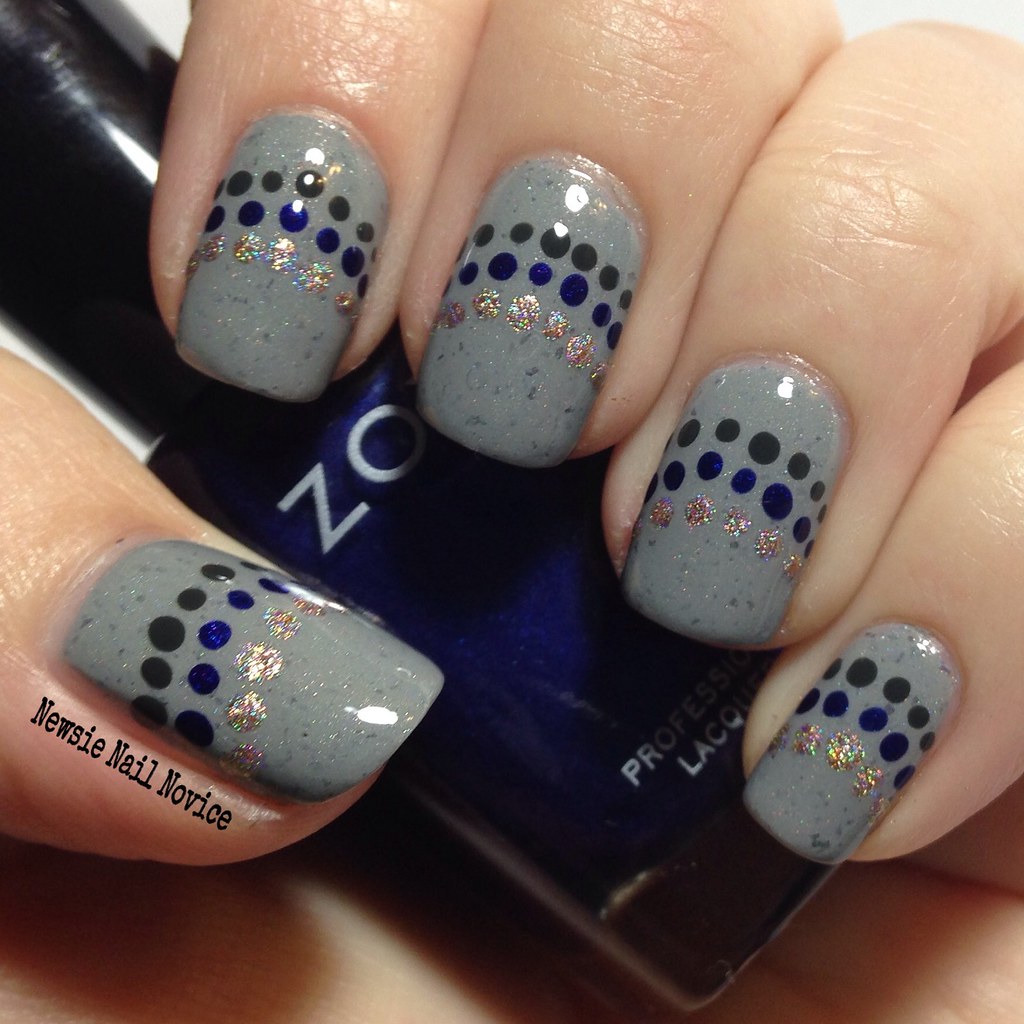
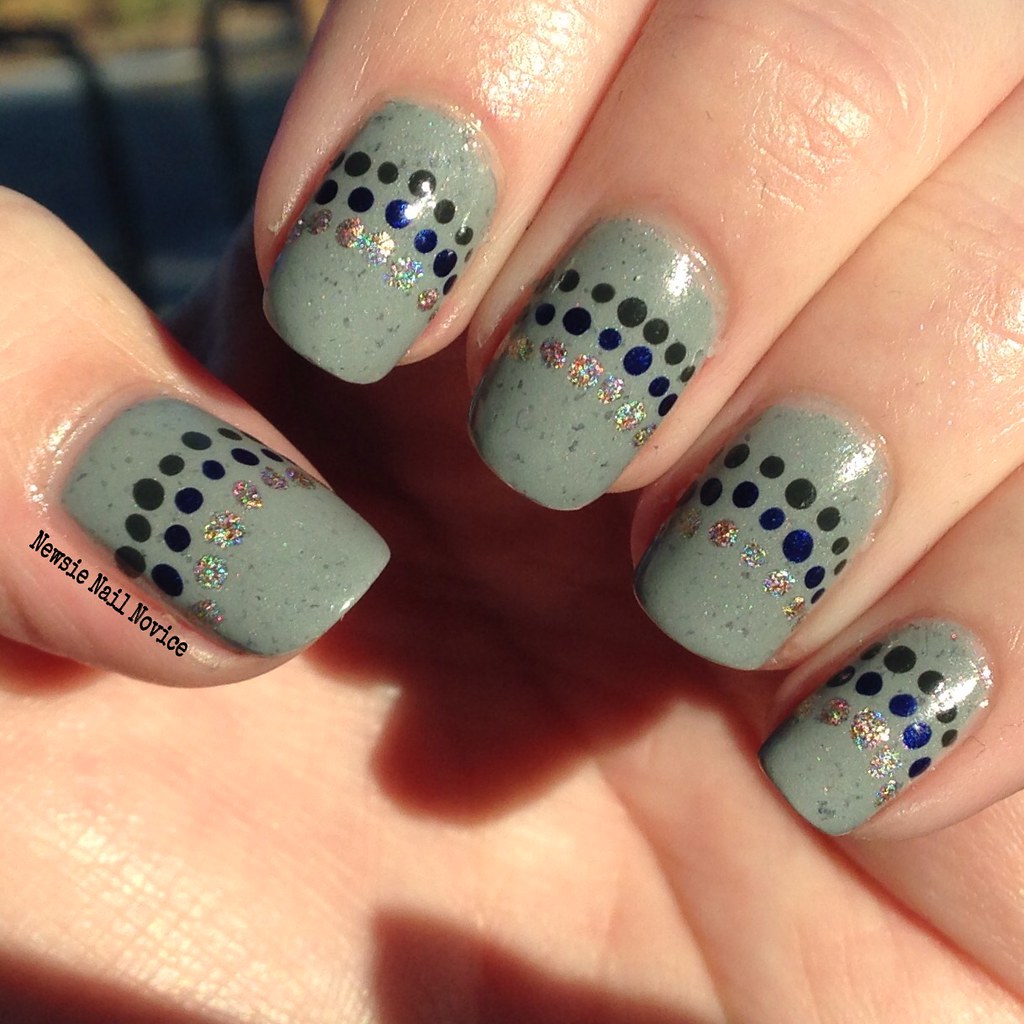
Untitled

 Untitled

So for nail art, I wanted to bring out all the uniqueness of the base, so I decided to break out some complimentary polishes to create a fun dotticure! I used Zoya Neve (dark grey creme), Zoya Neve (blurple shimmer) and Different Dimension Armstrong for the dots. I really loved this look and I totally expect to do something like this again!

Untitled

Untitled

Untitled

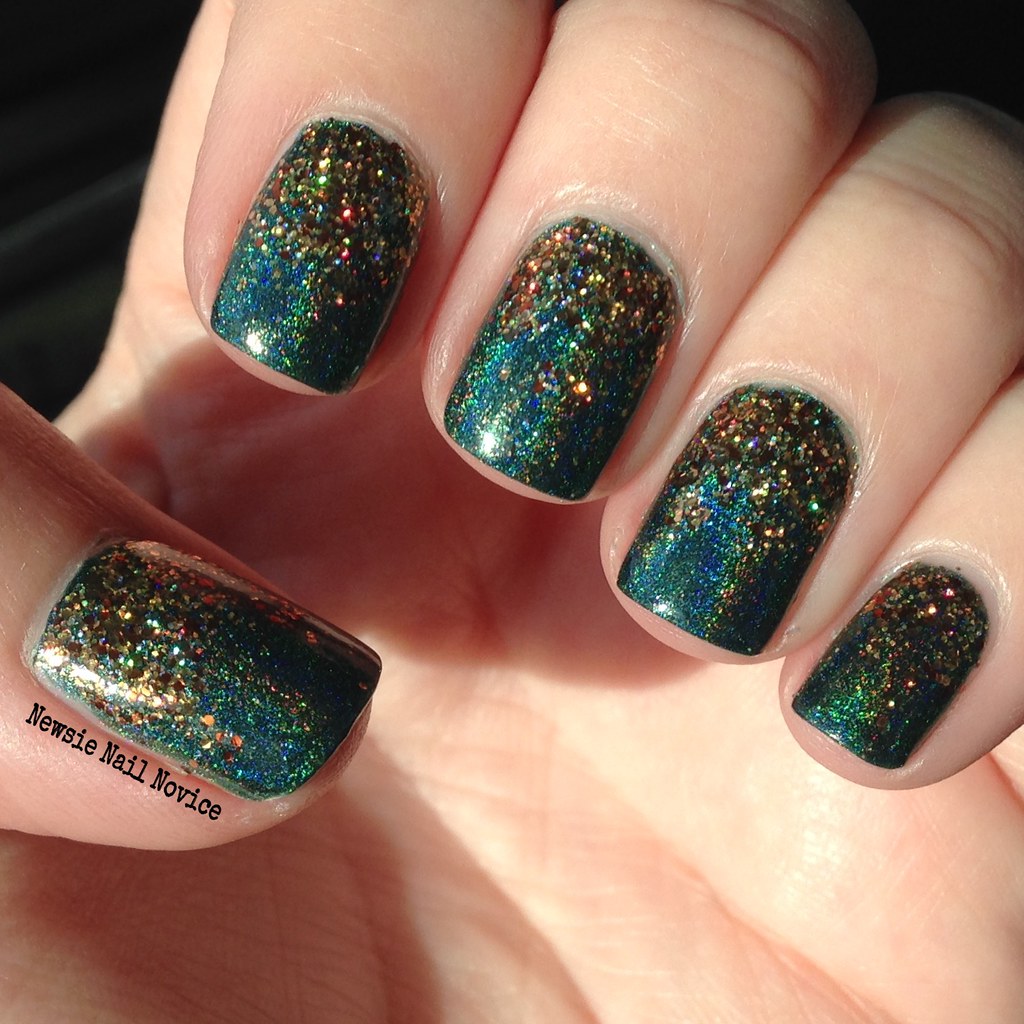
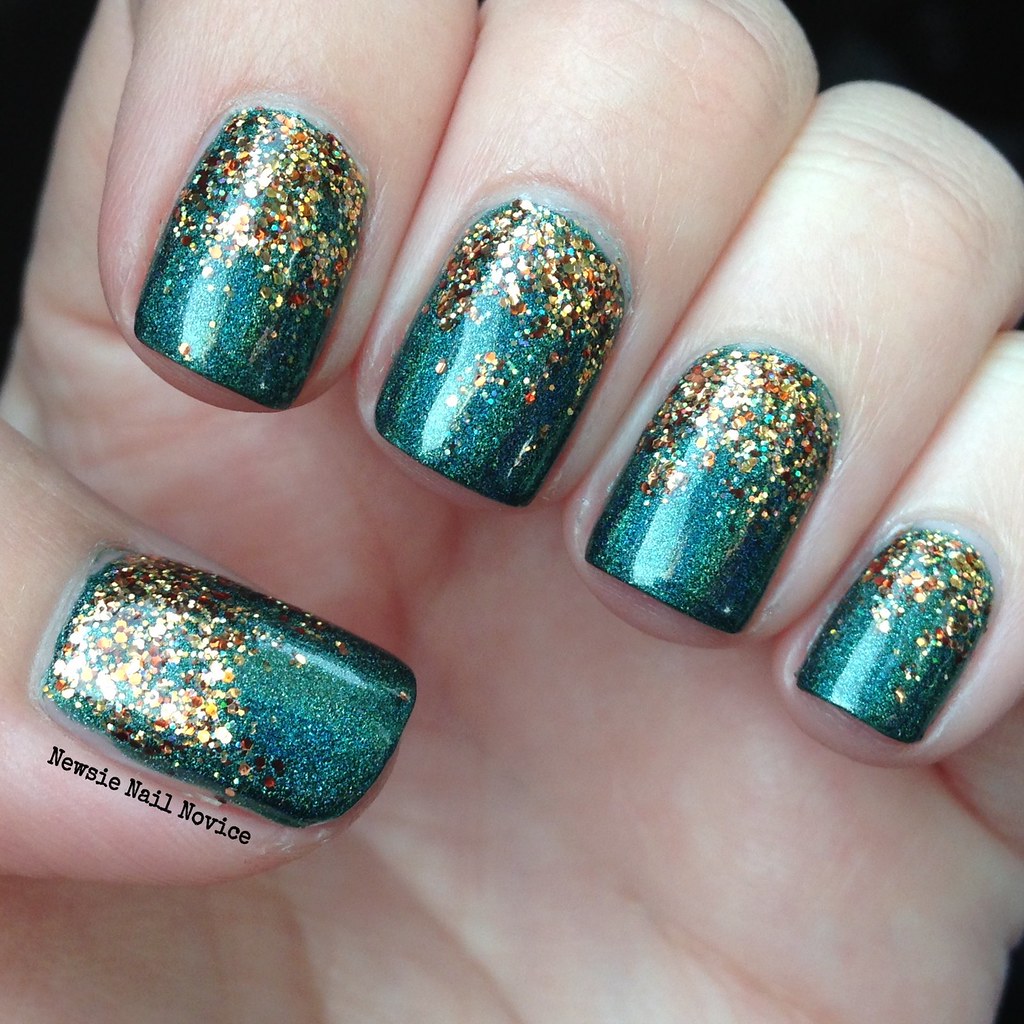
Last up we have Lost in the Darkness 2, which is this amazing forest green holo with amazing almost navy blue flashes in the linear holo finish.

I think I was longing for fall when I put this on, so I decided to add a fun glitter gradient using Painted Polish #PSL (short for Pumpkin Spice Latte), but I guess the green and gold works well for St. Patrick's Day too! I just loved this look, so much sparkle and dimension! Just lovely.

So Elevation Polish is definitely a brand you should check out when you get the chance. Restocking for this brand is always scheduled on the 7th and the 22nd of every month and the website also features a fun upcoming colors page, where the maker previews some of the upcoming collection in descriptions – oh what the imagination can do when reading these! So much fun to anticipate!

So have you checked out this brand before?! What are your favorites? Which should I check out that I haven't yet?

Friday, March 6, 2015

The Fairest Gift of them All

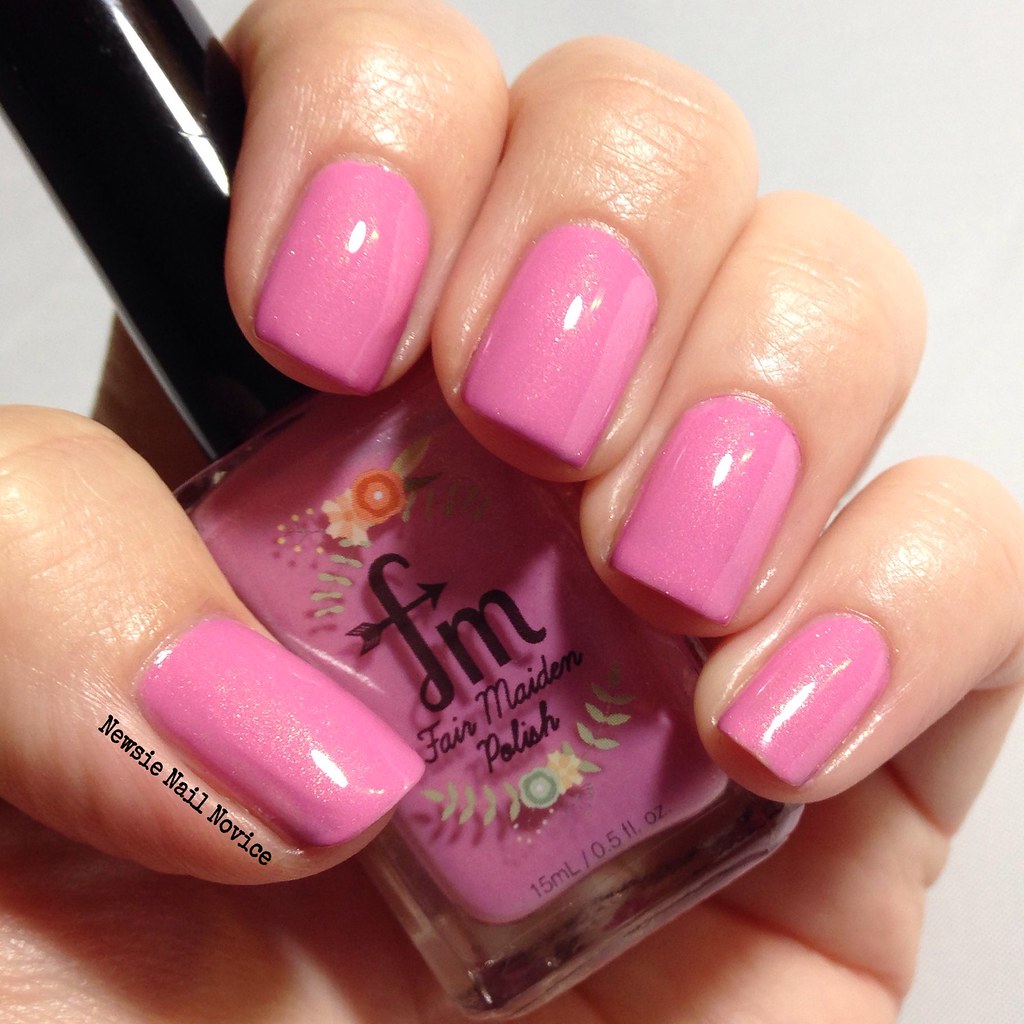
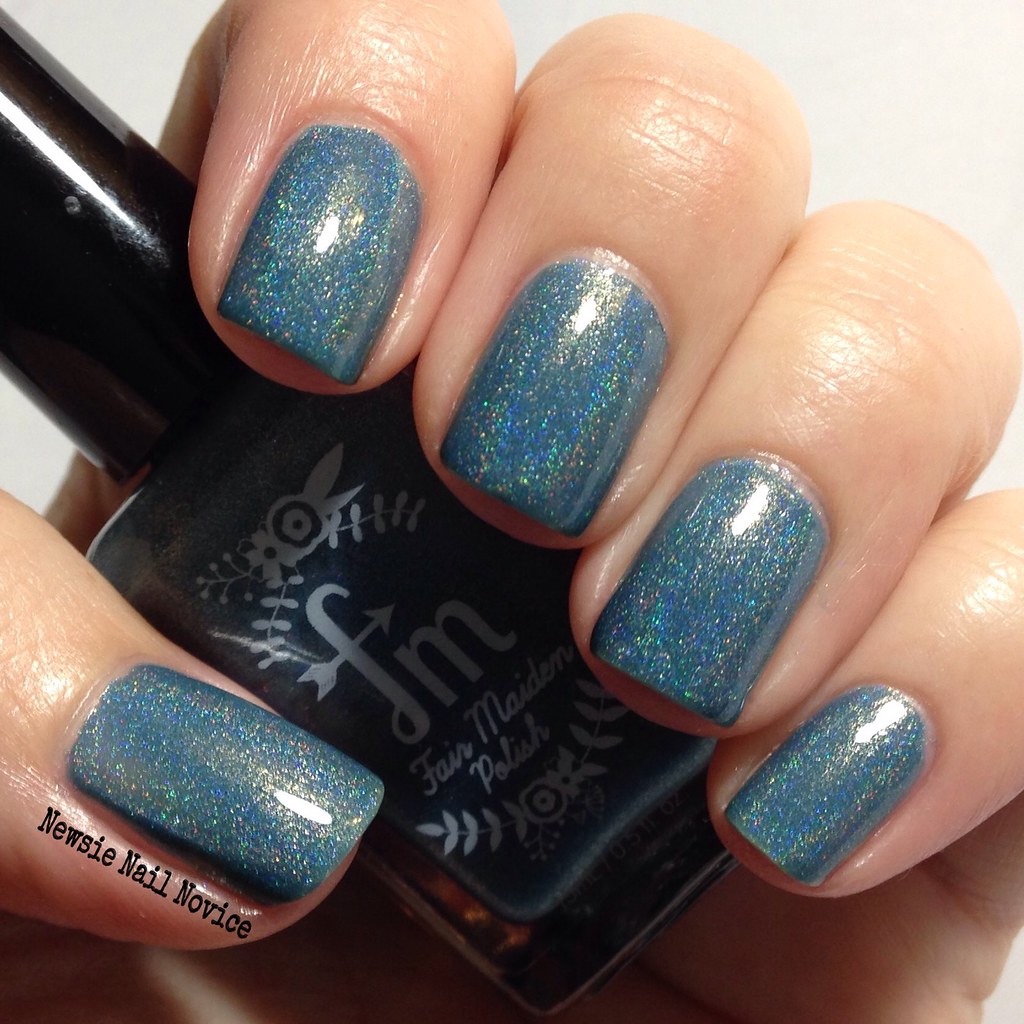
Today I get to share with you two lovely polishes I was gifted by the lovely creators of Fair Maiden Polish. When I contacted Sarah and Adrienne about donating a gift to my blogiversary giveaway (which is still going on by the way!), I had no idea they would also send along a gift for me as well.

But they did, and they are awesome, and their polishes? Totally amazing, unique and quality creations. Let's get to the swatches, and fun nail art I created with them as well shall we?

Untitled

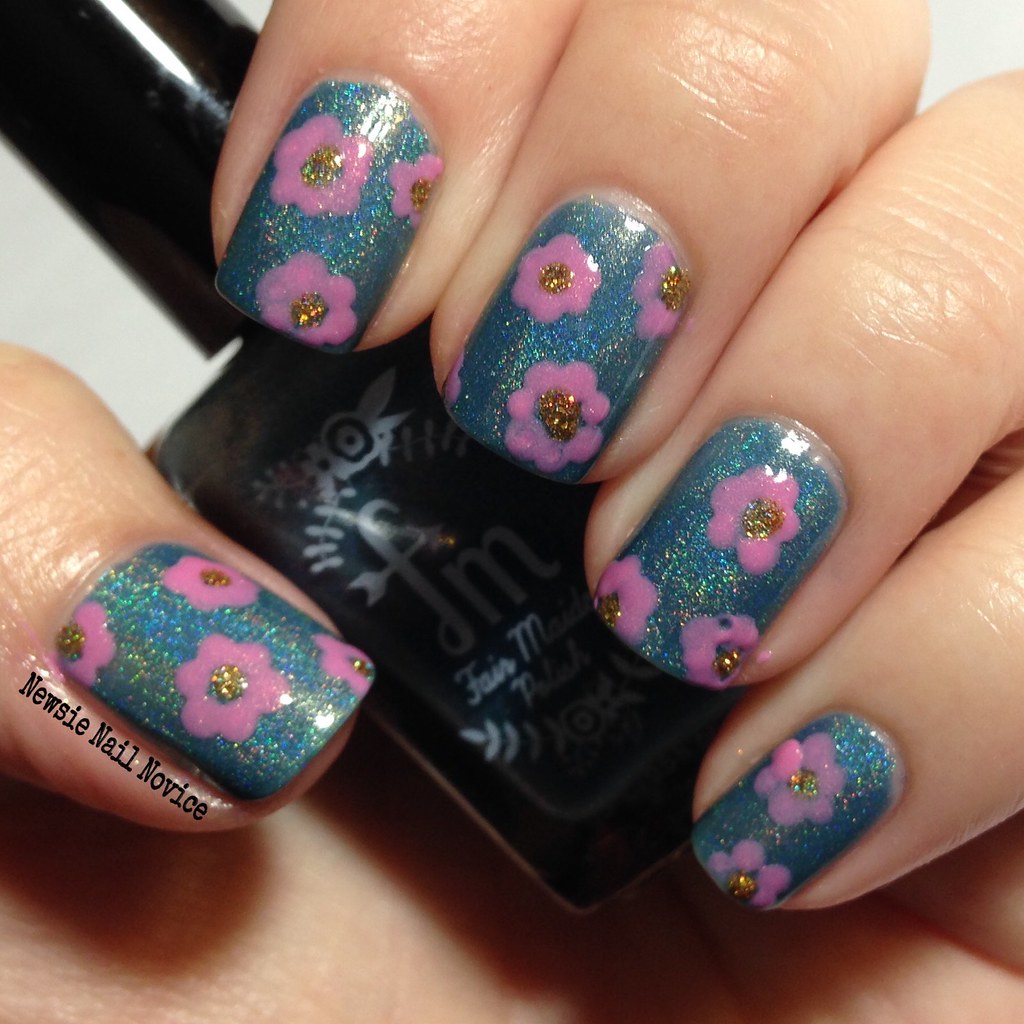
First up we have Once Upon A Dream, a lovely creamy pink pink polish that has this inner gold glow that is hard to capture in a photo. It is truly a stunning polish and I don't have anything like it in my collection! This is two coats. The application was on the thicker side, but applied like buttah, no issues to report!

Untitled

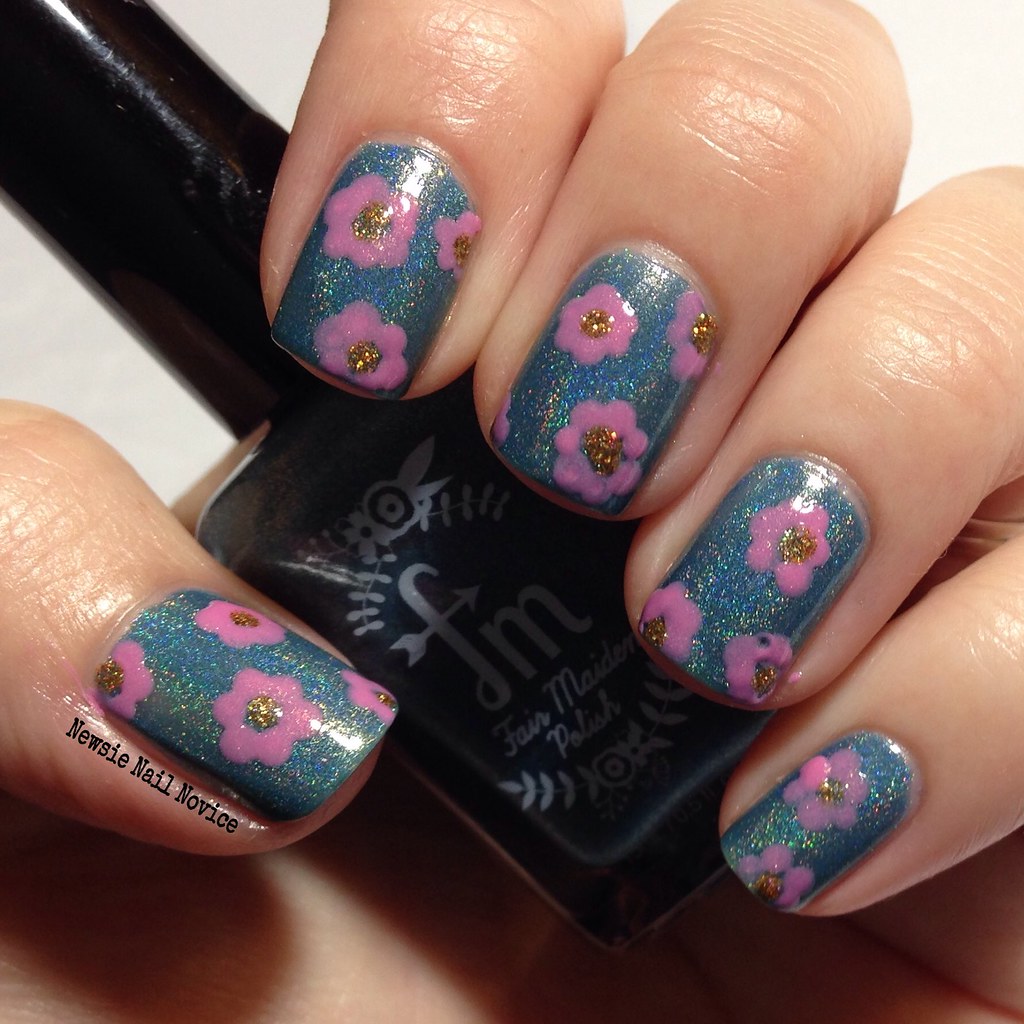
Next up, we have Frozen Heart. This polish is a lovely dusty blue holo polish with it's own hidden shimmer. Part of what makes Fair Maiden Polishes so amazing is they all have something a little extra to them (hidden glow or flakies or flash) that sets them apart from that other blue holo you have sitting on your shelf. This is two thin coats and it applied like a dream.

Now I couldn't just swatch these polishes and be over with them, I had to find a way to combine them! And I thought blue and pink, those colors totally remind me of spring!

Untitled

So I broke out my dotting tool and went to work. Used the base of Frozen Heart and then used Once Upon a Dream and the dotting tool to a flower design!

Untitled

To top it all off, I used the glitter packed gold holo Literary Lacquers I Heard the Bells as the center of the flowers to top off the whole look. I love that the gold center in the flowers actually really compliments the special golden glow of both of the Fair Maiden Polishes!

What do you think of this look? It's a little fun and quick freehand that actually doesn't take too much skill (dotting tools are a super easy gateway drug to the hobby that is nail art!). I love the blue and pink together, very springlike and I think the flower look was just the ticket!

I'm headed down to Southern California this weekend to spend my birthday weekend with some old friends and my family of course! Hope you guys all have a splendid weekend!

Thursday, February 12, 2015

I Love the Color Teal

Today's prompt for the Challenge Your Nail Art Love is the Air challenge is I Love the Color... And if anyone knows me I really love the color teal (especially on my nails!).

 photo 1DD31AE5-58ED-43E3-A9C1-24ED66EC5202_zpsujod8rgq.jpg

So instead of just choosing one hue of teal, I chose them all! To start the mani, since I can't do without holo, I started with two coats of Painted Polish Trashed on Teal, which is a teal jelly polish packed with holo microglitter! It is really beautiful on it's own!

 photo 0EF7E592-2B9B-450A-B5D9-5ABC5EDA4BEB_zpsnqkwhpdp.jpg

Then I decided I wanted to do stripes over the Trashed on Teal, in sort of a ombre look! For the stripes I used straight nail vinyls with the polishes: Sally Hansen OMGhost, Essie Mint Candy Apple, Zoya Wednesday and OPI AmazON AmazOFF.

 photo 471CE344-E967-4C1E-AABE-7C5838E24F1C_zpspitjezc4.jpg

And since it's Valentine's week, I decided to use dots to create a heart. I started with two thin coats of Mint Candy Apple and then used a dotting tool to appy a heart using OMGhost, Wednesday and AmazON AmazOFF.

 photo A1A011B1-6942-4D39-B96F-4F932C24F6E3_zpsluvu3zxv.jpg

I really looooooved this look! One of my favorites I've done in awhile, probably because it features sparkles and my favorite color, teal!

What is your favorite color and have you ever put it together in a single look? I'd love to see it! Also, don't forget to check out the other ladies participating in this super fun challenge!


Monday, January 26, 2015

Fishtail Braid Nails

Today, as a part of Crumpet's 52 Week Pick and Mix Challenge, I attempted a new to me nail art technique: The Fishtail Braid nails.

I google'd a few tutorials and watched them first, just so I got the hang of it, but basically this is braiding strokes of three different colors.

 photo FAE9256B-7B62-43DD-A2E7-94E34B241DF4_zpsjkktzxby.jpg

To begin I used two thin coats of LynBDesigns Seize the Day, Boys, a lovely teal holo polish with gold flashes. The application on this was perfect, very impressed with the quality of this polish. It is a bit jelly like on the first coat, but evens out by the second coat.

 photo 2E4B9C33-579C-4287-910A-F1D75FFE201A_zpsznvqb4xf.jpg

After that I went to work on the Fishtail Braid technique. It was a little difficult at first, but once you get the hang of it, it isn't so bad.

 photo 88D3CA1A-D0BC-4719-AA12-4AC446908429_zpslyeavcwp.jpg

To complete the look I added a dotticure to tie in the three colors on the other nails. I was originally going to do a skittle look, but I accidentally went nuts with the dots so I didn't get there unfortunately.

 photo D639A246-61DF-418A-9282-5C86C8FF6069_zpsnnrjx7ya.jpg

The coral/red polish is Zoya Rocha and the silver is Essie No Place Like Chrome.

 photo CA8776D2-05C5-4902-8BD5-CAAD4F8B97E9_zpsez7qvryu.jpg

Overall I liked this look, and trying a new technique, but I found it a bit time consuming trying to make sure the layers were dry between strokes. I think this technique probably works best with one coaters, which Seize the Day, Boys was not. The polish does build up on the Fishtail Braid nail, so you have to be extra careful not to dent it.

What do you think? Have you tried this nail art technique before? Do you have tips to share?

And don't forget to check out the other ladies taking part in this challenge today!