Showing posts with label holo gradient. Show all posts

Monday, September 21, 2015

Winery Weekend Nails

Hey everyone, I'm just back from a wonderful weekend away with my family in wine country and I just couldn't wait to share with you the nails I sported for my time away!

Untitled

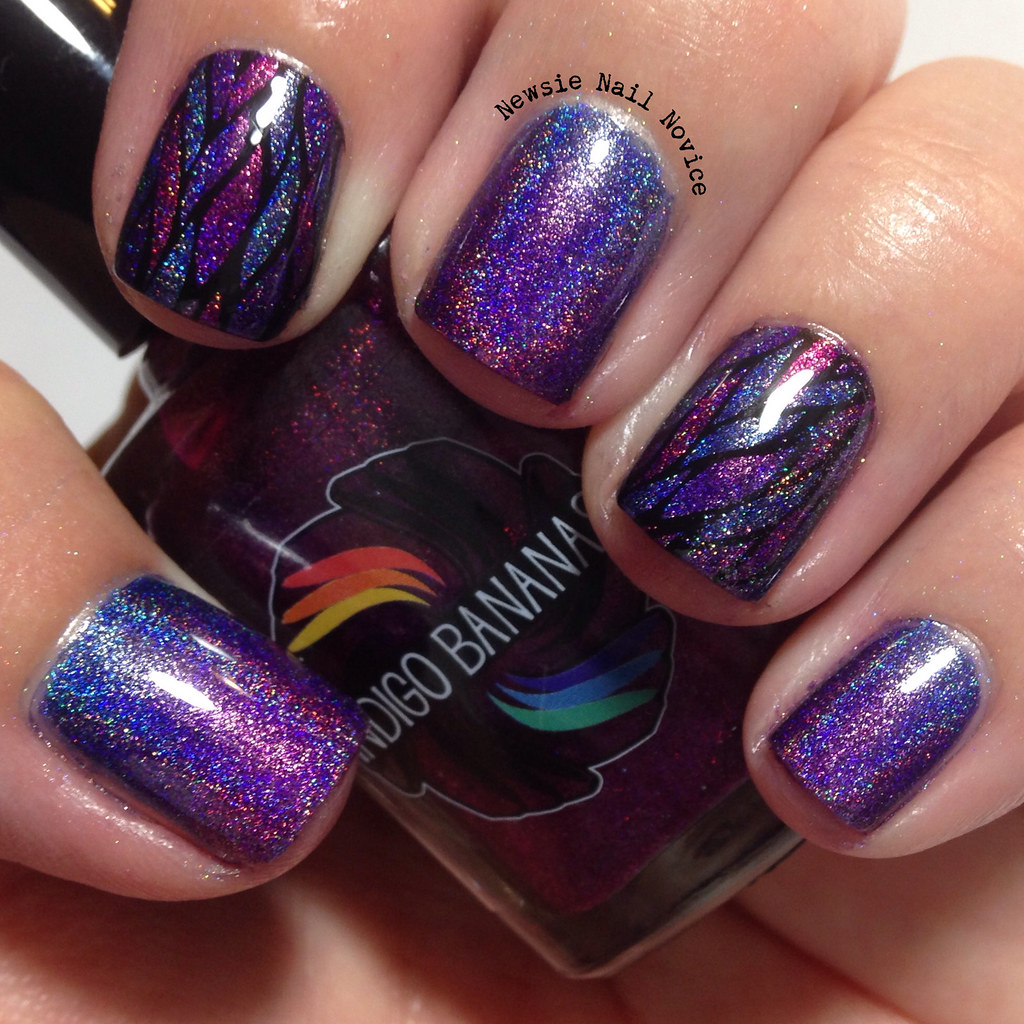
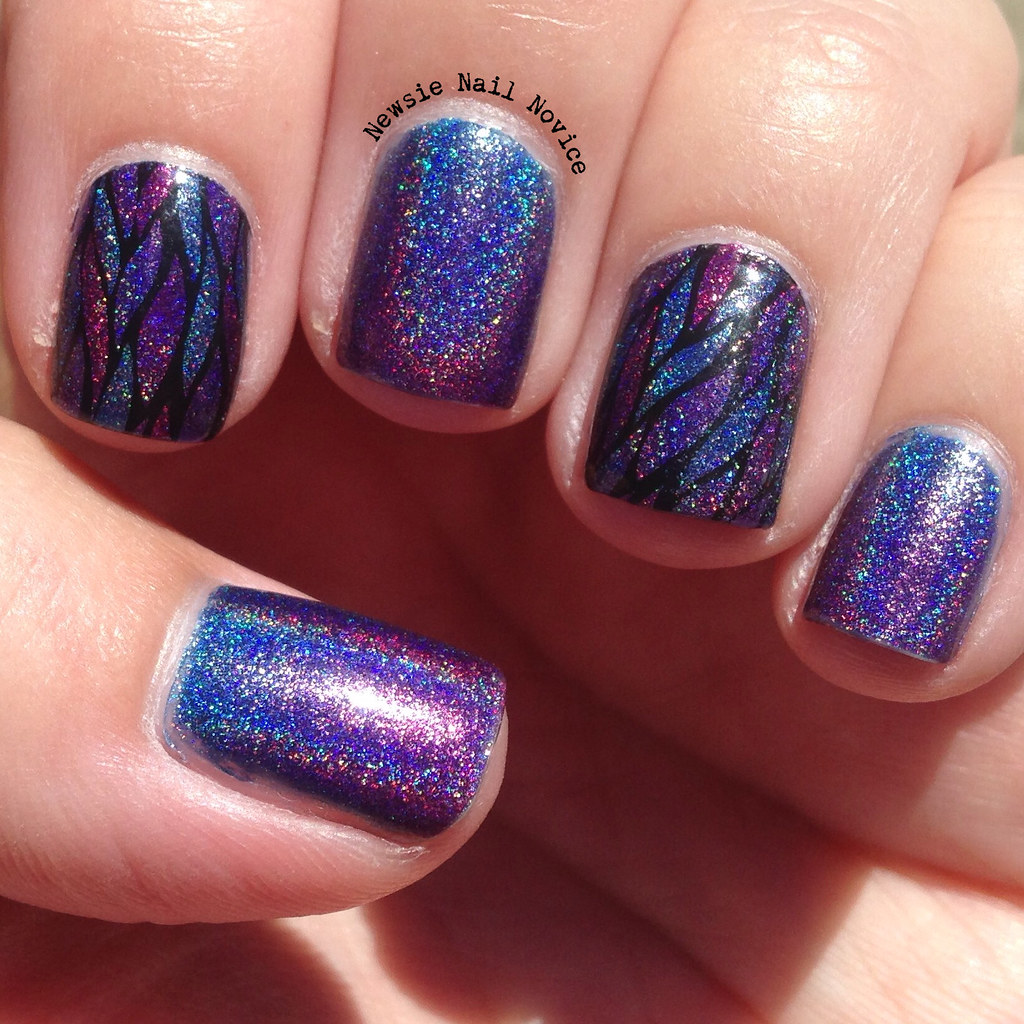
This is a look using three Indigo Bananas holo polishes the fall collection (note, these were originally sent for review which I did here) and made a skittle look using decals and gradients.

Untitled

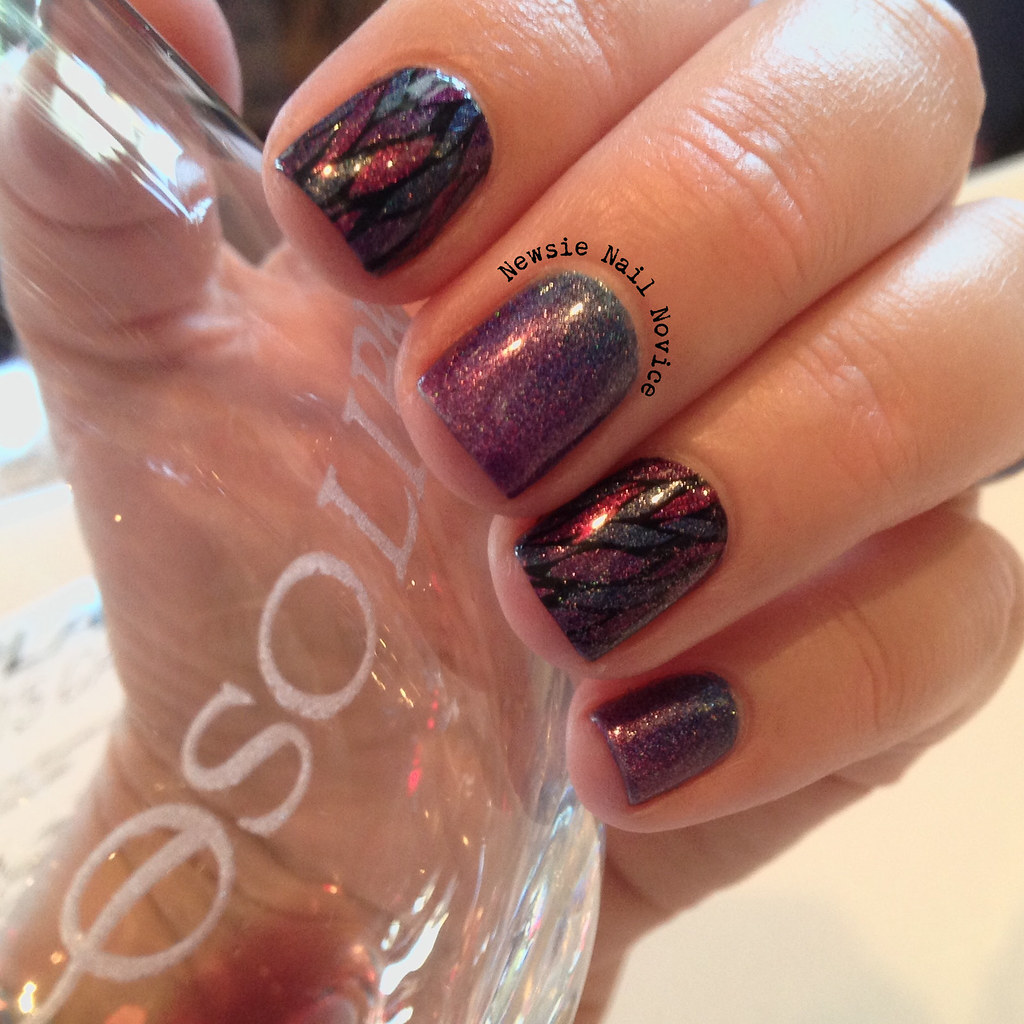
To create this look I used a gradient of Indigo Montoya, Rhythm & Booze and Polish of Unusual Quality on my thumb, middle and pinkie fingers and used the same three colors to create the decals on my index and ring fingers.

Untitled

Creating the decals definitely took work, but I think the payoff was great! To start I broke out my UberChic Beauty Uber Mat and painted two coats of the Zoya top coat I had laying around. I find using regular top coat works best for decals because it doesn't flake away as easily.

Once the top coat was dried (like 5 minutes) I stamped the image from the LilyAnna Plate 10 from Messy Mansion using my Rica Blackout polish and then very carefully using a fine nail art brush I filled in randomly each opening using the three colors.
Untitled

Once I finished one decal, I painted a fresh coat of Indigo Montoya on nail I wanted the decal on and while it was still wet, I placed the decal on the nail using tweezers. Now the decal was obviously bigger than my nail, so once I gently placed the decal in the spot I wanted it, I used acetone and my clean up brush to make the edges adhere to the nail and to clean up the extra decal. The decal will look a bit cloudy until a top coat goes on top (after clean up) but it looks AMAZING when it is completely finished.
Untitled

So I know the lighting isn't the greatest for this shot and I maaaaaaay have been a bit tipsy when taking this shot, but I wanted to show you my nails and my wine of course. I had a great time in Paso Robles with my family, we were celebrating my dad's birthday and we went wine tasting and stayed at this awesome ranch house in Templeton where we encountered cows, horses, tarantulas, gorgeous sunsets and just an all around pleasant peacefulness.

Untitled

It was a great weekend, and I've got another family filled one in store this coming week. My cousin is getting hitched in the woods this weekend and so I'll no doubt have another fun look to share with you soon! Hope you all had great weekends as well!

Friday, September 18, 2015

Glam Polish Review

Today I have a brand new-to-me indie to try and boy oh boy, why did I wait so long to try this brand out?!!? Today I am sharing with you my very first Glam Polish purchase!

Untitled

Glam Polish is an indie polish brand that is based in Australia, but has a shipping site in the United States to help feed the need for the ladies over here! Not only did I just love these polishes off the bat, um hello, their shipping ninja in the United States is craaaaazy fast. I had this in my post box right quick. And quick shipping makes a SUPER great first impression in my book.

Let's get to the swatches shall we?!

Untitled

Untitled

Untitled

This is Glam Polish Forbode and it is gorgeous red leaning wine shade holo polish with matching microglitter and a gorgeous gold shimmer in certain lighting. The formula was super easy to work with and this could have been a one coater, it is that amazingly opaque. I applied two coats for ultimate sparkle and this did dry semi-textured because of the microglitters, so top coat is definitely needed!

Untitled

Untitled

Untitled

This is Glam Polish Hostile, from the same collection as Forbode. It is a gorgeous darkened teal holo polish with matching microglitter and gorgeous wine colored shimmer (works so great with Forbode) in certain lighting. Similar formula to Forbode, this could be a one coater and dries semi textured.

Untitled

Untitled

Untitled

And finally we have Glam Polish Road Kill from the Dexter collection. This is a gorgeous brick red with matching microglitters. It is such an appropriate color for fall, I just looooove this color and plan to do some fun nail art with it in the future for sure!

Untitled

So as soon as I got these polishes I knew I wanted to do a gradient with Forbode and Hostile, because I feel the compliment each other so much. the results were stunning! One note though, because gradients tend to use more polish than just polishing the nail, I had to double coat because the glitters were extra top coat thirsty.

Untitled

Last weekend while I was sporting these nails, I had a fun day where I was teaching some gals how to do nail stamping, so I stamped over the gradient and made some make shift hearts to complete the above look. Sorry I don't have better photos of this look, but it was when I was out of my house so I just took a cloudy outdoor shot. But I feel this really shows some of the golden and wine colored shimmer that these polishes boast in person that is harder to capture in a photo!

So my conclusion!?!?! Glam Polish rocks and I will definitely be purchasing from them again. So many holo sparkle pretties, I'm having to hold myself back from purchasing them all! Which are your favorites that I need to check out and drool over?!

Tuesday, February 24, 2015

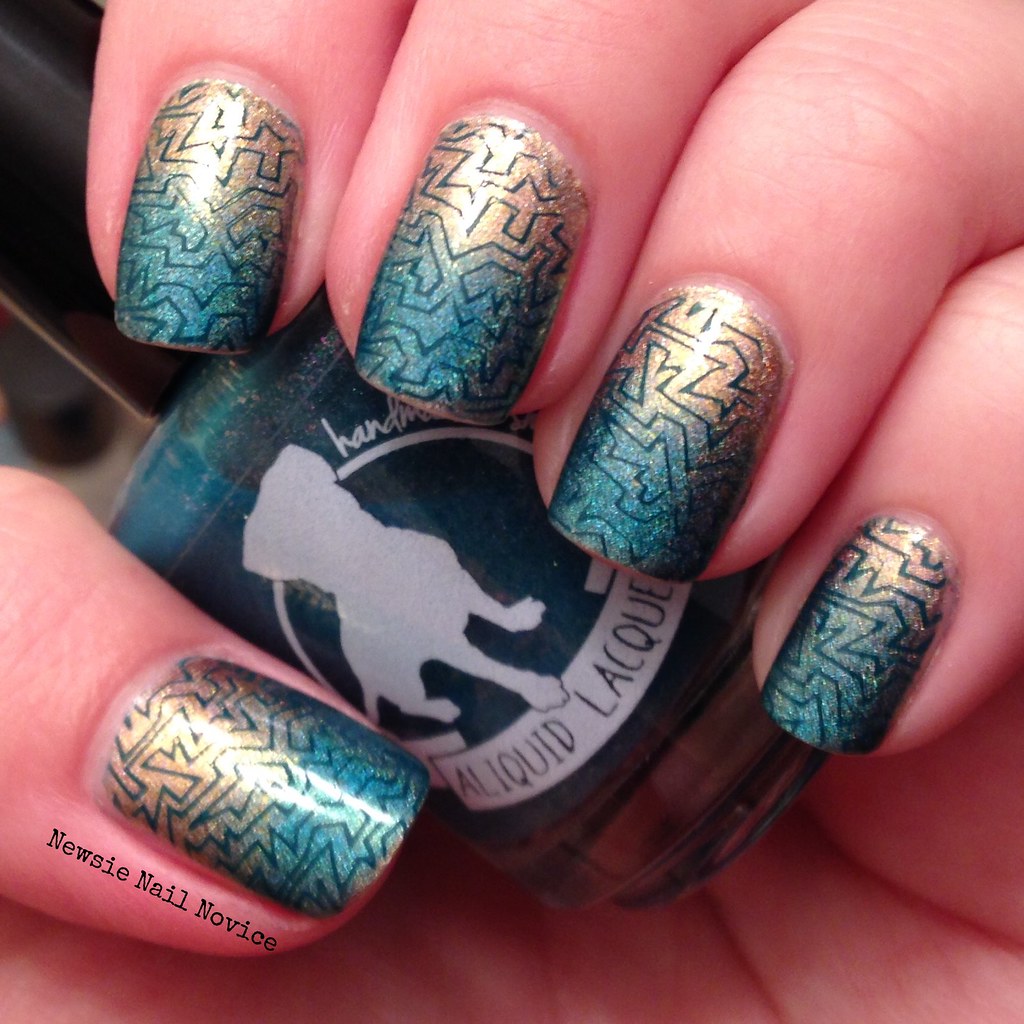
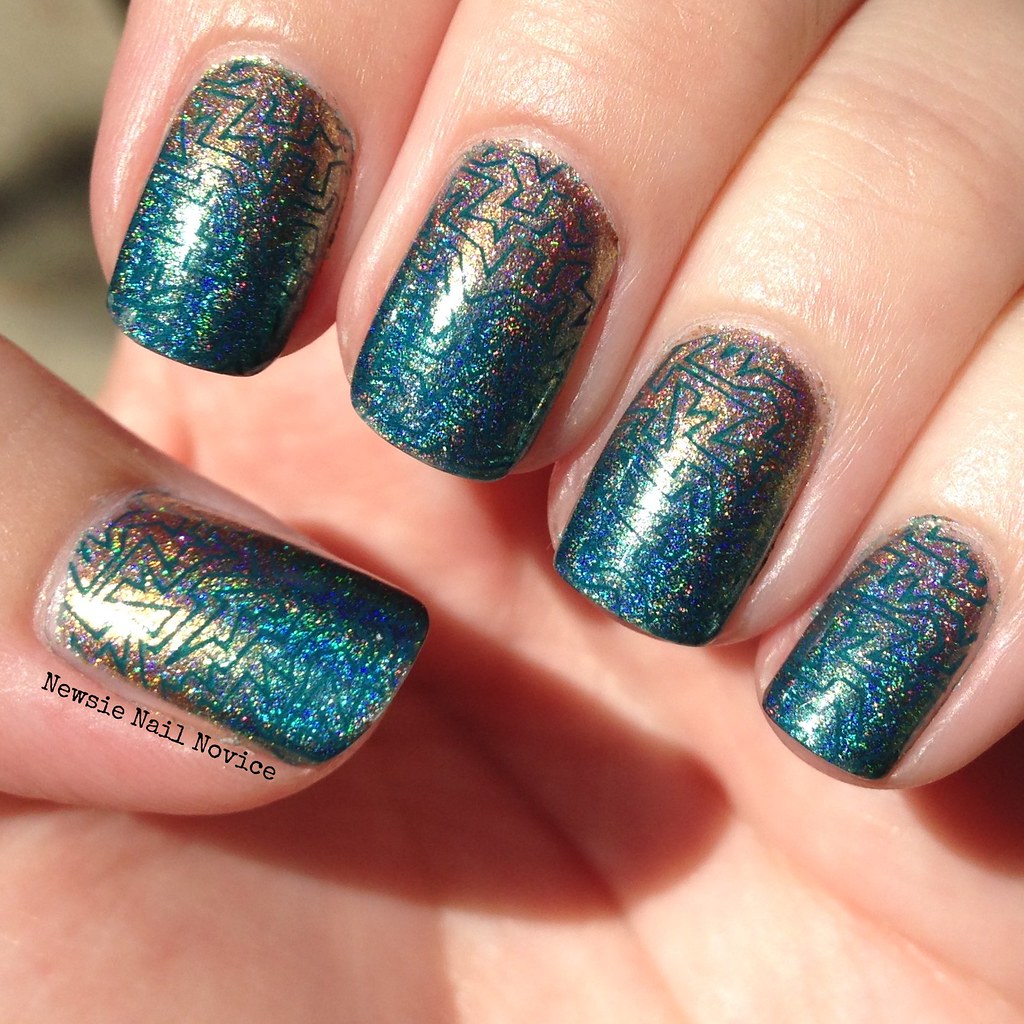
Gold to teal gradient with stamping

So I was cleaning out my phone yesterday and I couldn't believe how many looks I had created that I never actually got around to blogging to!

So here and there, I'll be updating you guys with a post from the vault. Please be kind to me when posting these, most were before my better lighting and photo set up, so the photos are much more amateurish than what I've been striving to post.

Untitled

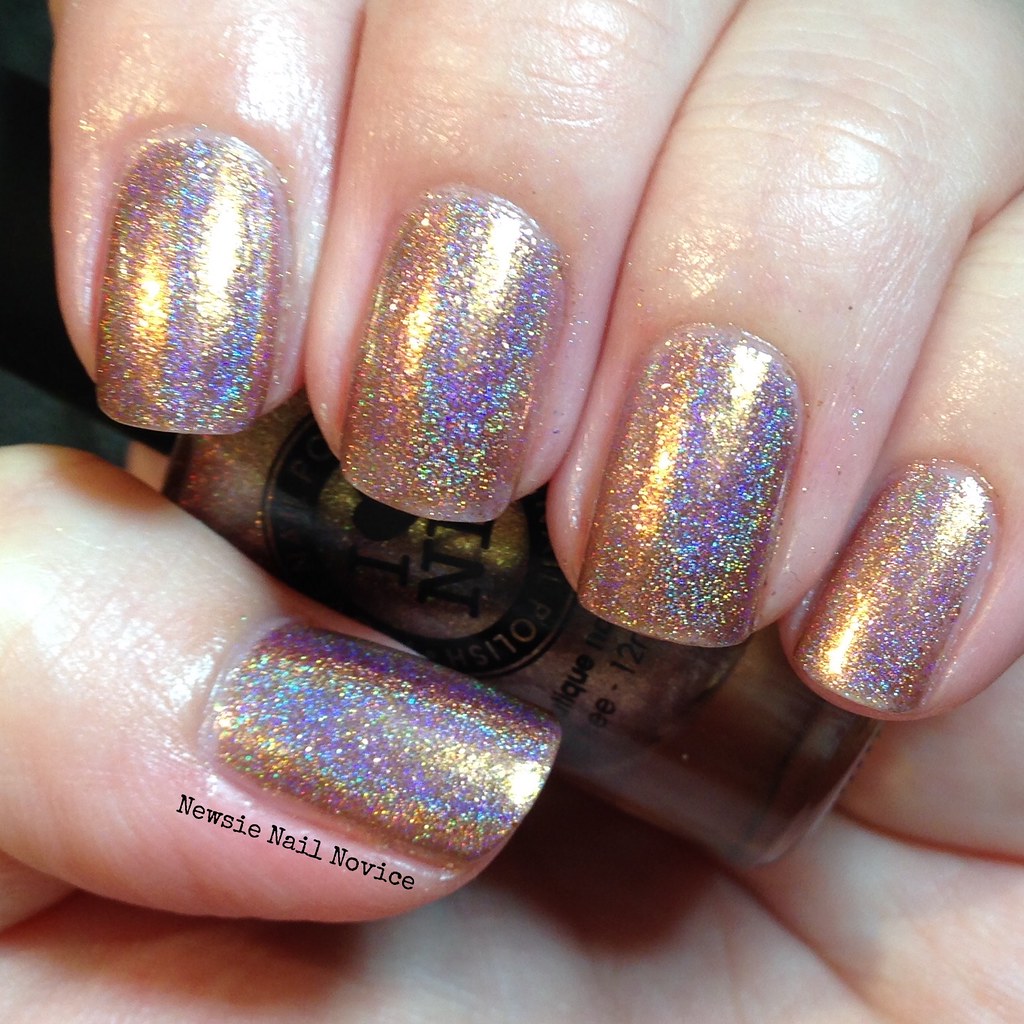
To start today's look, I started with three thin coats of ILNP Iconic. Iconic is a gorgeous gold holo polish with really subtle violet undertones. I just love this gold, it is just a spectacular holo! I remember application being on the sheerer side, so I think it needed at least three coats for this application (but I did this mani back in October, so it is completely possible I am remembering this incorrectly).

Untitled

For the next step I used KBShimmer Up and Cunning to sponge on the teal gradient. I believe this was my first holo gradient and I can't believe I haven't revisited this technique since. Definitely need to break out the makeup sponges again soon! Oh and that polish bottle was some nail mail I had just revived from Aliquid Lacquer, another vault look I'll be showing you at some point!

Untitled

To finish off the look I used Essie The Perfect Cover Up to stamp this geometric abstract design using my Lily Anna 08 plate!

That's it for today, I hope you liked this look from the vault! Tomorrow I've got a review of polishes from Model City Polish, a new to me indie! One of my goals was to try a bunch of new indie polishes, and this is a review of just one of those experiences. And you'll definitely want to check back in at the end of this week for my very first Blogiversary, including an epic giveaway!