Showing posts with label chevron. Show all posts

Wednesday, September 9, 2015

Girly Bits Elevation Polish Bamboozled Duo

Happy Wednesday everyone! Hope you're all having terrific weeks out there, I'm still recovering from my vacation, two day work week from hell and then in-laws visited for the long weekend. Happy to get back to a normalish schedule for the moment!!!

Today I have a fun duo to share with you. I just love all these collaborations going on in the indie world, it's a chance to try new brands and just love two indies together. 
Untitled

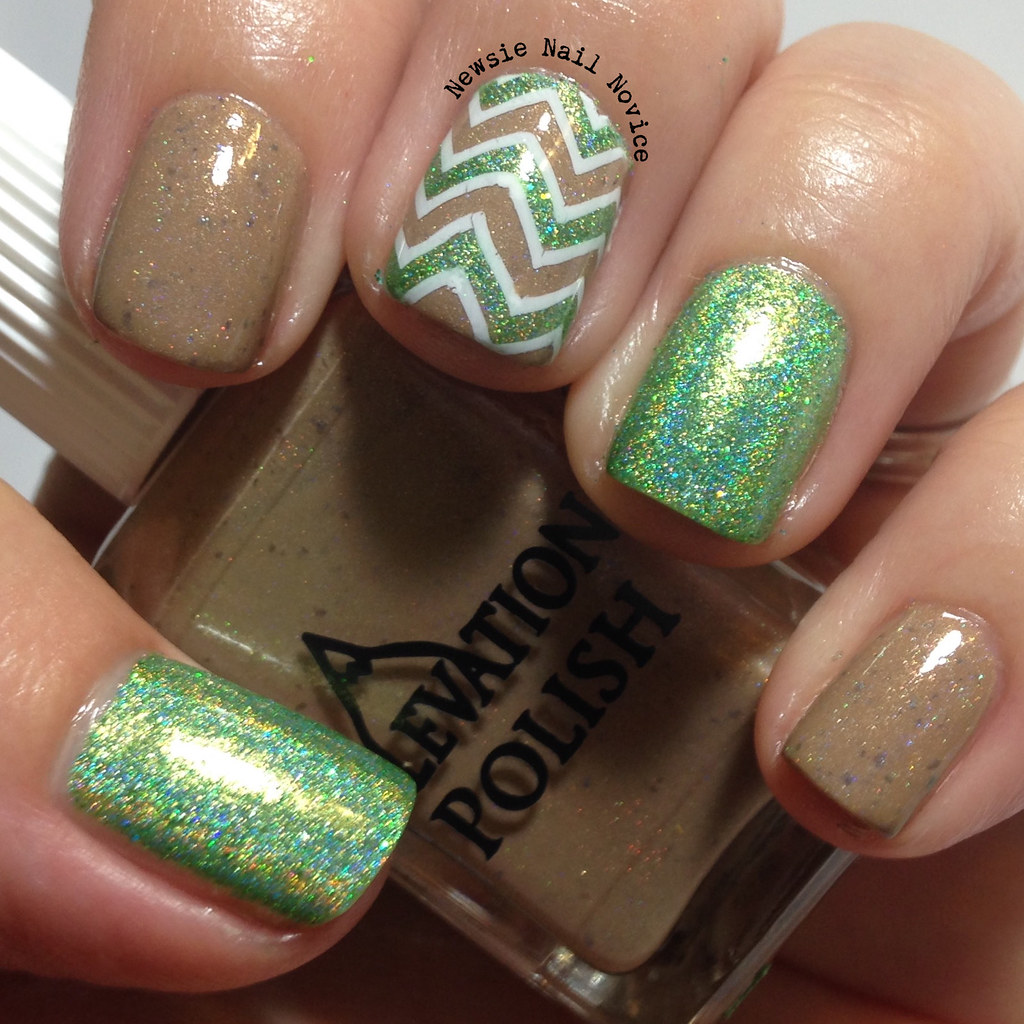
Today I'm sharing the Girly Bits & Elevation Polish Bamboozled Duo that was released in July. I'm sorry these aren't available anymore, but I just had to share this fun look I created with them because it was my first successful decal creation!!
Untitled

Untitled

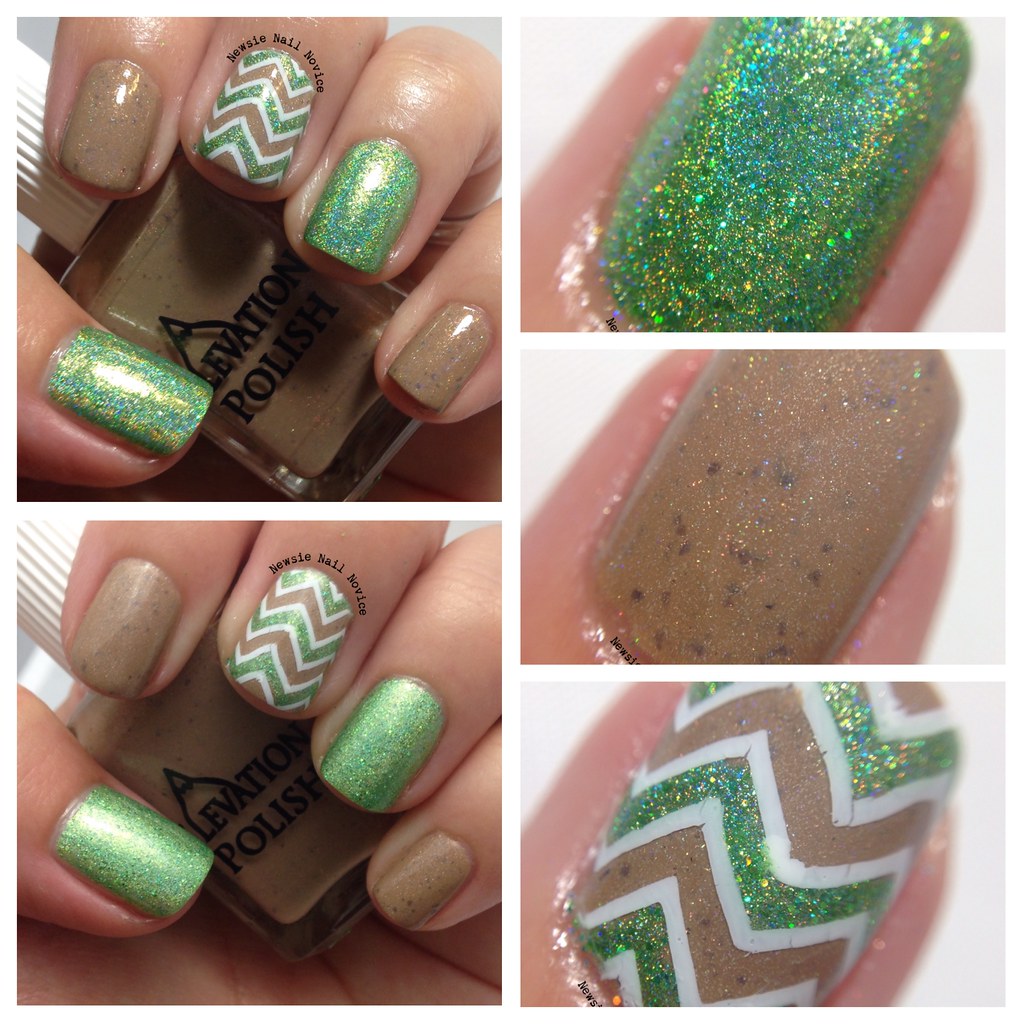
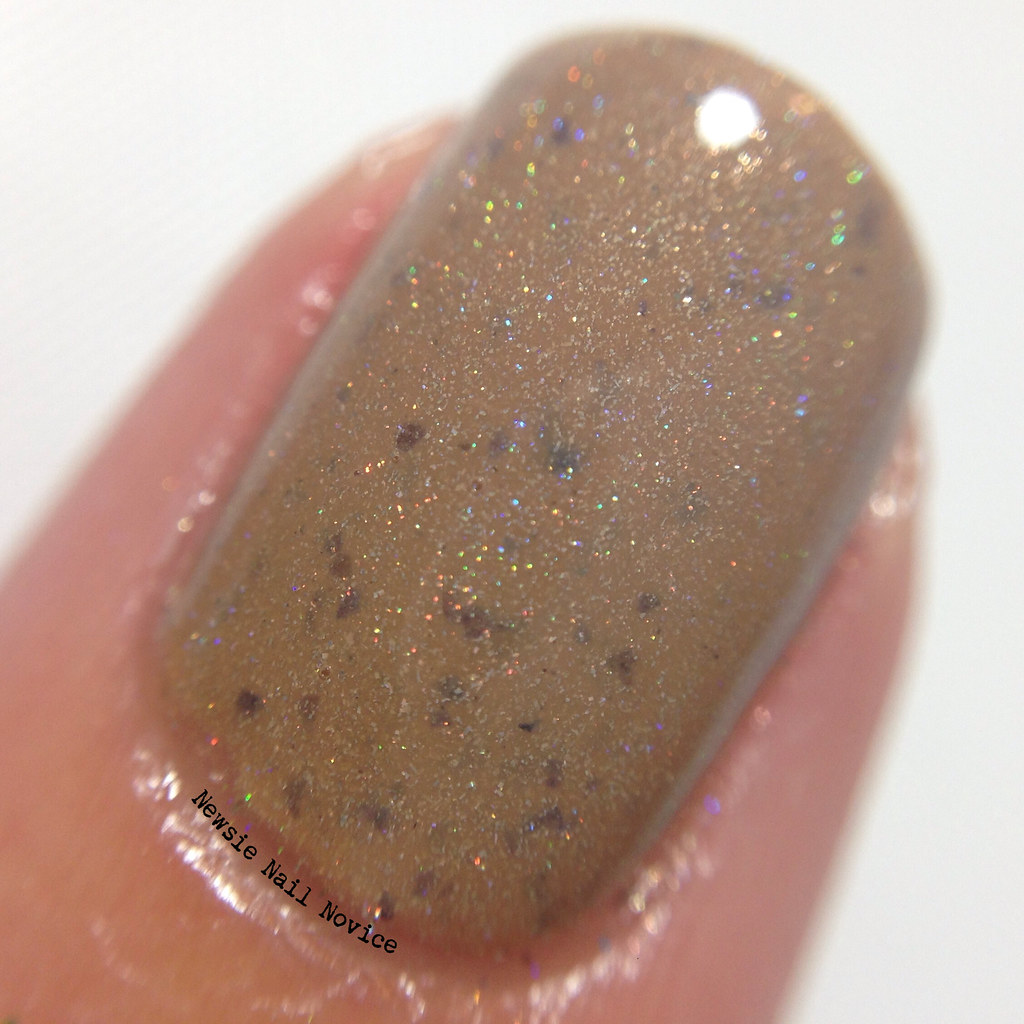
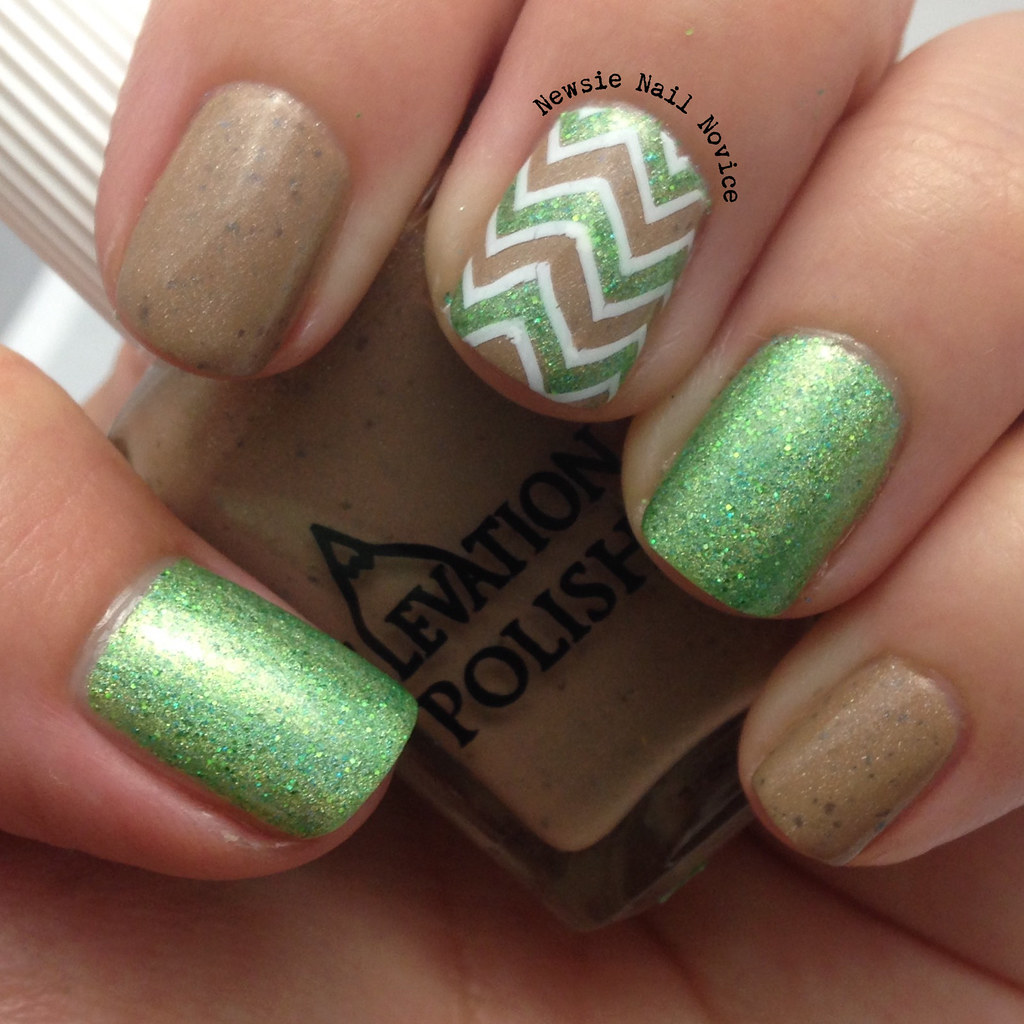
First let me get to the specifics of the polishes. The Elevation Polish half of this duo is Arashiyama and it is a beautiful warm toned sandy brown polish with gorgeous charcoal and very subtle blue flakies with a gorgeous creamy holo finish. I just loooove this polish and it reminds me of a sandy version of Shilin Stone Forest, one of the first Elevation Polishes that made me fall in love with the brand! This polish is on the thicker side, but is opaque in two coats and easy to apply. 
Untitled

Untitled

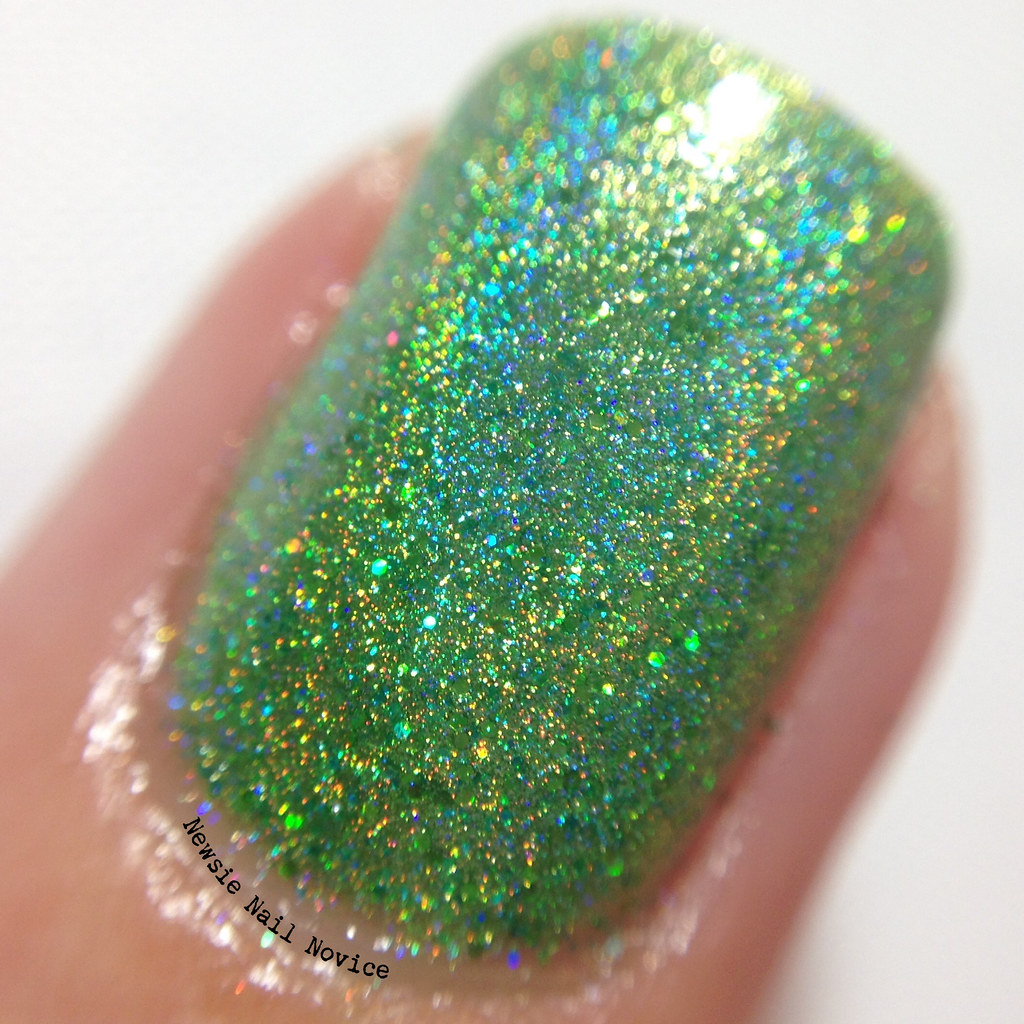
The Girly Bits Cosmetics part of the duo is BamBoom! and it is a gorgeous bright green holo with matching micro glitter pieces scattered throughout. This was a dream to apply, opaque in two coats. I just love love love green and this polish just screams happy to me!!!

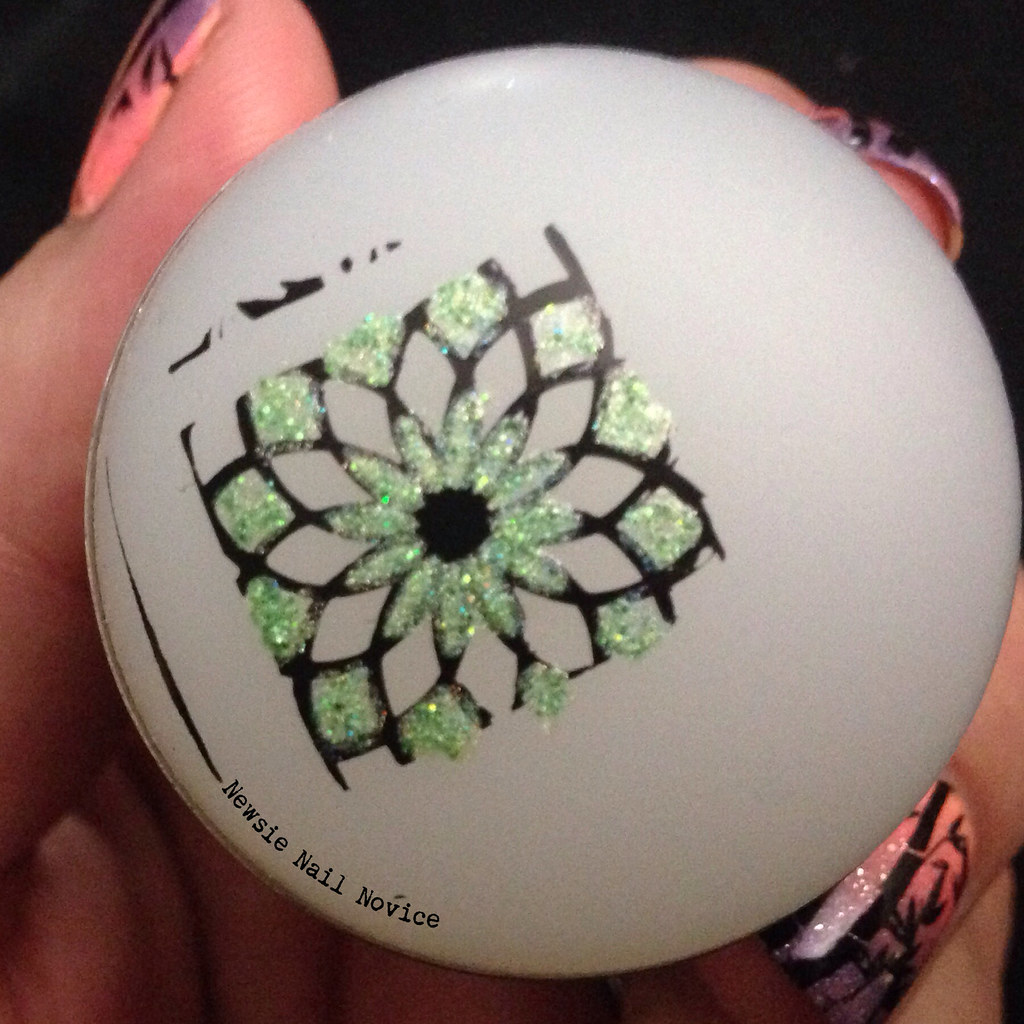
Now for this look, I created my first decal, and I did so by coloring in the stamp on the stamper, see the photo below. 
Untitled

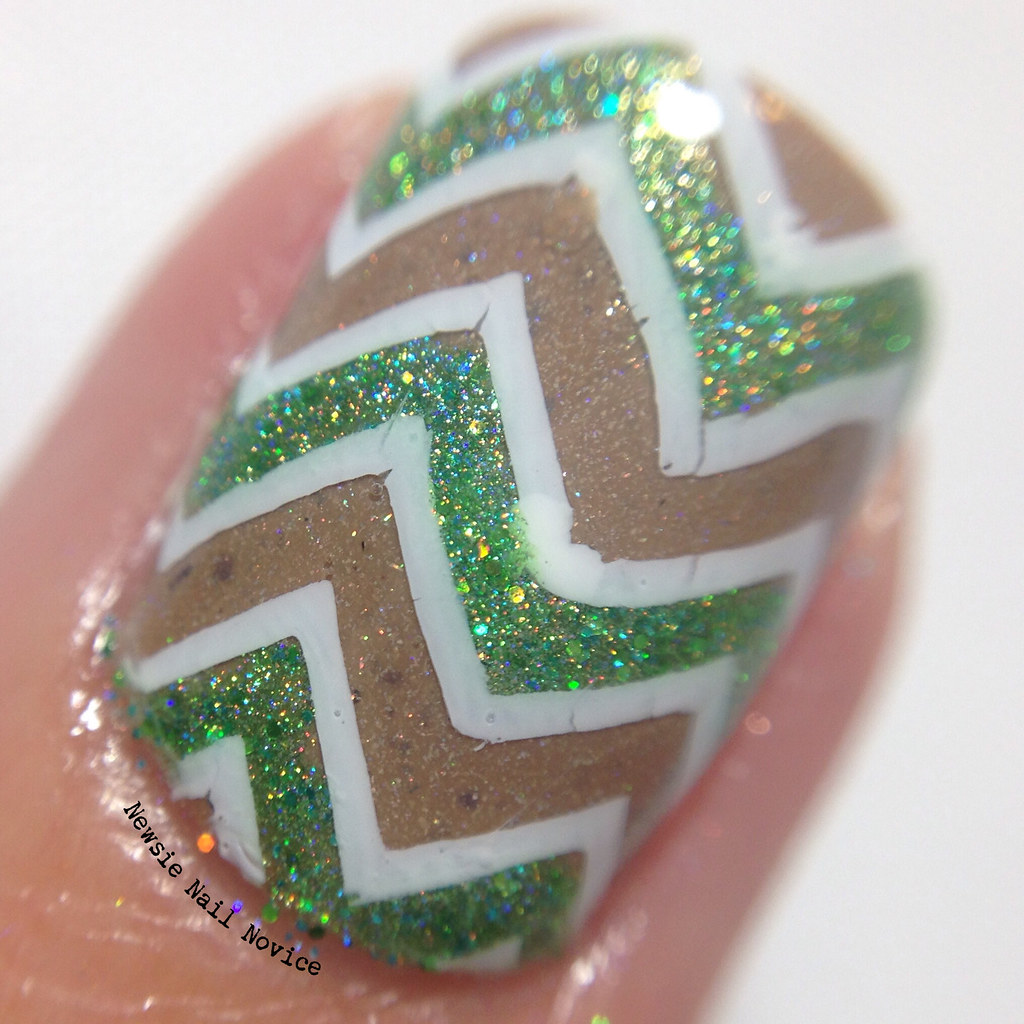
It took a bit of trial and error to perfect (as you can tell I tried a few stamps, like the one above), and it still isn't perfect as you can see in the macro, but it was a pretty good first attempt and I love how it turned out!
Untitled

Have you tried doing the decal method? I have an UberChic Mat now so it's a bit easier, but I wanted to show you how I first attempted it and the results!!! Also I just loved these two polishes together, I love that the evoke the Bamboo theme and they pair so well together! 

Wednesday, October 22, 2014

Smitten Polish Halloween Duo nail art

So Smitten Polish, one of my most favorite indie brands just released a Halloween duo so I decided it would be a great pair to create a Halloween manicure.

 photo 3F0B5208-05C7-4124-8431-FD29A574A281_zpsbaut1h6l.jpg 
Smitten Polish Fire Burn is orange holographic microglitter suspended in an orange jelly base. I started this look with two coats of Fire Burn.

 photo F28D9E2B-8871-4D65-AE74-0B93A050BEA6_zpshr9monz3.jpg

Next I added Cauldron Bubble, an indigo leaning black microglitter with a scattered holo finish. Cauldron Bubble's microglitter is much finer than Fire Burn's, but they still look amazing together. I used single chevron (thumb and pinkie) and chevron nail vinyls.

 photo FD99ED44-61E9-4B35-BC9B-75E1C9928F95_zpsjprhitsl.jpg

To keep with the Halloween theme, I stamped a fun pumpkin face on my ring finger and free handed a fun ghost on my index finger.

 photo CA9D5A13-46BB-4ADB-9305-A22FBACAD1BB_zpsr0mkbrvp.jpg

Application: Fire Burn is a very hungry glitter and will require an additional layer of topcoat to smooth out. Cauldron Bubble did not have this issue. Both applied super smoothly and were a breeze to work with. The both had a matte finish, so for a glossy ultimate sparkly look, you'll want to top coat these. One note though, Fire Burn did stain my nails, but it wasn't super bad. Just probably want to double coat your base coat before wearing Fire Burn. The stain was gone after redoing my nails three times (I redid my nails an obscene amount of times the night I took these off, see previous post), so the stain would most likely be removed with some extra scrub.

Where to purchase: These both retail for $9 on the Smitten Polish website, but are sold out at the moment. I am pretty sure that Noelie, the genius behind Smitten Polish, is planning to restock this weekend. Follow Smitten Polish on Facebook for the most up to date information on her releases!

Friday, September 26, 2014

Painted Polish Drunk on Holo

So we all know I am a fan of holo polishes, a real big fan. I just really love rainbows, they show the beauty of all colors at one time. Anyway, so browsing various nail blogs I kept seeing these AMAZING swatches of Painted Polish's Drunk on Holo. After seeing Sarah Lynn's nail art featuring it, I was done for. I knew I needed to have it!

 photo 393CC37F-1076-4E3B-8558-927C11E8A196_zpsn4rml7fp.jpg

Drunk on Holo is a silver holographic polish with so much bling. I can't even describe to you how much bling this polish has. It is packed full of small holographic glitter in a clear base. For this manicure I think I used three coats for ultimate bling, but two coats would be fine I think.

 photo E4EF362A-0F06-4B9C-AF2F-9E9B862FA06C_zpshexs5p53.jpg

Because the rainbow showed some fun pastel colors, I decided to add some pastel colors to the manicure!

 photo 23991AEB-1BD0-4247-A7C5-A7C9D2B75745_zpsrjcrt6r8.jpg

I used single chevrons from NailVinyls.com, and then added OPI You're Such a Budapest and Essie Mint Candy Apple. I think the colors matched the holo beautifully.

 photo D7024D21-A090-4DC9-8EE5-1A7DA8586FC2_zpscuhggiqe.jpg 

But seriously, there is so much you can do with Drunk on Holo, I haven't even explored all the possibilities yet. Painted Polish restocks about once a month, but you'll have to stalk her via her Instagram or Facebook to find out when the next restock is. I promise you it will be worth it!

What do you think of my pastels paired with holo? What are your favorite polishes to pair with silver holographic polishes?!

Friday, May 2, 2014

Combining my two loves: hockey and nail polish!

I love it when I can use my love of nail art as a way to support my favorite sport teams. My ultimate favorite sports team San Jose Sharks is currently (EDIT: drafted this post on Sunday, now they have been eliminated and I am in mourning) in the playoffs and during the first playoff game, I decided I just had to sport some teal and black nails in support of their playoff stint!

 photo ADAF99BF-9025-4B09-88B5-88D4AB72629E_zpswsrx66nx.jpg

I super loved these nails, so be prepared for a lot of photos of it! This was my first time using nail vinyls, but I think they look so great! Although, I thought this manicure was so perfect, that it almost looked manufactured like a nail sticker or something.

 photo B14567DD-1194-454B-B4E5-5A5164A6FD89_zpsycky4ogy.jpg

 photo 6BAC14A0-ED67-4D18-AA63-466585F42A93_zpse2yykhu6.jpg

Because I wanted this manicure to last a few days (which usually isn't the norm for me, I wanted this to last for Game 2, which my hubby and I had tickets to) I used a combination of CND Vinylux Weekly Top Coat with a layer of HK Girl Glisten and Glow top coat to maintain shine.

 photo 88E95E9E-9AE4-4BD9-BDF5-8612680118C1_zpsxoqwrmo9.jpg

 photo D5323AC6-091D-4180-A7F9-10879E12F03D_zpswhvgrxvl.jpg

And finally, on my favorite nail community Makeup Alley nail board, we were doing a selfie with our nails day, so I took this pic!

 photo DE6F4A81-86D4-434D-B335-70F3708601DC_zpsdvfpmuxk.jpg

Application: I used two coats of OPI AmazON AmazOFF, which is the most perfect Sharks teal. But warning, this does stain. Not terribly, but enough that you have to use a lot of remover to lift the stain and the stain might last awhile in the cuticle area, if you accidentally get some there upon removal.

I used nail vinyls on top of the teal (after topping it with a coat of HK Girl Top Coat and waiting a good 30 minutes for it to dry), using tweasers to carefully apply the nail vinyls one strip at a time. Once I had them placed perfectly, I added a coat of Zoya Storm (a beautiful black with fleck holo pieces in it) and quickly removed the nail vinyls before the coat of Storm dried. Once I finished all the nails, I had the beautiful chevron effect.

When I want a manicure to last I usually use CND Vinylux Weekly Top Coat, which does make my manicure last. I find that after a few days, the top coat dulls a bit, so I topped it with HK Girl Top Coat and it maintained its shine pretty well! So when you need a manicure to last longer than normal, I definitely recommend that!

Where to purchase: Nail Vinyls can be purchased at their website and they come in many different designs. I chose regular chevron's and bought one sheet of 100 for $5. I used about 20 for this design, because I did it on all hands, not just an accent nail. I also got straights as well, so I can do some striped designs coming up here!

CND Vinylux can be purchased a various nail supply stores, but it readily available on Amazon. Here it is listed for $6.70. 

Do you ever combine sport team love with nail designs? What team are you rooting for with your nails?!